


How do you roll a cross joint?

It doesn't just look incredibly wild and a little bit holy — no, it also lets the smoker enjoy 3 standard joints at once. The cross joint (also called Kreuzjoint).
How can you easily recreate this rarity? We'll give you a guide in 5 simple steps.
What we need:
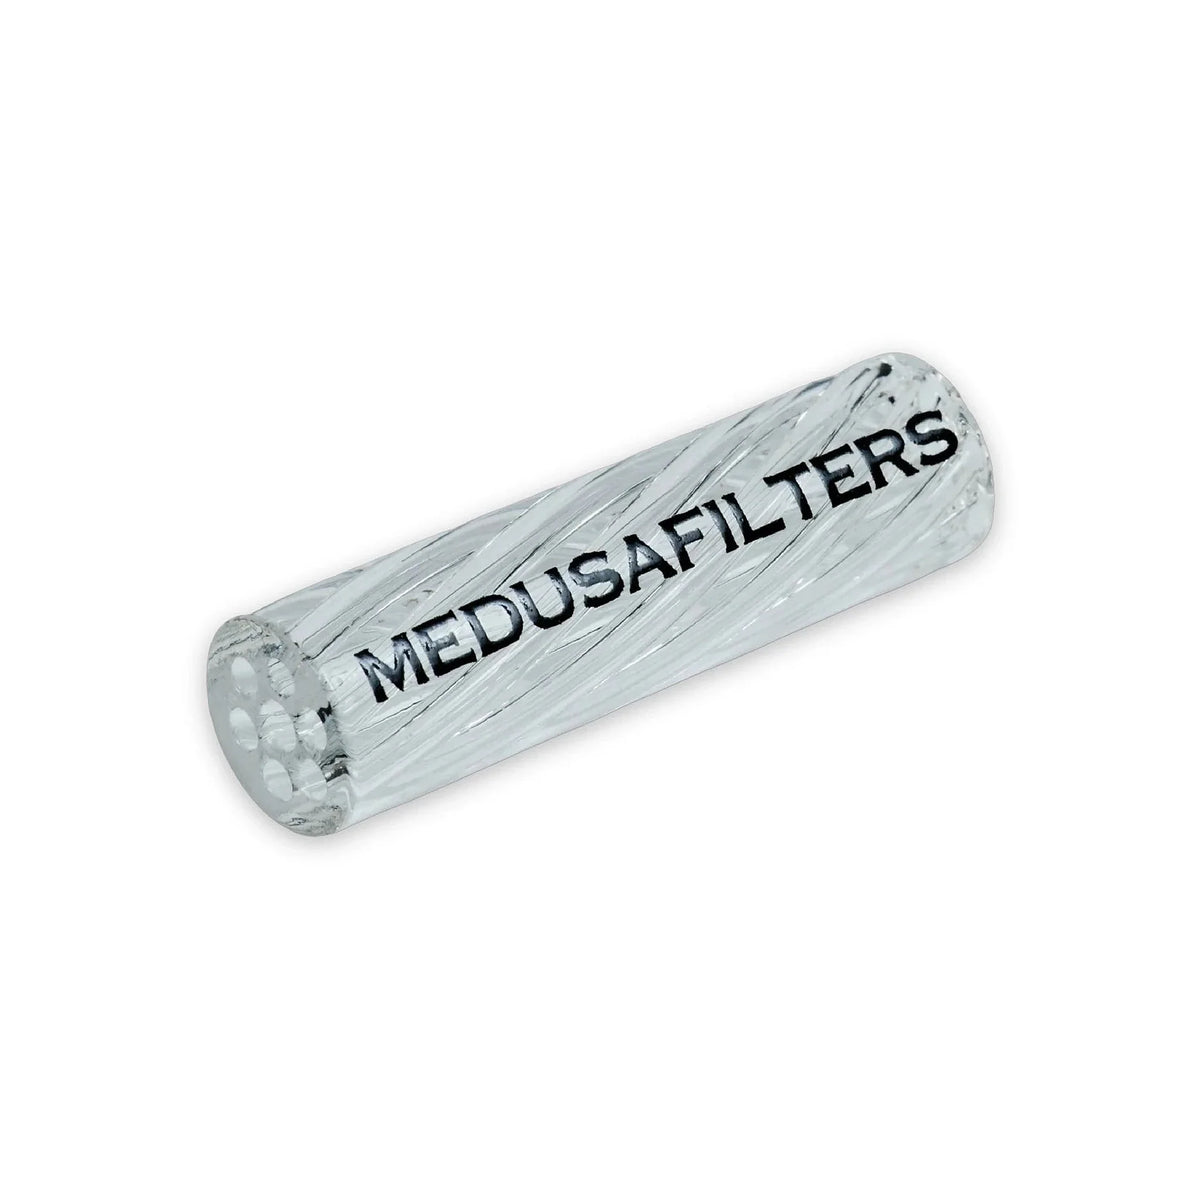
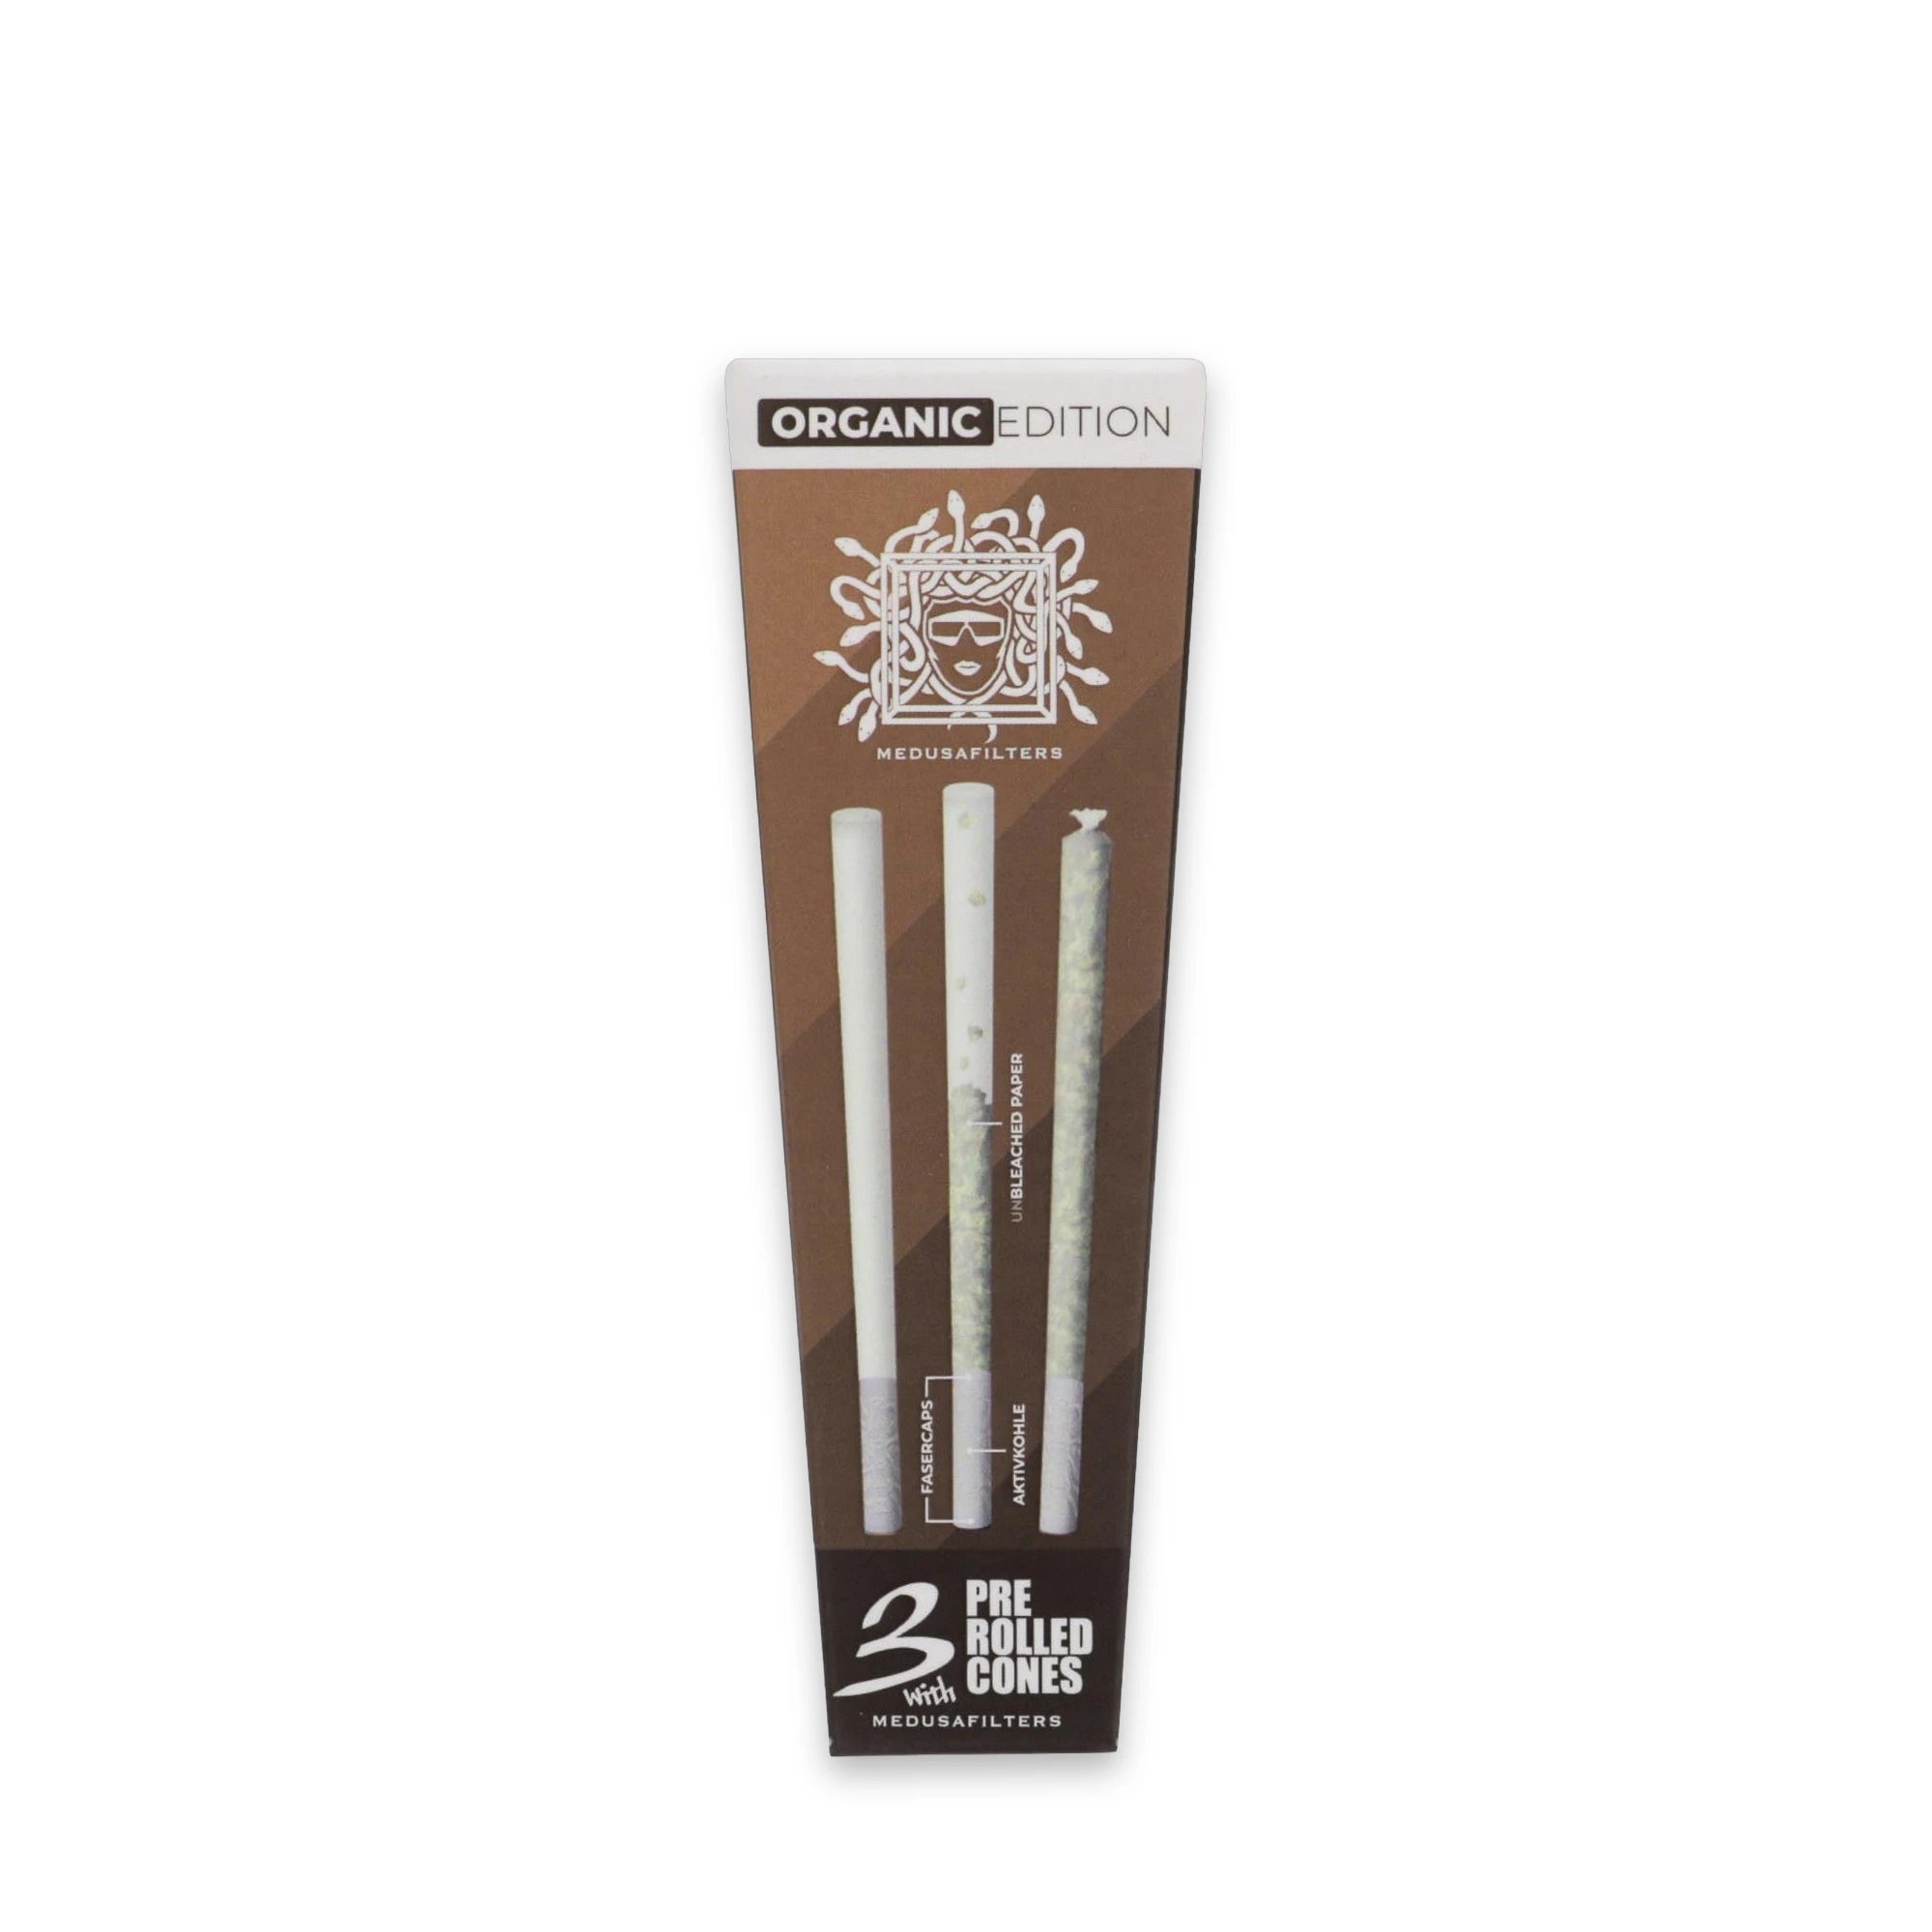
⇨ One Medusafilter
⇨ At least four papers (or even better, Endless papers)
⇨ Enough finely broken-up cannabis (2-3 grams should be enough)
⇨ A toothpick or something similar
What is a cross joint?
Direct answer
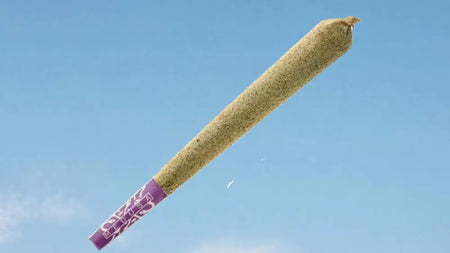
A cross joint is a joint in the shape of a cross: three individual joints are put together so that one long main joint lies horizontally and two shorter ones pass through it at a right angle. Visually, the result resembles a plus or cross sign, which is how the name became established. The design became well known mainly through pop culture, where the cross joint is staged as an elaborate special form. Unlike a normal joint, three ends burn at the same time on a cross joint, which produces more smoke and makes it well suited to sharing in a group. Building it is more demanding than the classic joint and takes some practice, longer longpapers and a steady hand. Once you master the technique, you have a real eye-catcher for special occasions.
Cross Joint: What does the German term mean?
Direct answer
Kreuz-Joint is simply the German name for the cross joint - Kreuz is German for cross. It refers to exactly the same design made of three joints put together. The term was popularized by a well-known film comedy in which the construction is shown in detail; ever since, many people search online for both “cross joint“ and “Kreuz-Joint“. For building it, it makes no difference which name you use. Some people additionally distinguish between a simple cross with two cross arms and more elaborate variants with several arms, but the classic cross joint has exactly three papers: one long support and two short cross pieces. So if you read a German guide, the steps are identical to this description.
Building a cross joint: step-by-step guide
Direct answer
To build a cross joint, you first roll three joints: one long, thick main joint from a King Size Slim longpaper and two shorter, thinner cross pieces. In the main joint you drill a hole at about the front third, through which you push the thinnest of the cross pieces - this cross arm itself needs a small hole so the smoke can draw through later. Then you seal all the transitions with a moistened paper strip (the gum line) so nothing leaks out. A bit of patience and steady hands matter more than speed - better to glue slowly than to rip in a rush. For your first attempt, plan on a good ten to fifteen minutes and lay all your material out within reach before you start.
- Roll three joints: one long main joint (King Size Slim) plus two shorter cross pieces.
- Carefully poke a hole crosswise through the main joint with a needle or a toothpick and widen it slightly.
- Poke a small hole for airflow near the middle of the thinner cross piece.
- Push the cross piece through the main joint until the hole sits inside.
- Tear a narrow strip from an empty paper, moisten it and seal the four transitions around the crossing.
- Let it dry briefly, then do a draw test and reseal if needed.
What material do you need for a cross joint?
Direct answer
For a clean cross joint you need a little more than for a normal joint. Long papers are central, because the main joint has to be thick enough for a cross arm to fit through without tearing. King Size Slim longpapers are the best choice here, because they combine length with thin, slow-burning paper. For the two cross pieces, shorter, narrower joints are enough. A filter tip or activated carbon filter stabilizes the mouthpiece of the main joint and provides a cooler, filtered draw. A thin needle, a toothpick or a bent-open wire works well for making the holes. Also keep an empty paper on hand as a sealing strip, as well as a flat, clean surface. Anyone who breaks the herbs up finely rolls more evenly and avoids holes in the paper.
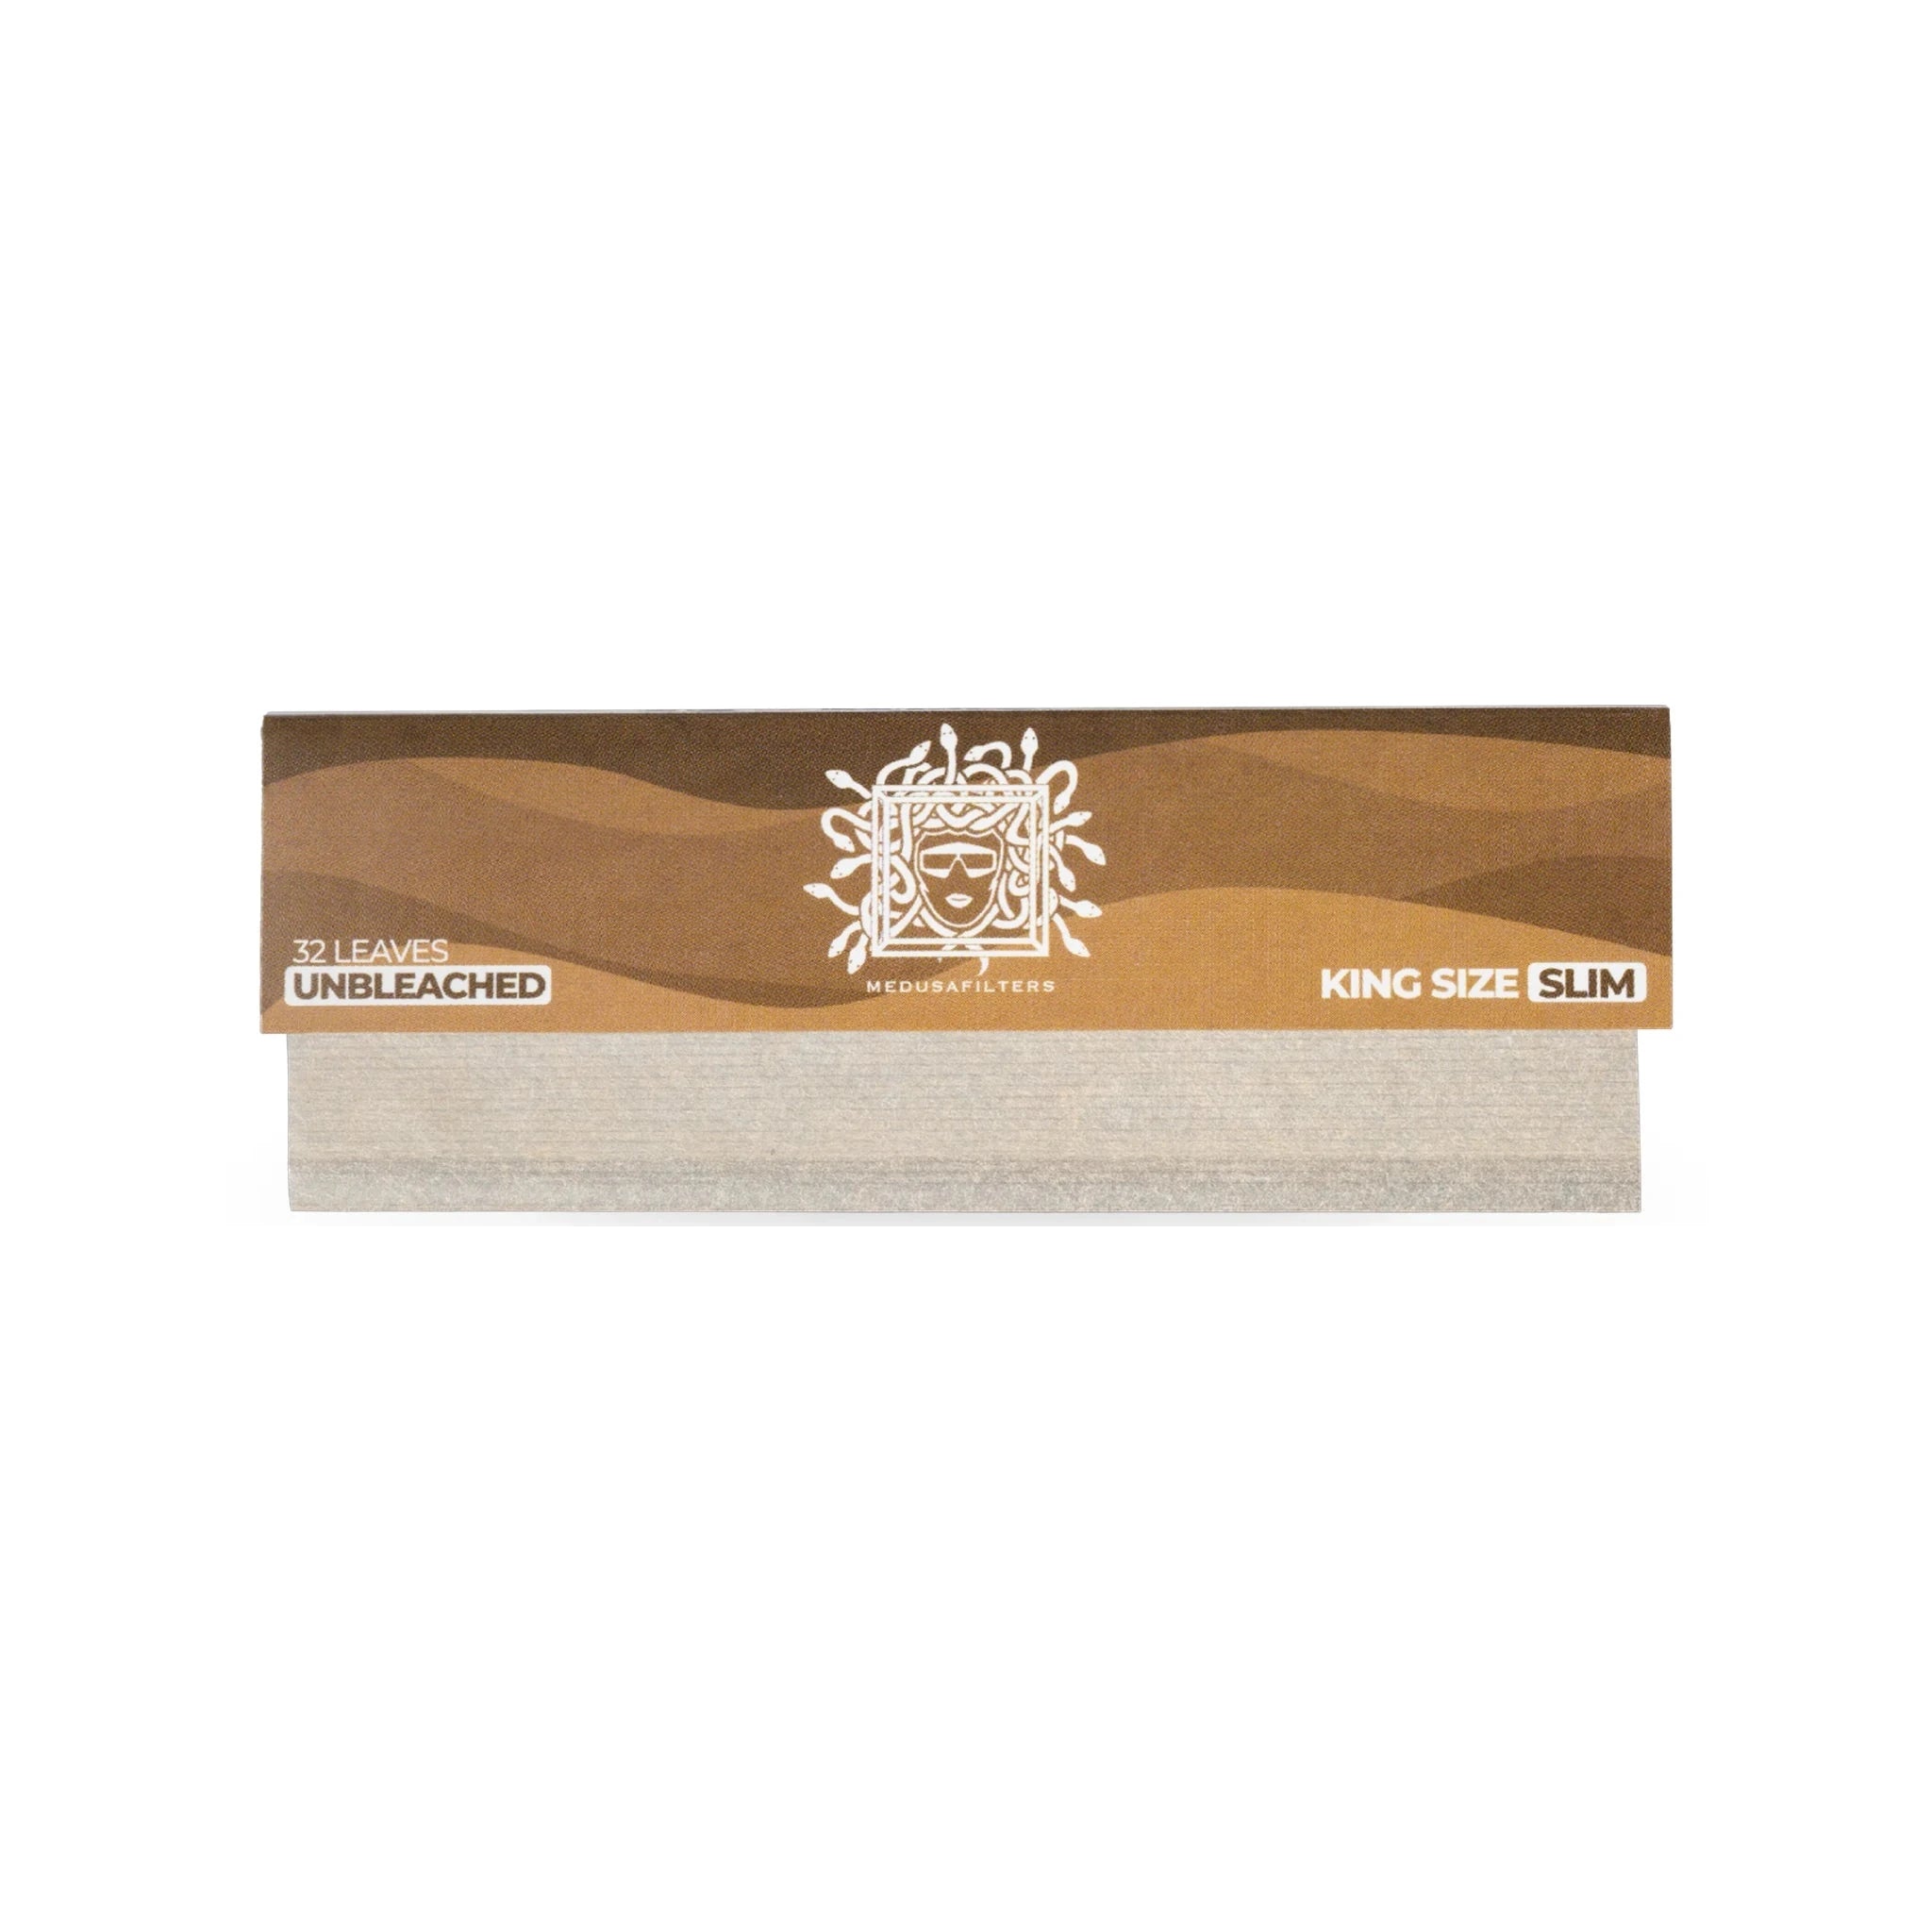
- King Size Slim longpapers for the main joint
- Two shorter papers for the cross arms
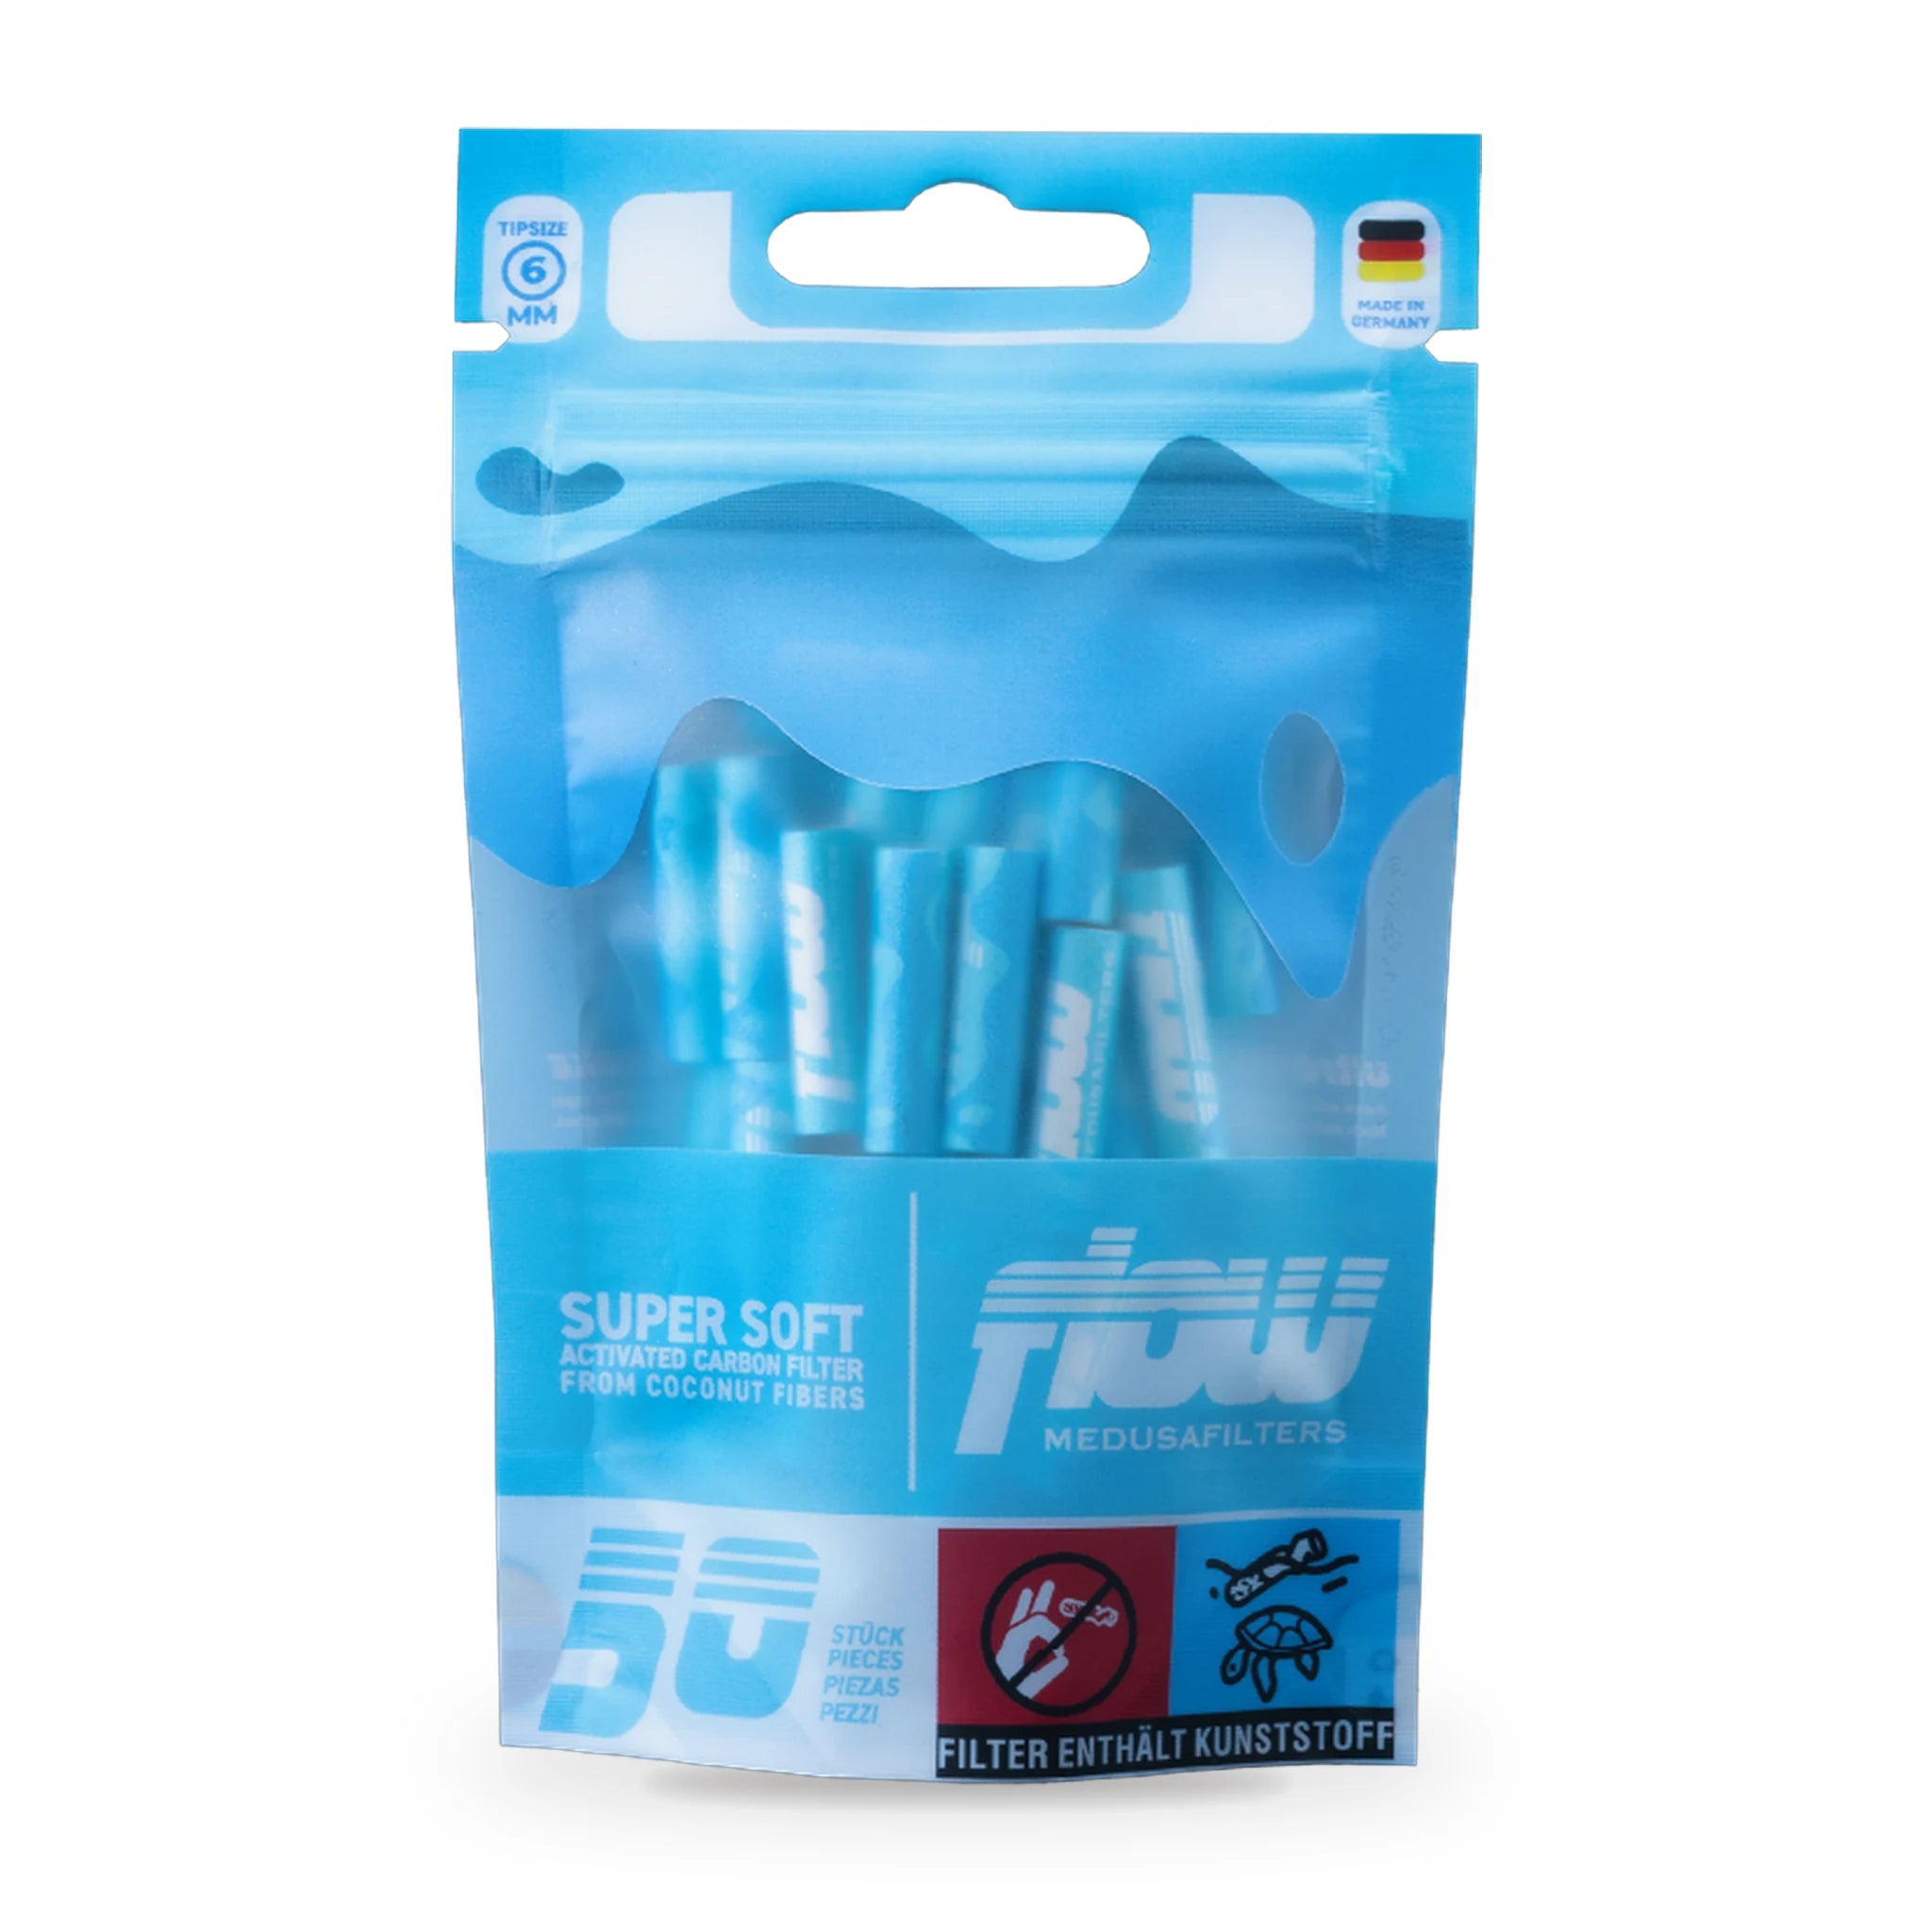
- Filter tip or 6 mm activated carbon filter for the mouthpiece
- Needle, toothpick or wire for poking the holes
- Empty paper as a sealing strip
Lighting and smoking a cross joint correctly
Direct answer
The appeal of the cross joint lies in the fact that both cross arms and the tip burn together. So light the two ends of the cross pieces first, then the tip of the main joint, so that everything glows at the same time. It's best to hold the cross joint slightly at an angle, pull evenly on the mouthpiece and rotate it a little as you do so, so that the three ends burn down evenly. Because significantly more smoke is produced than with a normal joint, the draw is more intense - take it easy and share it in the group. An activated carbon filter in the mouthpiece makes the draw noticeably cooler and more pleasant. Make sure the crossing doesn't burn through: if the connection is well sealed, the cross joint holds together to the end. If one arm burns down faster, you can leave it out of the draw for a moment and keep smoking the main body.
How do you build a cross joint?
A cross joint consists of three joints: one long main joint and two shorter ones pushed crosswise through it. You drill a hole into the thick joint with a needle, push the thinner one through and seal the connection with a paper strip. Once lit, all three ends burn at the same time.




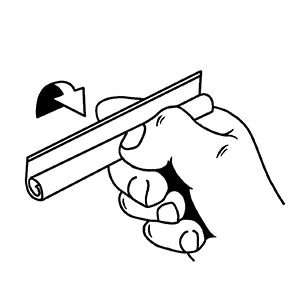
Step 1: Lay the foundation
To roll a cross joint, we first need two joints of different sizes. These form the foundation for our later cross. It's important to note that we need a small joint (the top of the cross) and a large joint (as the pillar) - so use a double-length longpaper (or Endless paper) for the large one. If possible, the large one should also be slightly cone-shaped, as this makes joining them easier later on. It's also worth mentioning that the small joint doesn't need an extra filter - it's enough to pinch or twist it closed on both sides. On the large one, feel free to add a tip on one end, or better yet, an activated carbon filter.
Note: The more the two joints differ in size, the easier it is to combine them later. Feel free to experiment a little - you'll quickly understand why this is the case.
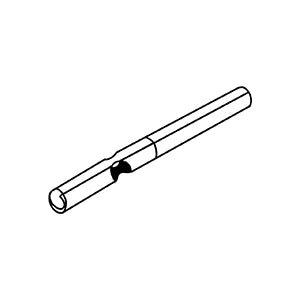
Step 2: The impressive wedding
You're surely eager to know what comes next, so I won't keep you in suspense any longer. It's time for the gentle crossing! Well, almost. First you need your toothpick or another pointed object (needle, paperclip). Use it to poke a hole through the paper at about three-quarters of the way up the large joint (all the way through). With even, circular motions, your next task is to widen the hole to the diameter of the small joint. It helps to stay relaxed here, and it may take a little practice. Done it? Respect! But don't insert the small joint just yet. Instead, quickly move on to Step 3.
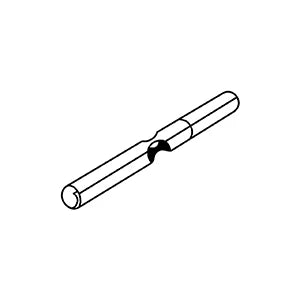
Step 3: The often forgotten step
Because before you can cross the two joints now, one tiny but crucial detail is still missing. Grab the thin joint. Aim for its center and, here too, push your pointed object all the way through to the other side. Why? This later guarantees a good draw and keeps the smoke from mostly drifting off into the sunset. But be extremely careful here as well, otherwise the ends could split open.
Step 4: Now for real
Time for some magic!
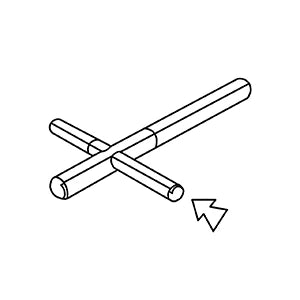
The moment we've all been waiting for - we finally bring the two joints together. To do this, position the small joint so that its hole is aligned vertically to the base joint. The air needs to be able to flow through here later. Pay special attention not to simply push, but instead to make slight twisting motions so you can get it through as undamaged as possible.
Step 5: The finishing touches
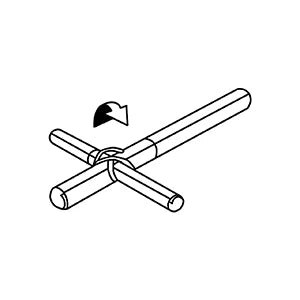
You're wondering what's still missing? I'd say - not much anymore! Finally, grab two extra longpapers and put their glue strips to use by cutting them off. They'll serve as insulation later. Wrap them around both ends - that is, around the spots where the smaller joint exits the large one - to seal them. Here, too, be especially gentle and patient once more - it's an important step toward the perfect smoking experience.
Now you're finally ready to impress your whole circle of friends with the cross joint you've created. Tasty and big enough for an entire football team - that's what it is. The cross joint.
By the way, you'll actually have to call your friends over to enjoy it, since ideally it takes 3 lighters to fire it up properly. Have a happy high.
The right accessories from Medusafilters


Frequently Asked Questions about the Cross Joint
For your first cross joint, plan on a good ten to fifteen minutes. Rolling the three joints is quick, but the hole-poking and especially the clean sealing of the crossing take patience. With a bit of practice you'll get significantly faster. Lay everything out within reach beforehand, then you can work in a relaxed way and won't have to search for material halfway through.
If the crossing tears, the main joint was usually rolled too thin or the hole poked too roughly. For the support, use a long, generously filled paper and widen the hole carefully with a thin needle instead of ripping it open. A moistened paper strip around the connection additionally stabilizes the spot and prevents smoke from escaping.
For the main joint, King Size Slim longpapers are ideal because they're long, thin and slow-burning - this lets a cross arm pass through without the paper tearing. You roll the shorter cross pieces from narrower papers. At the mouthpiece, a 6 mm activated carbon filter provides a cooler, filtered draw and holds back loose bits.
Because of its three burning ends, a cross joint uses more material and produces more smoke than a normal joint. That makes it well suited to a sociable round, and it's usually shared. How many people join in depends on the amount of filling - as an eye-catching piece for special occasions, it makes the most sense in a group.
Yes, the thinner cross piece needs a small hole roughly in the middle, which later sits inside the main joint. Only then can the smoke draw from the cross arms into the main body and to the mouthpiece. If you push the cross piece through without this hole, the arms will burn but won't contribute anything to the draw.
Yes, a cross joint is considerably more demanding than a classic joint. You roll three of them at once, have to poke the holes cleanly and seal the crossing tightly. For your first attempt you should take your time and work calmly. But if you already master normal rolling and use good material, you'll manage the cross shape reliably before long.