


How do you roll a tulip joint?

A time-tested Amsterdam joint that’s guaranteed to blow you away. This simple guide is split into 3 steps to give you a better overview of how to roll this joint. You’ve got to try it.
What we need:
⇨ Enough finely broken-up cannabis (2-3 grams should be enough)
⇨ At least 4 papers (3 for building, 1 for the glue strip)
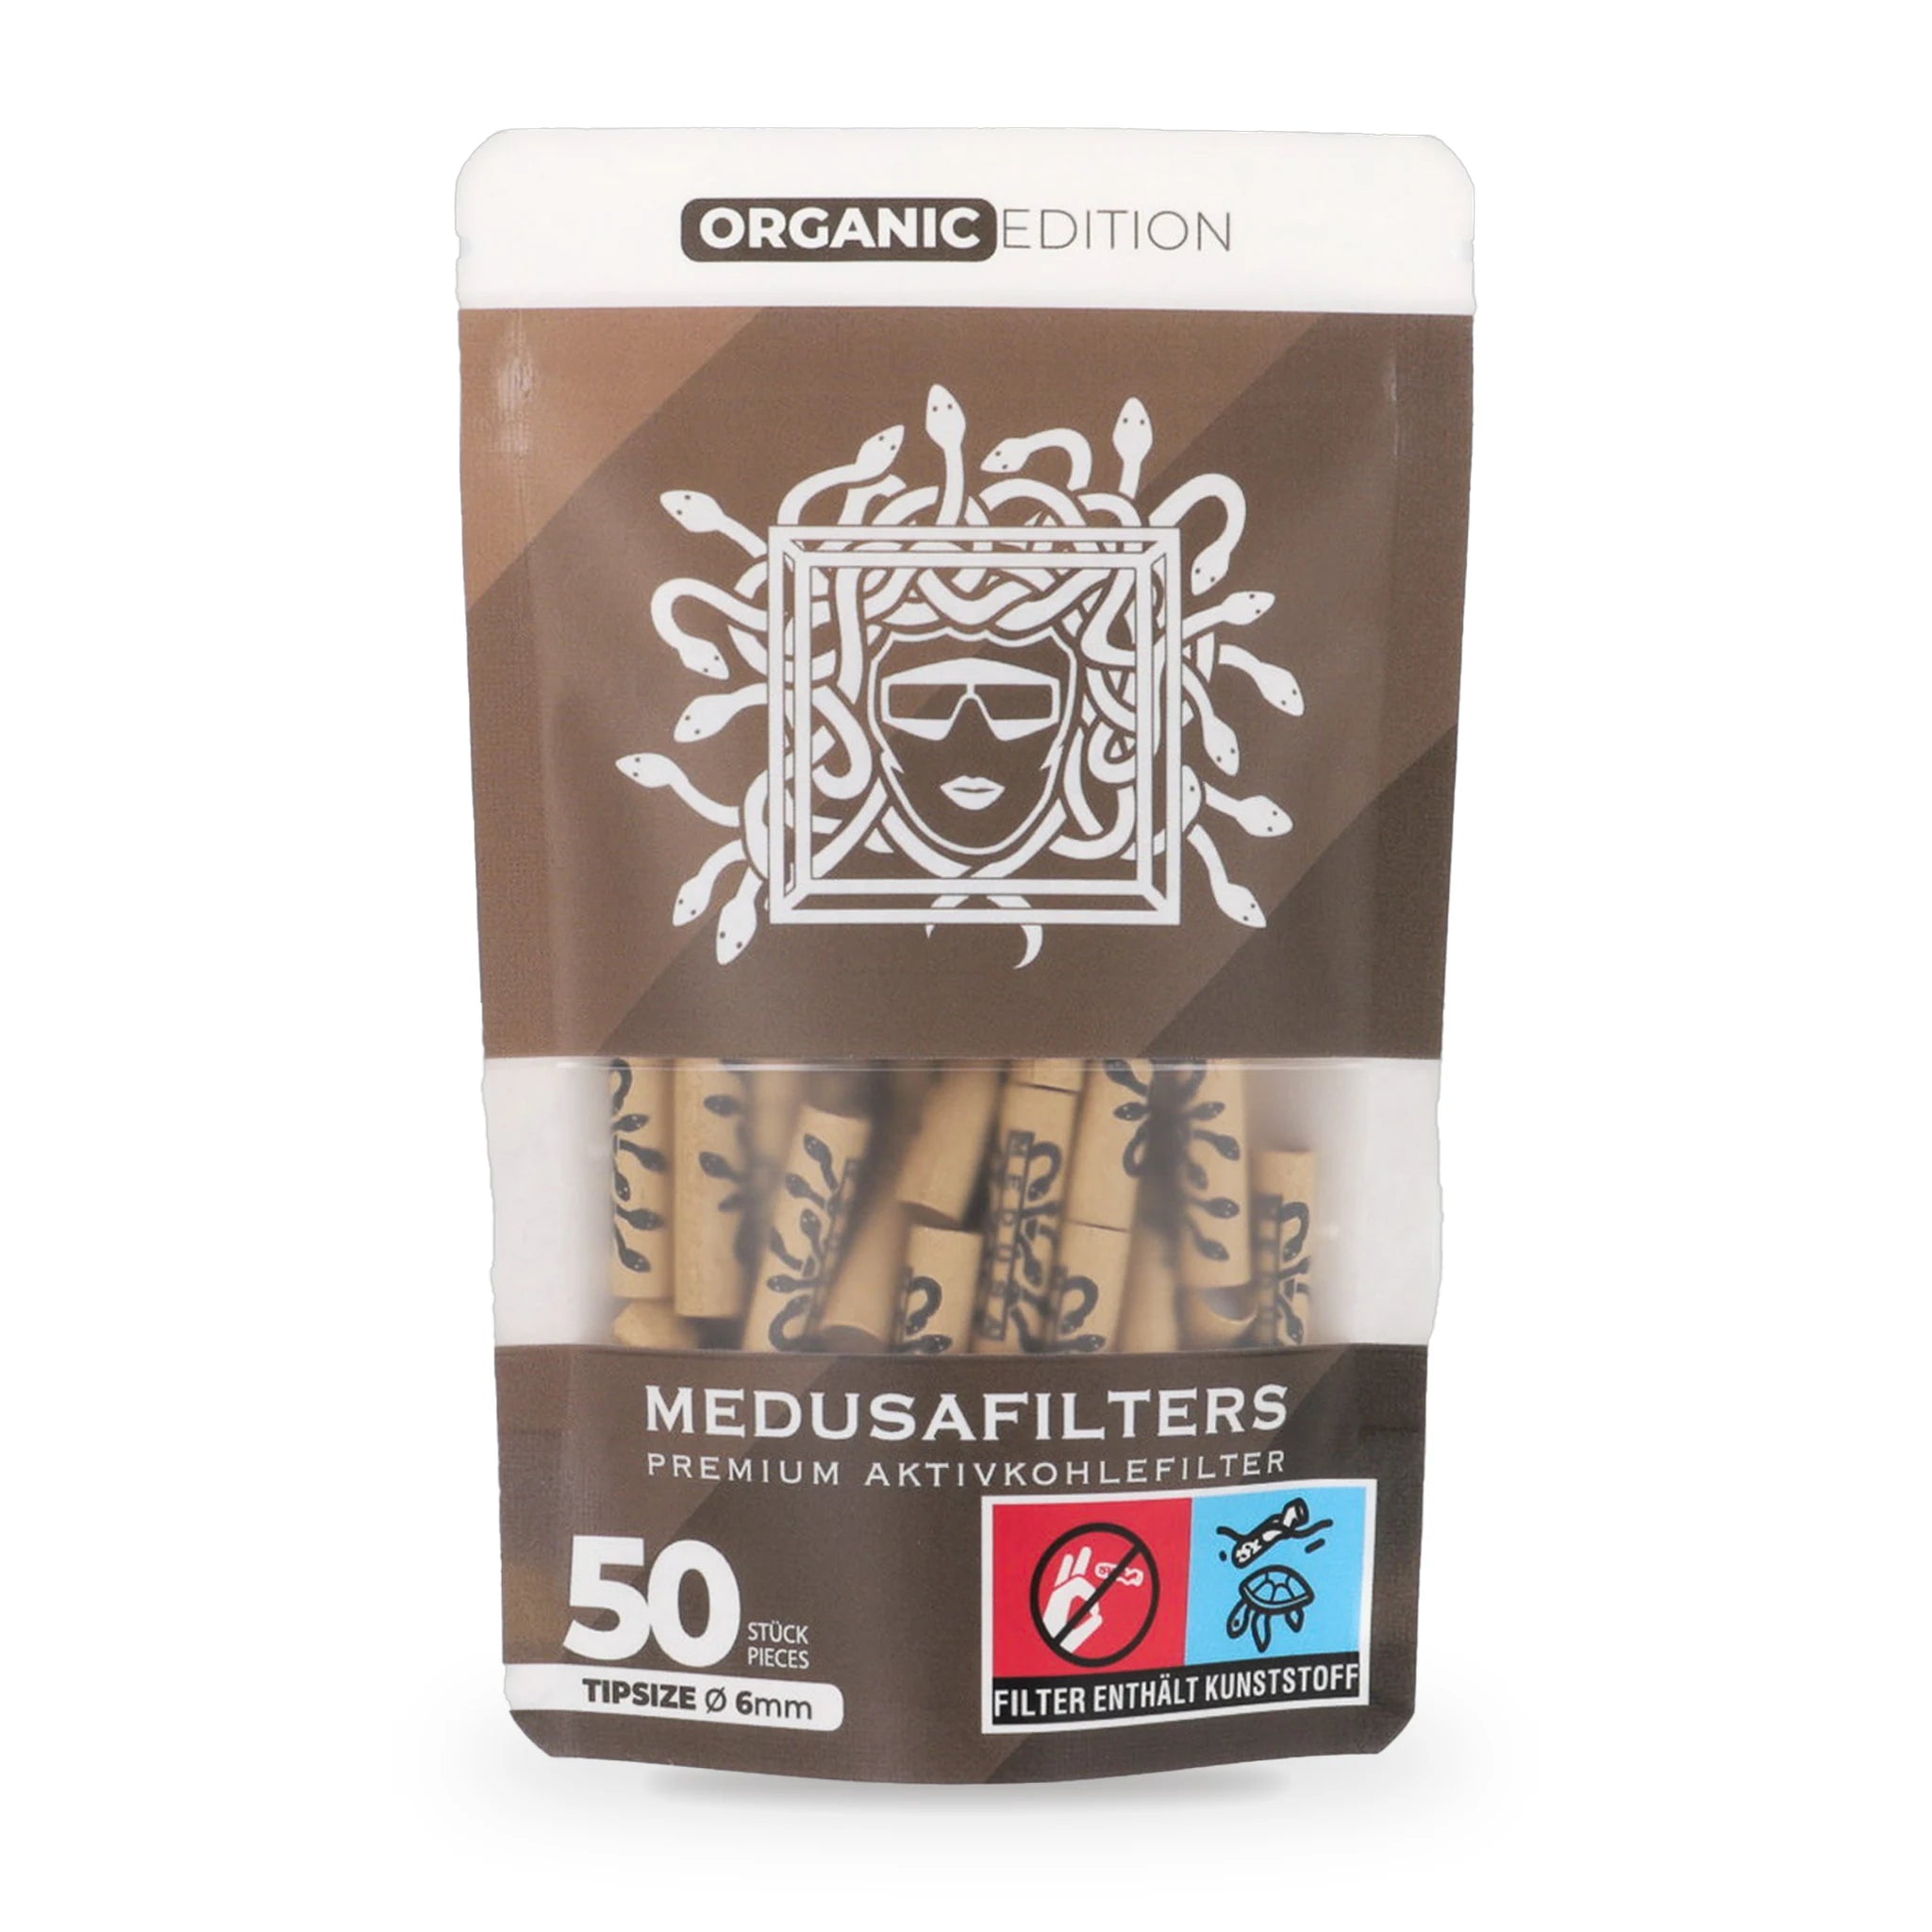
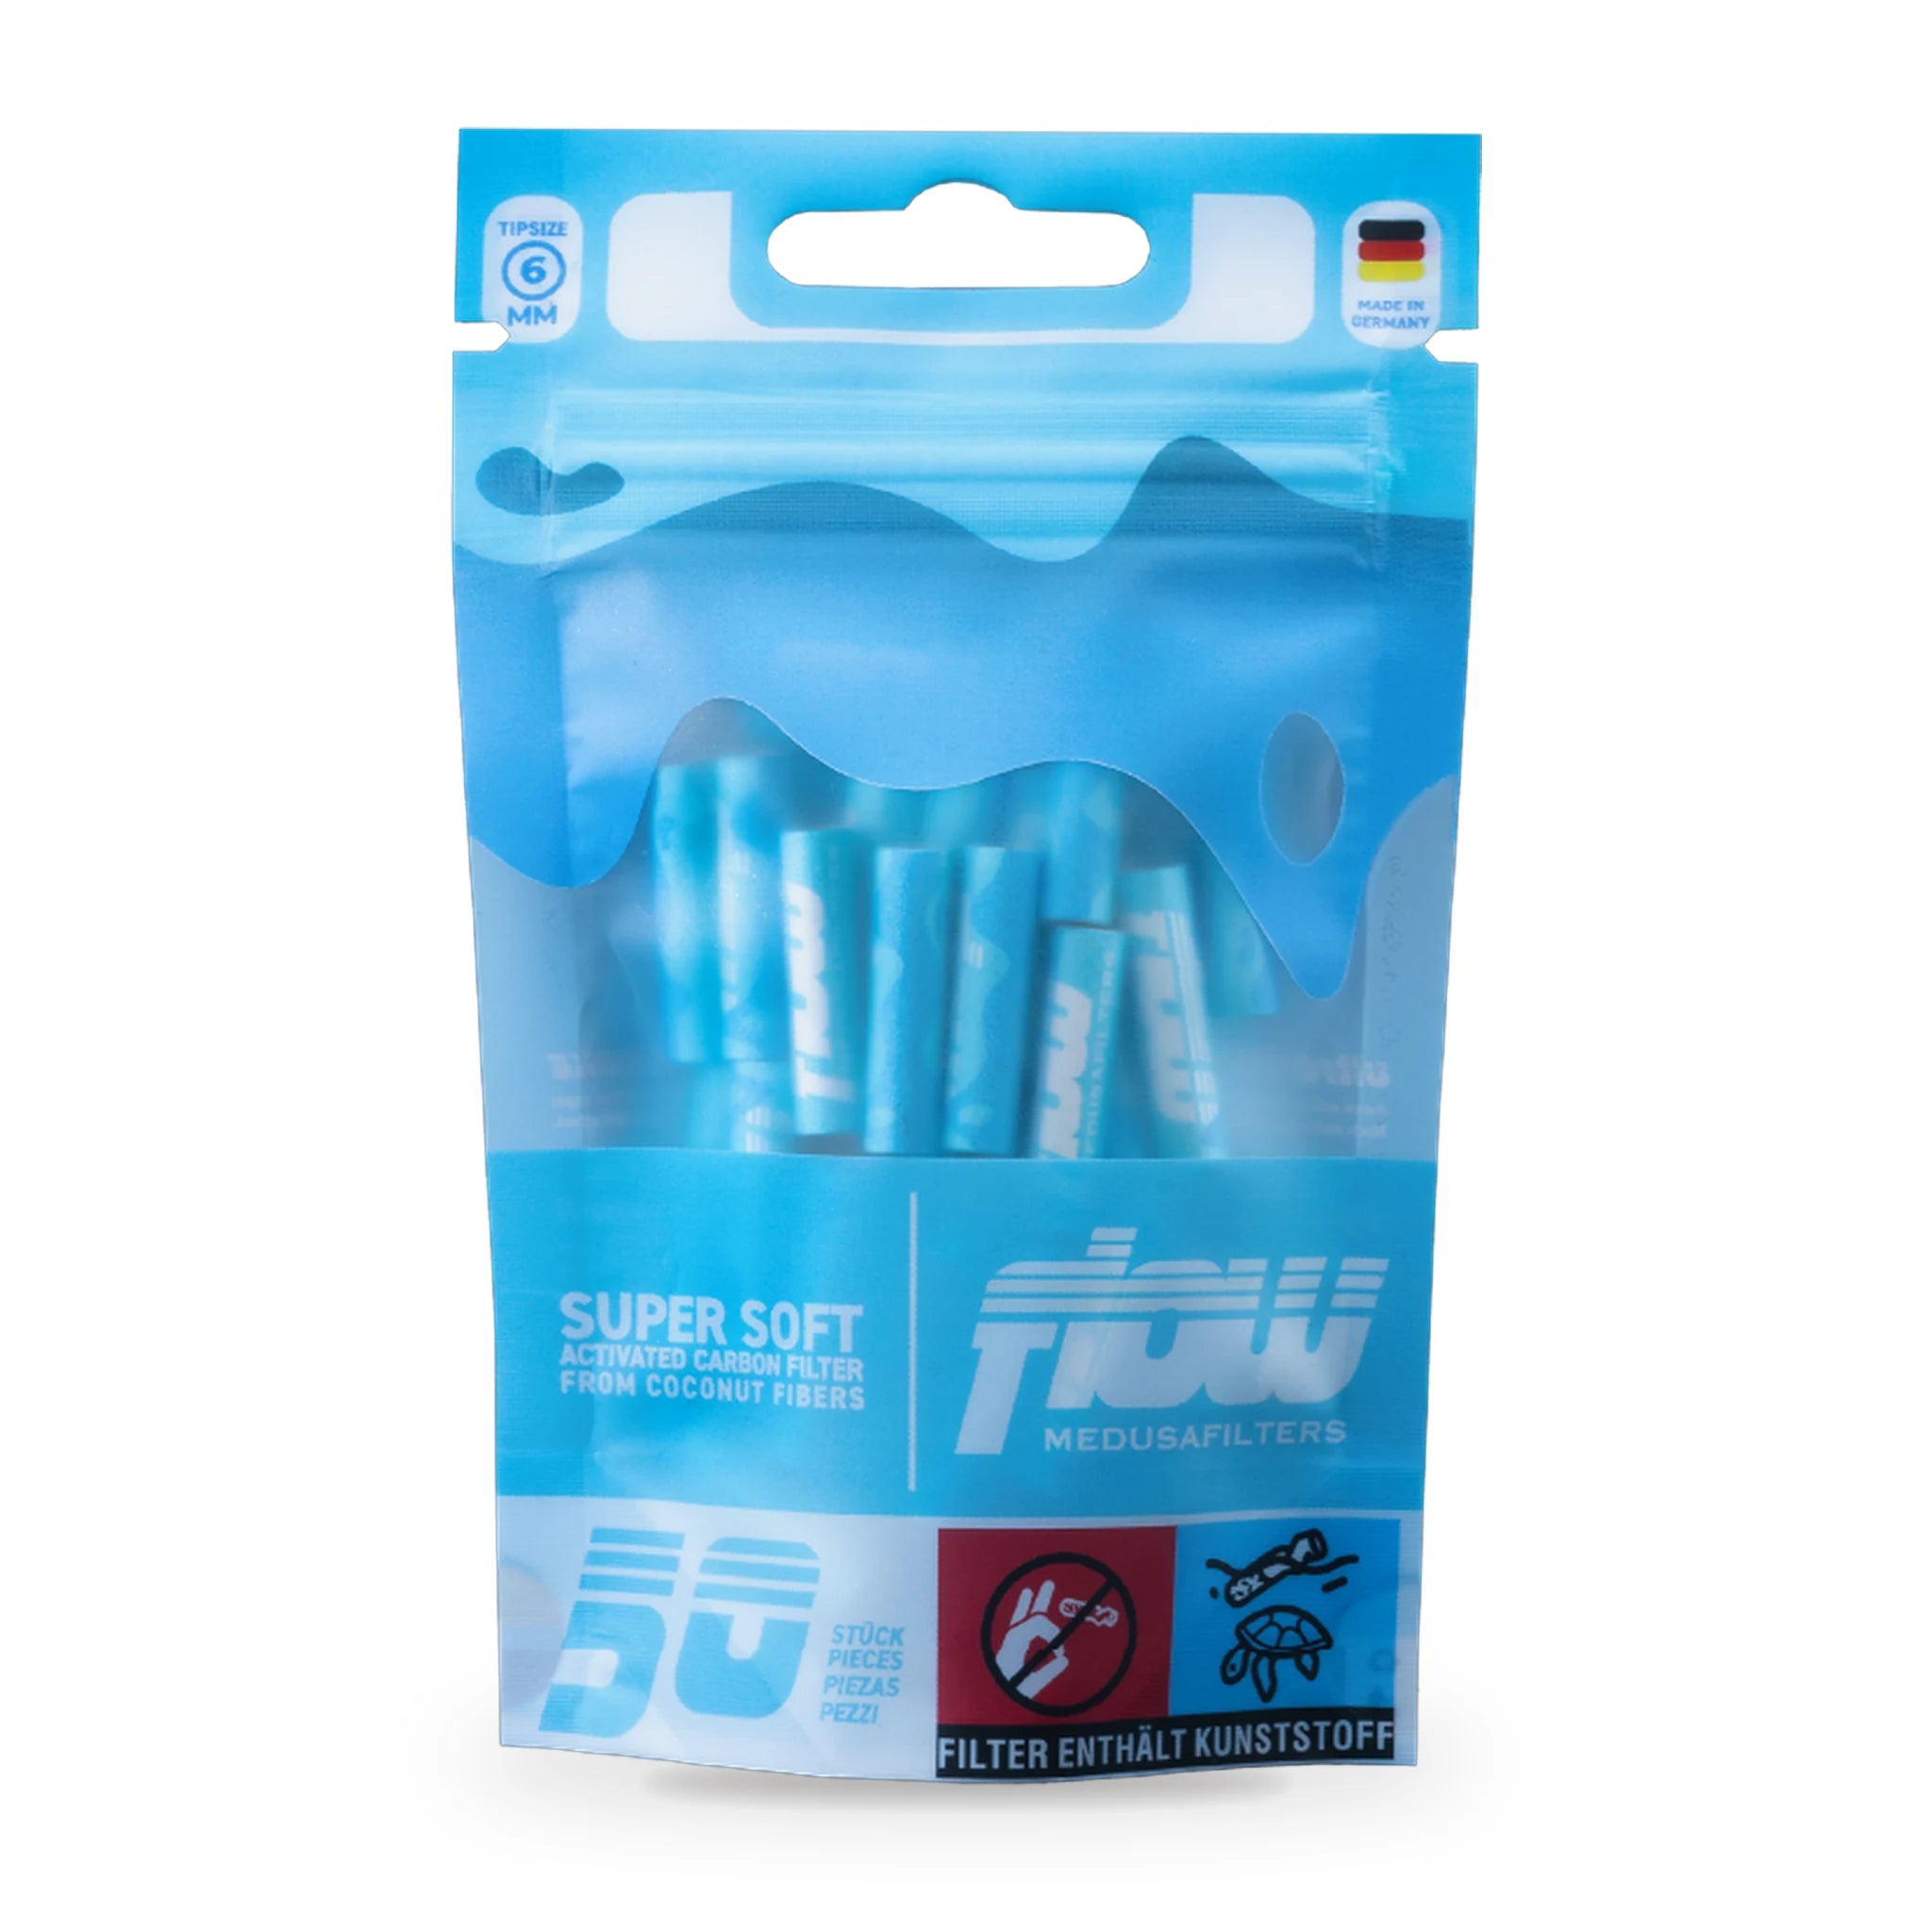
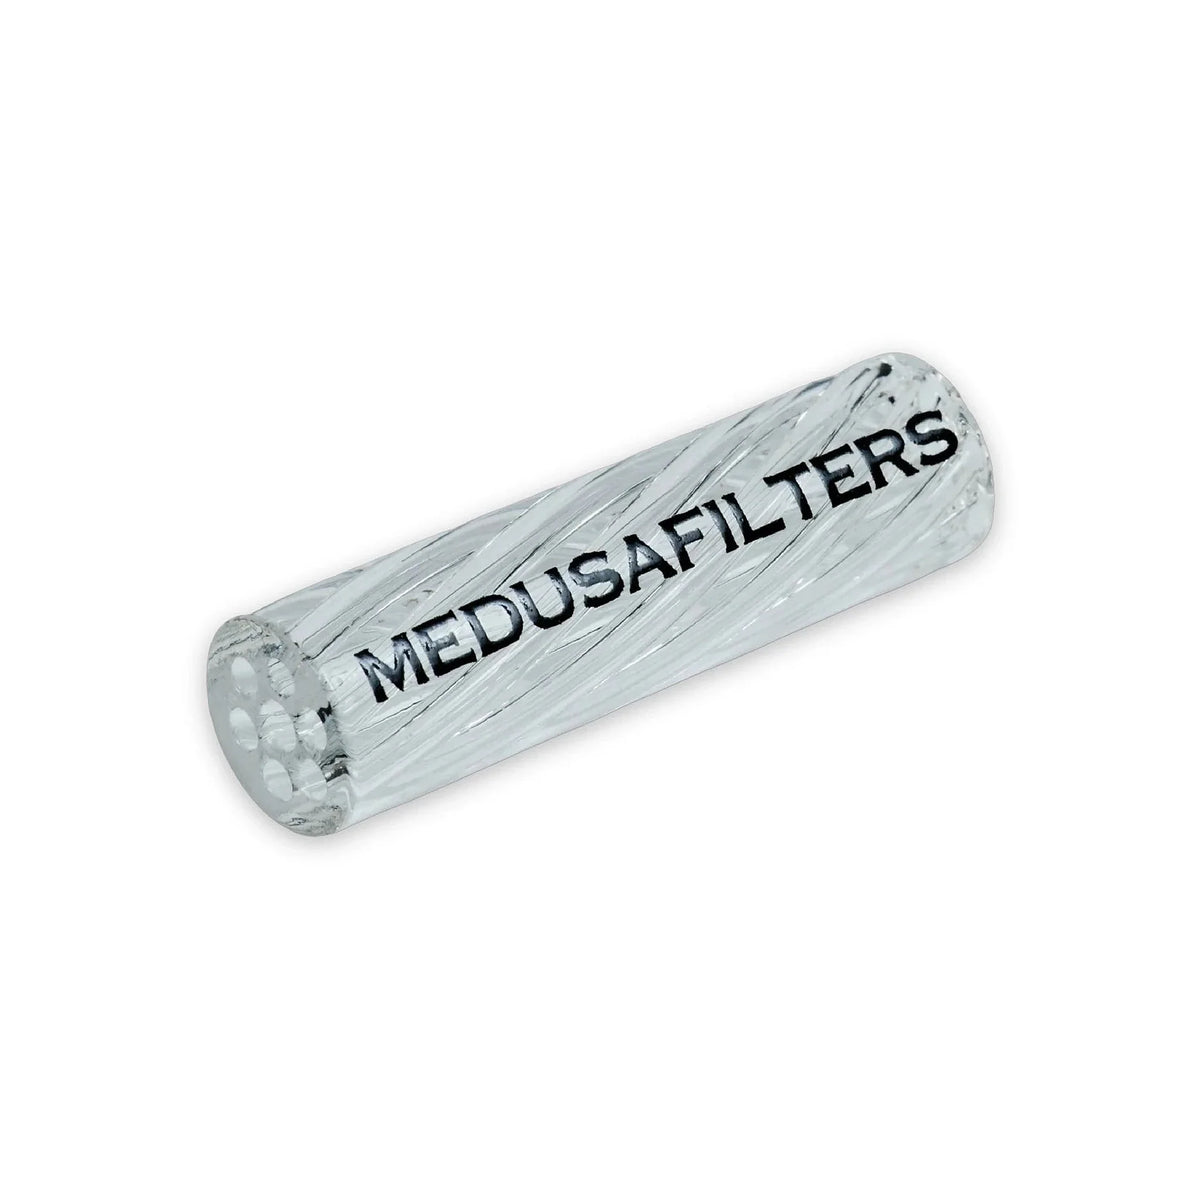
⇨ A long filter tip or an activated carbon filter
What is a tulip joint?
A tulip joint is an XXL variant of the classic joint, whose voluminous head resembles a still-closed tulip flower. Instead of a slim joint, a bulbous reservoir is created that holds considerably more.
The name comes from the shape: the filled, twisted end looks like a still-closed tulip, while the activated carbon filter forms the stem. In many countries – for example in Italy, where the tulip is known as „joint a tulipano“ – it’s regarded as a showpiece for experienced rollers. Because the head is so large, the tulip is suited above all to sociable get-togethers with several people, and less to a quick draw in between. It’s rolled from several long papers glued together so that there’s enough surface for the wide head. Important: a tulip joint is purely accessory and rolling know-how – consumption concerns adults exclusively, and cultivation is only permitted within the legally allowed framework. In this guide we show you step by step how to get the shape right cleanly.
Building a tulip: step by step
For a tulip, you glue three to four long papers into a large surface, form it into a wide joint, fill it loosely and connect it with a filter mouthpiece. With a little practice, the tulip is ready in just a few minutes.
You need several long papers, an activated carbon filter as a mouthpiece and your material. Work on a clean, dry surface:
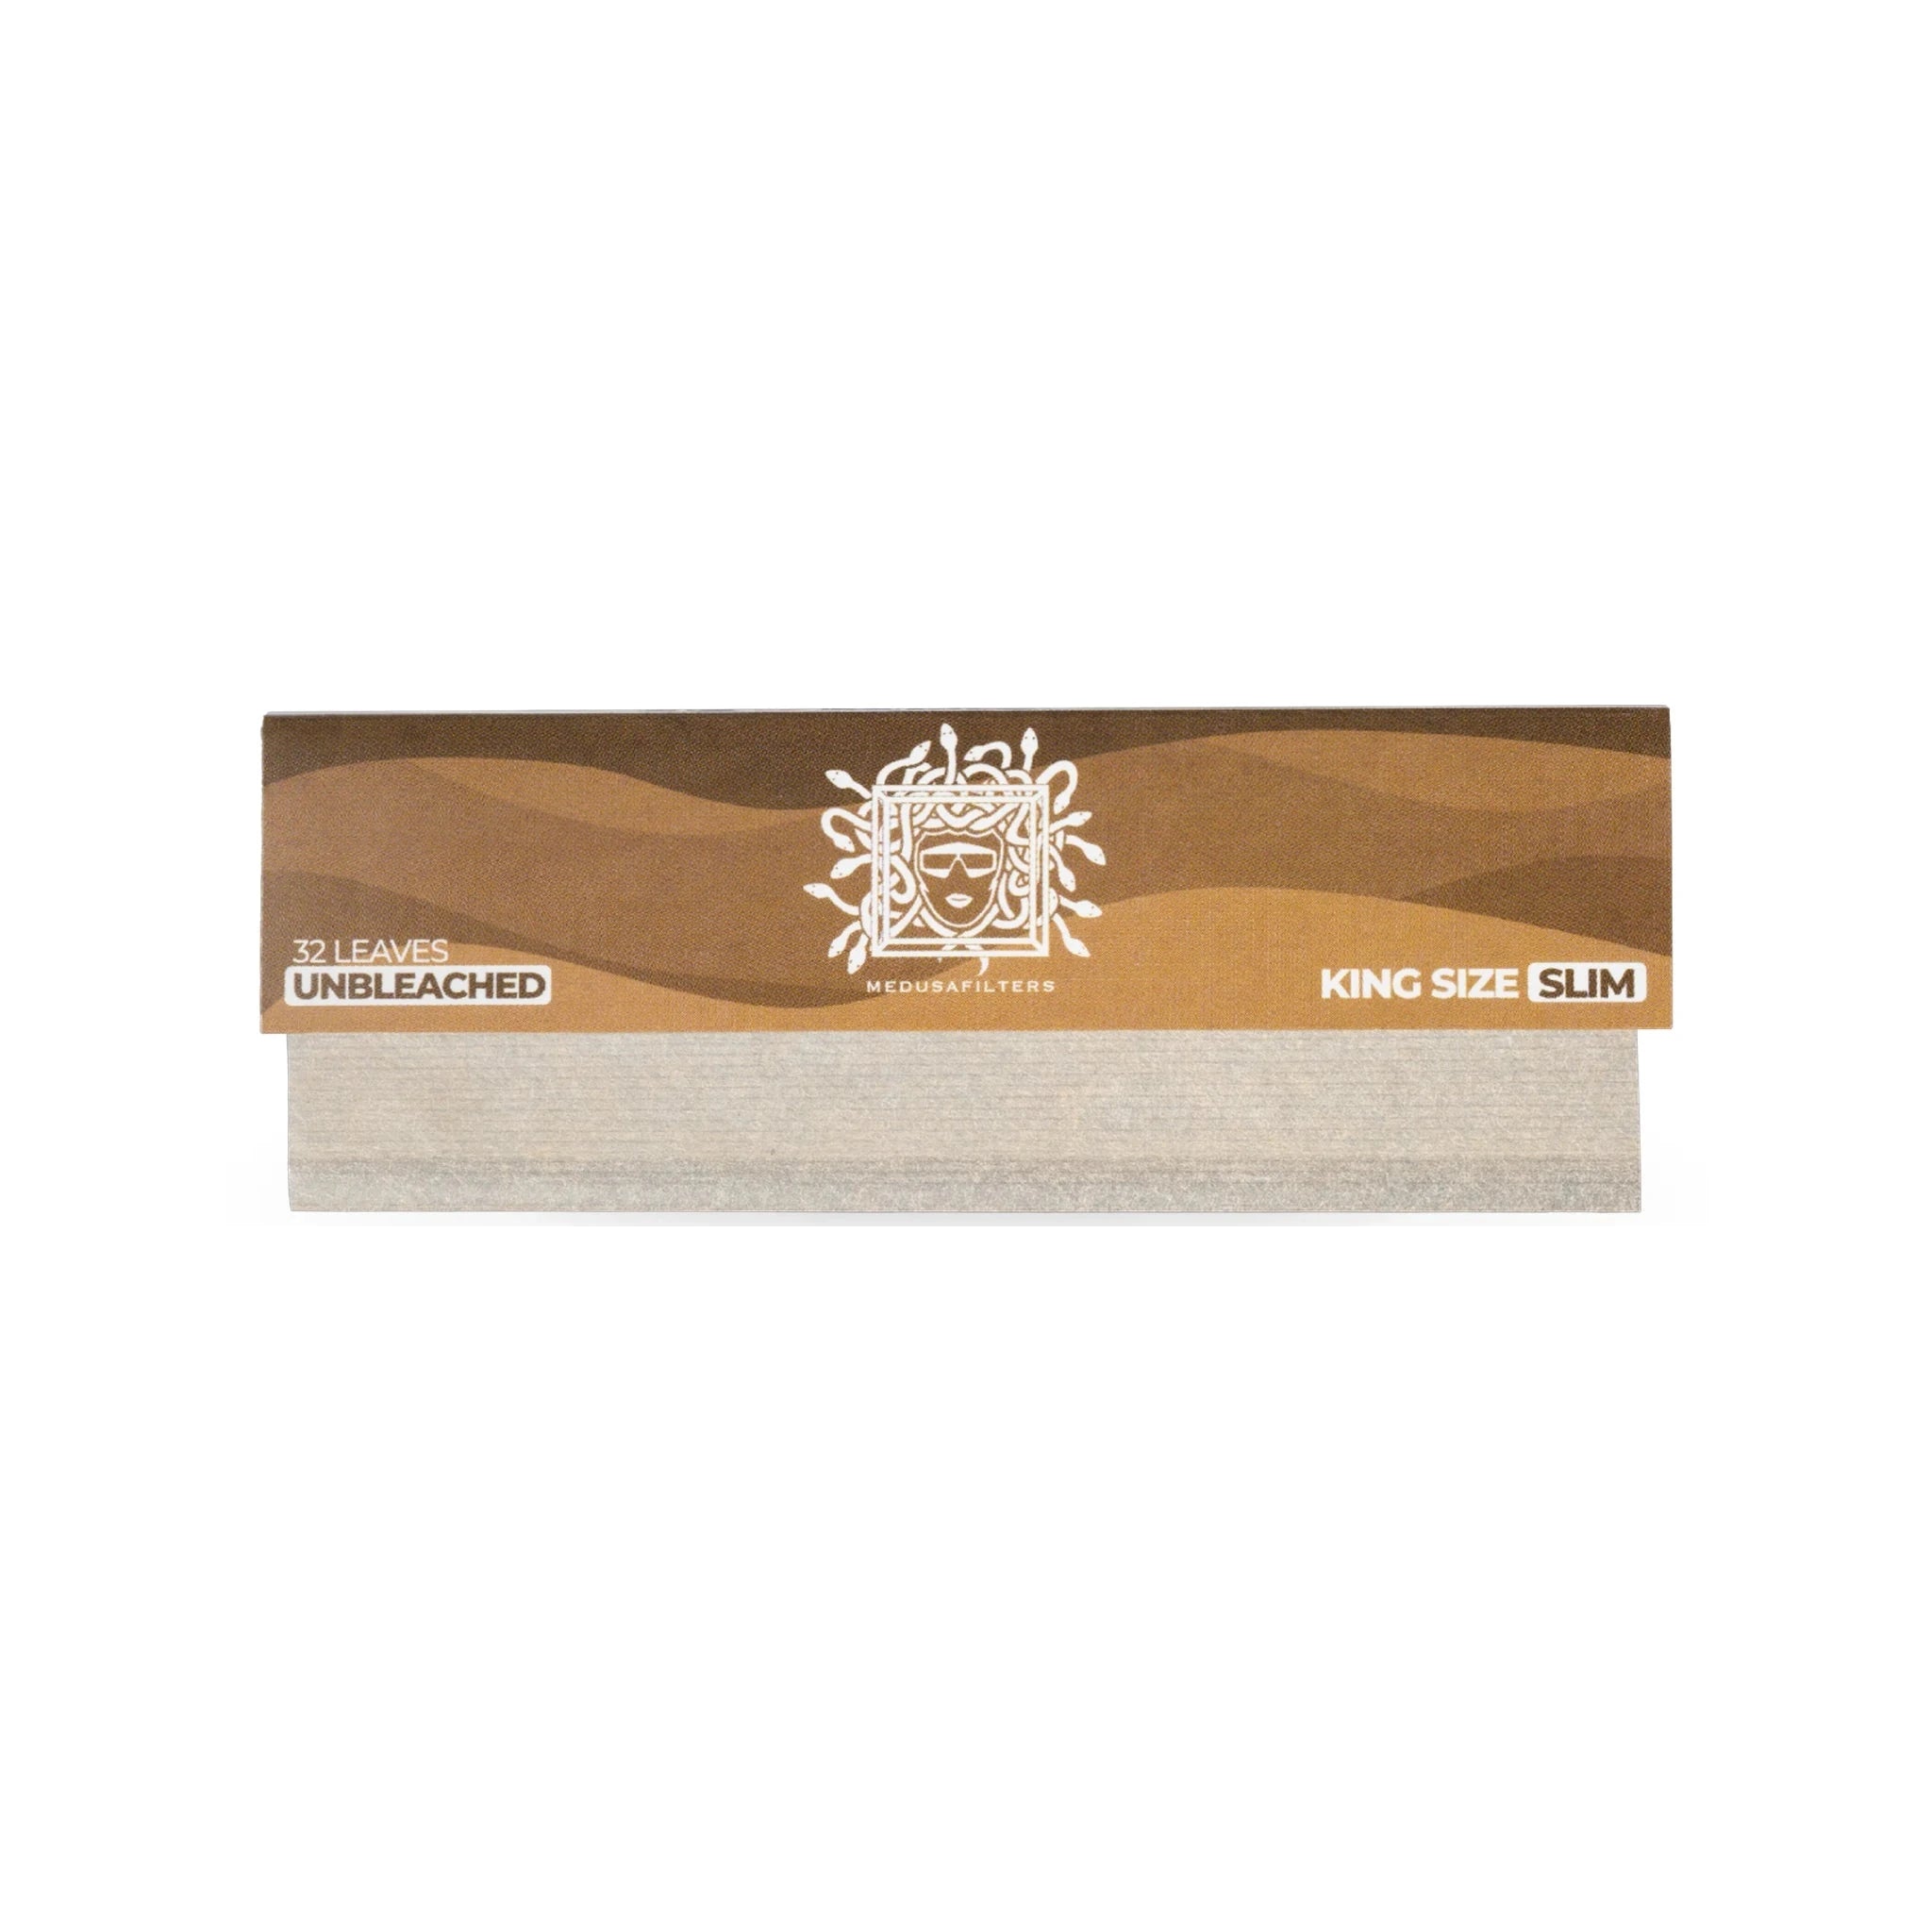
- Join the papers: Glue three to four king-size slim papers together at the gum edges into one large surface.
- Roll the base joint: Roll the surface into a wide-open, cone-shaped joint – narrow at the bottom, wide at the top.
- Insert the filter: Put the activated carbon filter or a rolled mouthpiece into the narrow tip.
- Fill it: Fill the wide head loosely and evenly, without packing it.
- Form the tulip: Carefully twist the open, wide end together until a closed flower shape forms.
- Secure it: If needed, wrap the transition with a narrow paper strip and let the tulip dry briefly.
How do you roll the tulip correctly?
When rolling the tulip, you shape the wide head by rolling out the open paper evenly and then twisting it all the way around into a tip. Even pressure is crucial here.
The trick with the tulip lies in twisting it evenly: hold the filled joint upright so nothing falls out, and slowly twist the top third together between your thumb and index finger. Work all the way around, not just at one spot, otherwise the flower turns out crooked. A lightly moistened gum edge helps the paper hold without soaking through. If you want to roll the tulip without it tearing, it’s better to fill the head a little more loosely and leave enough paper at the top for twisting. Some people support the shape with an additional paper strip laid like a ring around the neck of the tulip. Take your time: the first attempts often come out uneven, but after a few tulips you get a feel for the right pressure. Even pressure later ensures a calm, clean burn.
Which papers and filters do you need?
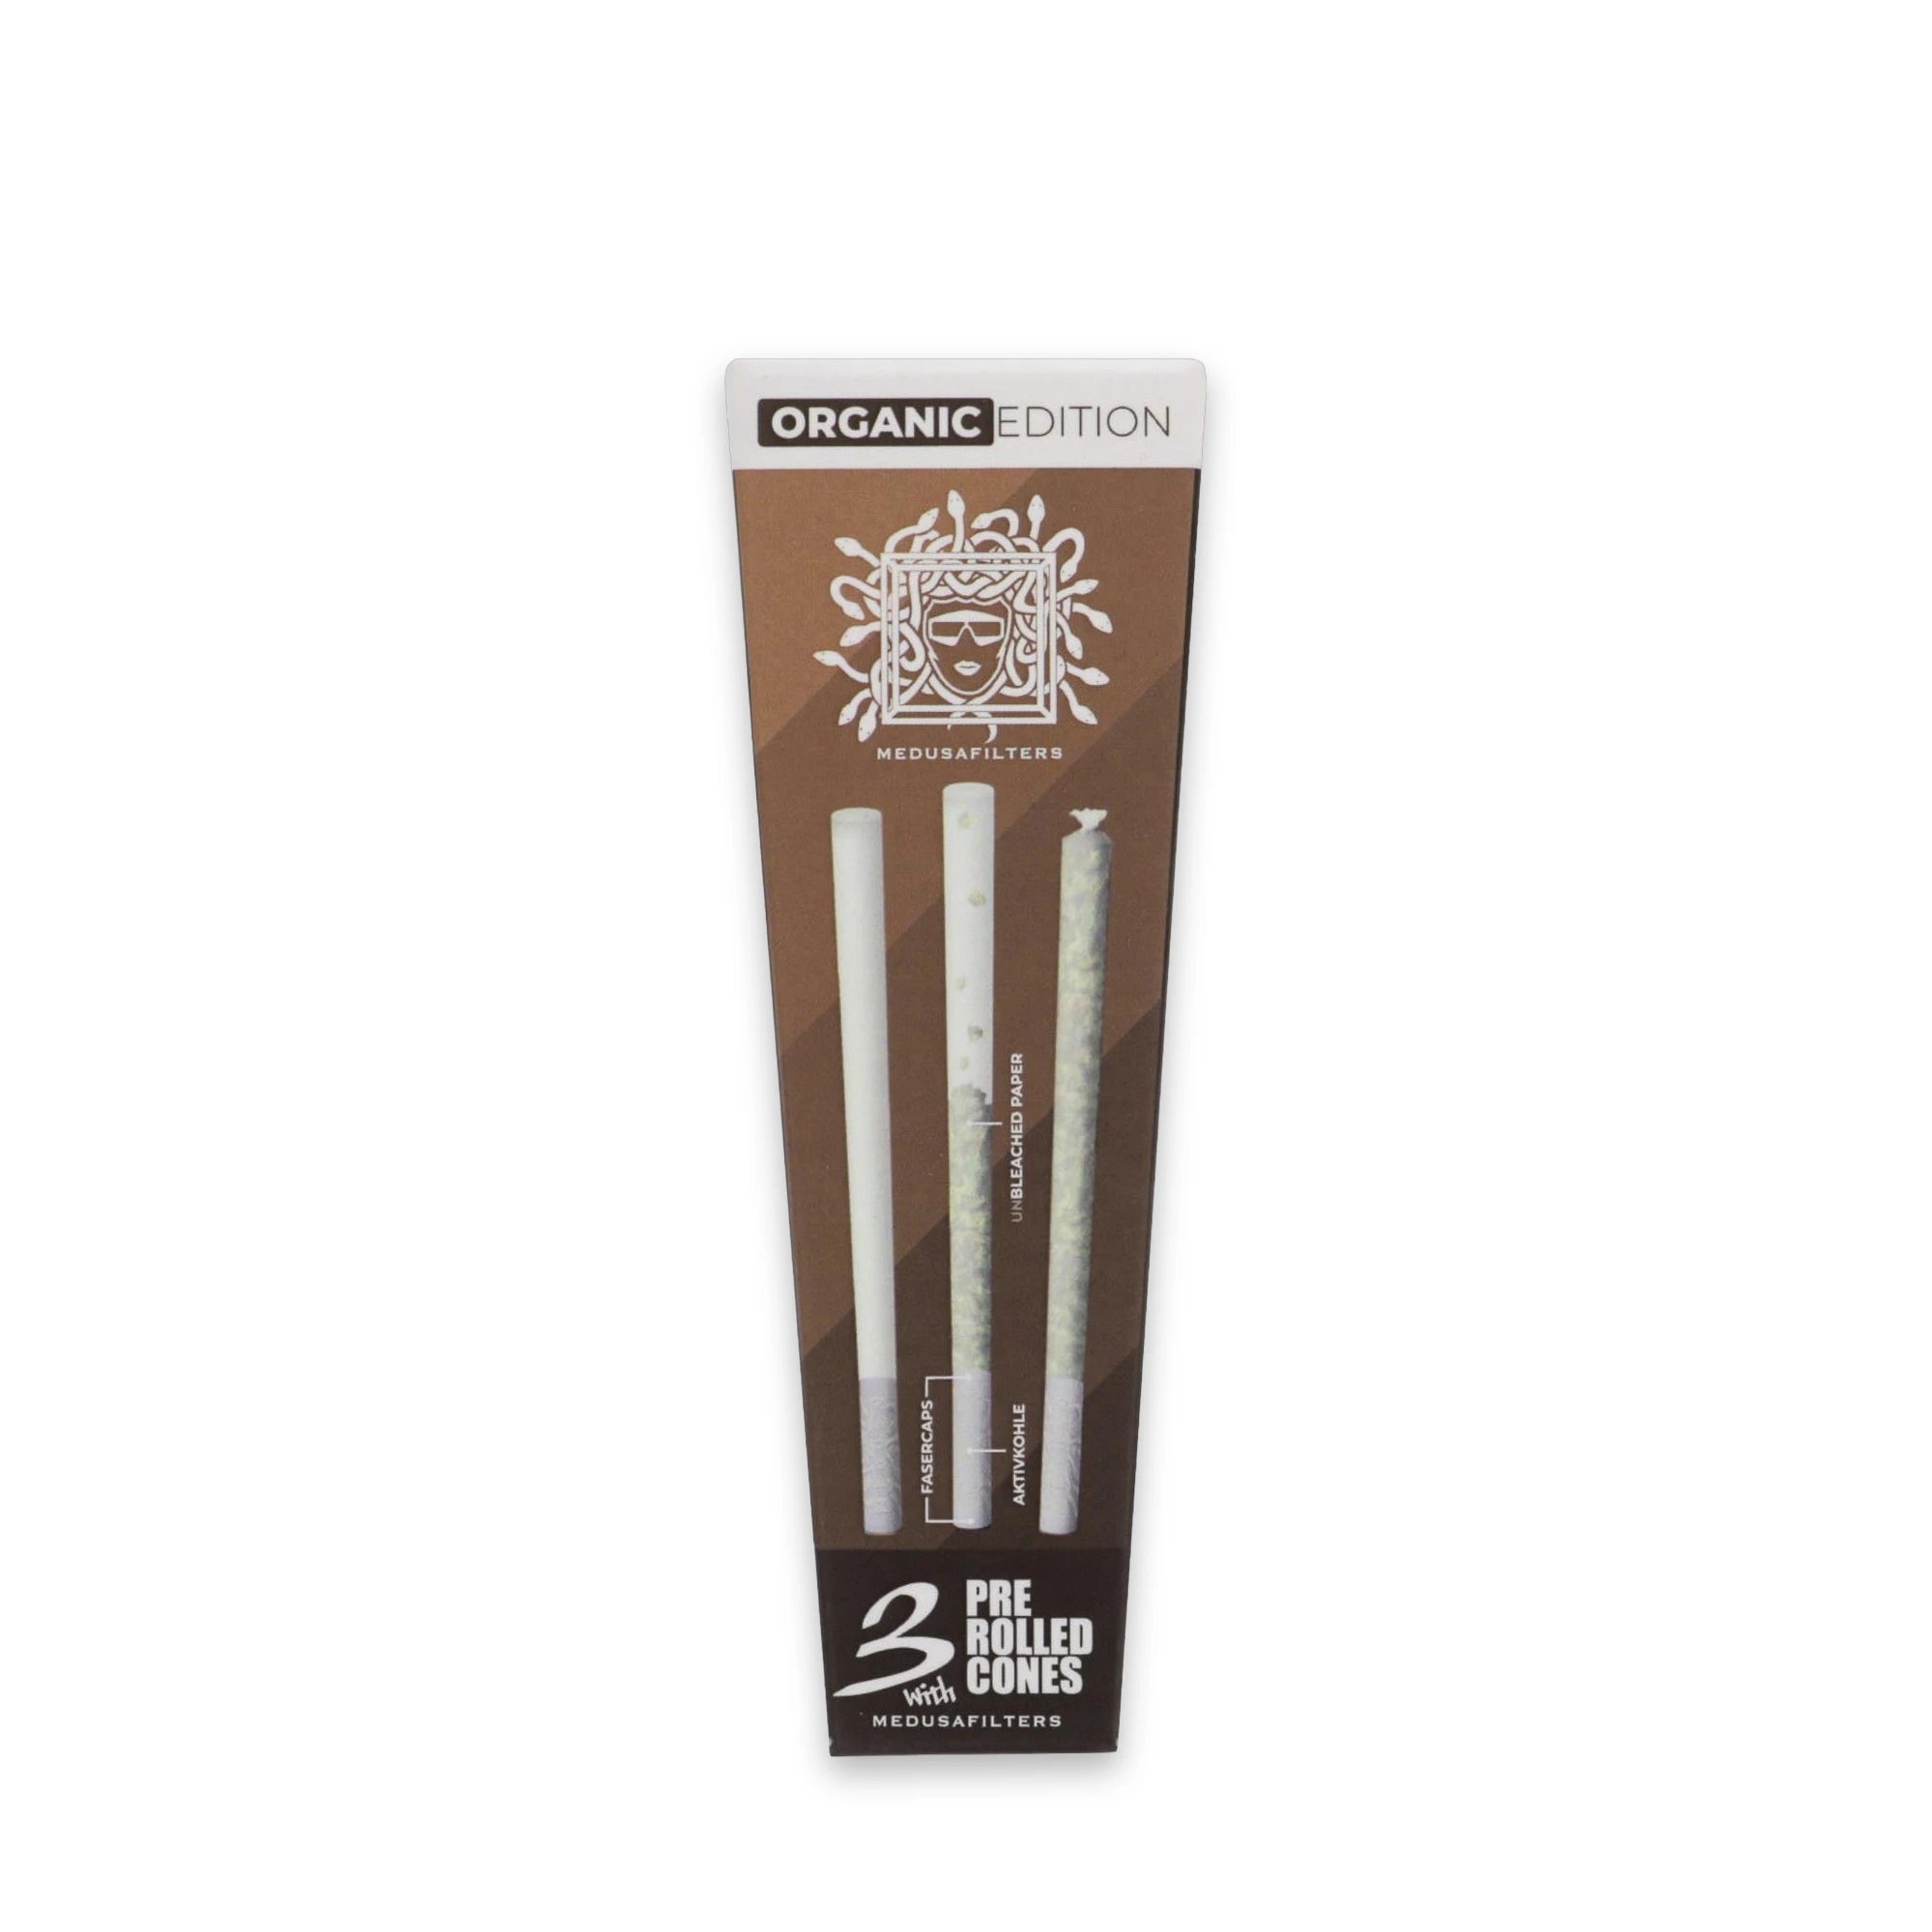
For a stable tulip, thin long papers in the king-size slim format and a firm activated carbon filter as a mouthpiece are ideal. Both largely determine how cleanly the tulip burns.
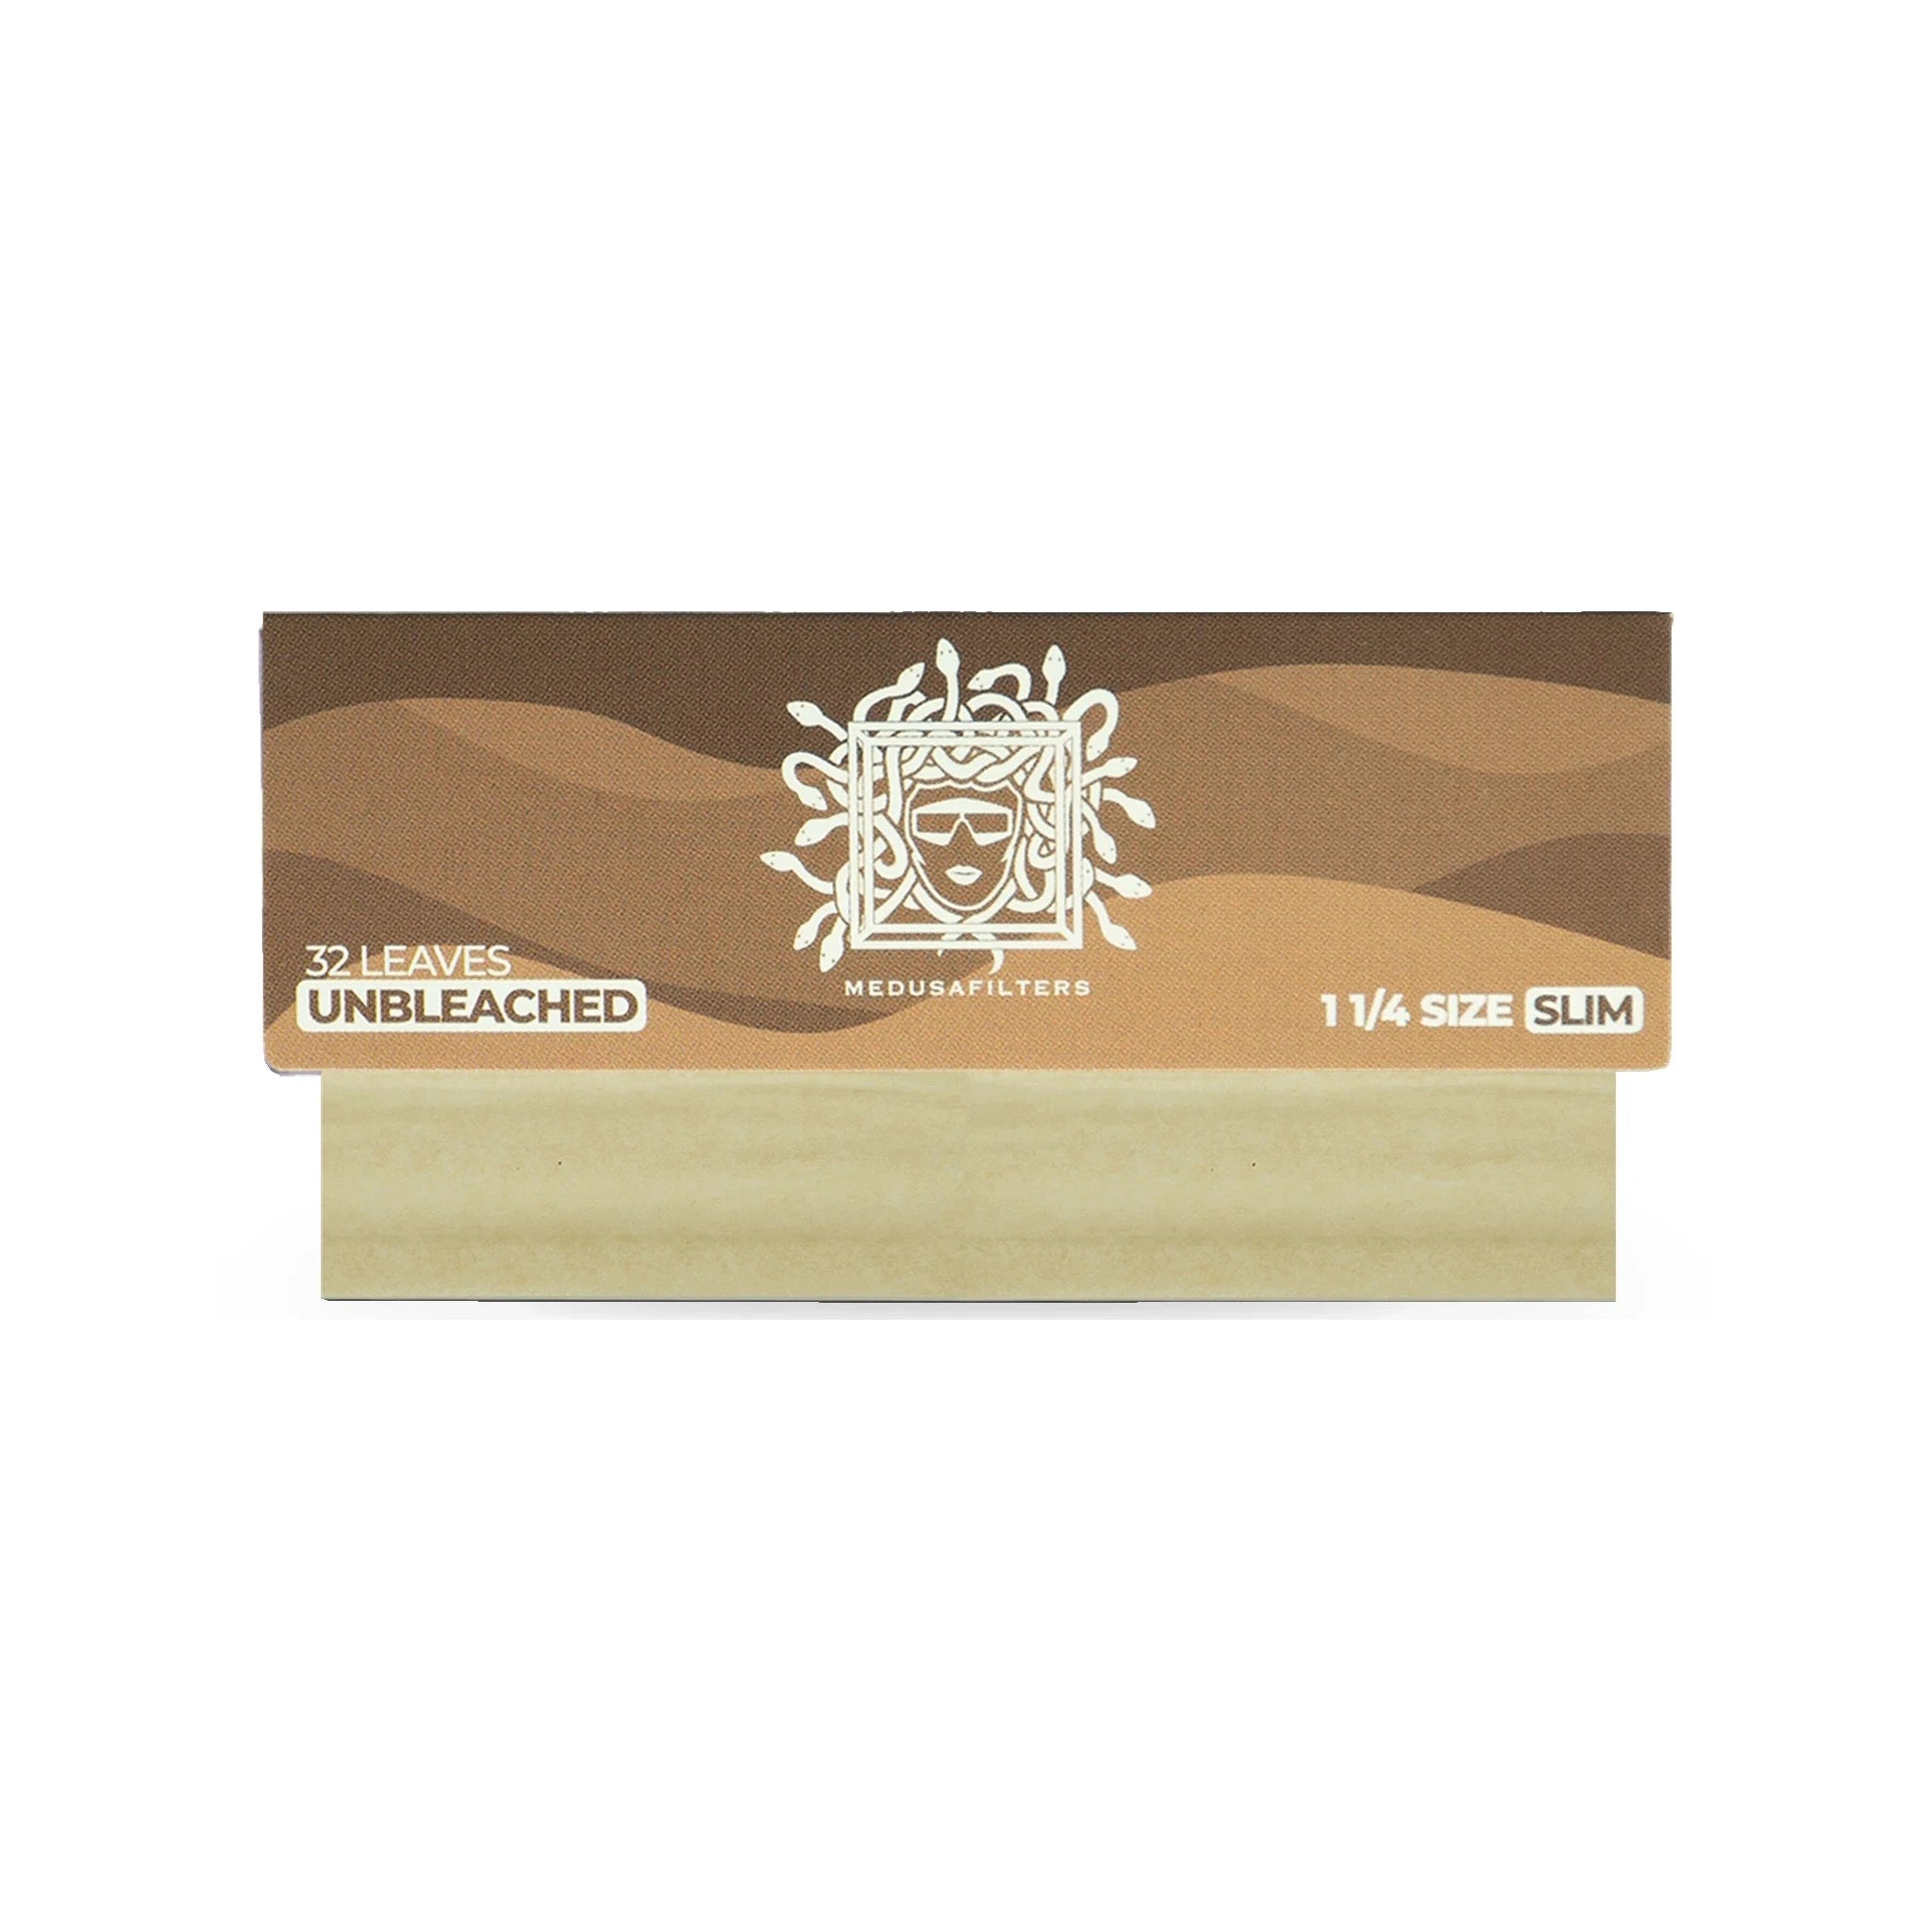
Because a tulip needs more surface than a normal joint, long, thin papers are the best choice. The King Size Slim long papers from Medusafilters glue together well and don’t tear so easily when twisting. For the mouthpiece, instead of a rolled piece of cardboard, real activated carbon filters with a 6 mm diameter are recommended: they support the narrow tip, keep crumbs back and, in our experience, ensure a cooler, filtered draw. The 6 mm standard fits into almost any hand-rolled tulip. Make sure the papers are stored dry – damp paper glues badly and tears. With thin paper, a suitable filter and a little patience, the shape succeeds far more reliably than with thick standard paper. If you roll regularly, it’s best to keep a small stock of both accessories.
Avoiding common mistakes with the tulip joint
The most common mistakes are a head packed too tightly, too few papers glued together and uneven twisting. All three lead to a poor draw or an uneven burn.
An overfilled head is the classic one: if you pack too much and too tightly, the tulip barely draws anymore and burns unevenly. So fill it loosely and leave air in the head. The second mistake is too few papers – if you use only two, the surface often tears when forming the flower. It’s better to plan for one paper more. The mouthpiece also tends to be forgotten: without a supporting filter, the narrow tip collapses or crumbs get into your mouth. Another point is moisture – if you lick the gum edge too much, you soak the paper through and the tulip won’t hold. Finally, hasty, one-sided twisting produces a crooked shape. Twist slowly and all the way around, then the flower sits symmetrically and the burn stays calm.
Tulip joint or normal joint?
A tulip joint holds more and is suited to group settings, while a normal joint is rolled faster and is more practical on the go.
The tulip is above all a question of occasion and practice. Its large head makes it an eye-catcher and the sociable variant when several adults sit together – which is why it often shows up on special occasions. In return, it needs more material, more time and a steadier hand than a slim joint. A normal joint with one or two papers is ready in a few minutes, is easier to transport and forgives beginner’s mistakes better. If you’re just starting out with rolling, it makes sense to practise the classic shape first and then venture on to the tulip. Technically, the tulip is basically an inflated joint: the same building blocks – papers and filter – just bigger and with a twisted head. Which variant suits you better depends solely on your situation and your skill.
How do you build a tulip joint?
A tulip joint is a joint with a thick, tulip-shaped head that you roll yourself. You glue several long papers together into a large joint, fill it, twist the open end into a flower and insert an activated carbon filter as a mouthpiece. This way the tulip burns down slowly and evenly.




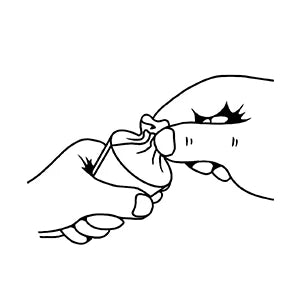
Step 1: Build the funnel for your tulip
Let’s start with the bud of the tulip. Just grab two king-size papers and make one big paper out of them by using one glue strip to stick them together. If you want, you can make the head even bigger by gluing four or more papers together in the middle. The bigger the bud, the more impressive the tulip! Just make sure you form a neat square.
Then fold one side of your square over to the opposite side, which should create a triangle. Leave the top glue strip free while doing so. Now moisten the strip you left open and fold it over gently, this seals your funnel. Now you can open the still-closed triangle and you have your funnel shape. When filling it with your favourite weed strain, please make sure to leave enough room at the top so you can close it up nicely later.
Tip: Pack the funnel as tightly as possible so that it later burns down as evenly as possible.
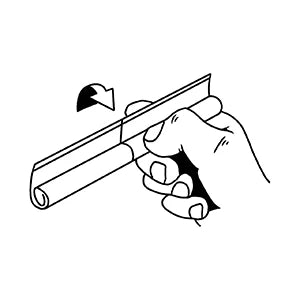
Step 2: Build the (best) stem for your tulip
There are various methods for building the stem of the tulip. Often you just attach a long filter to the funnel. Then only the head gets smoked. In our example we don’t use a cardboard tube but a joint. This has the advantage that not only the "head" but also the "body" can be smoked. This way even the most hardcore smoker definitely gets their money’s worth. So build a standard joint that’s a little longer than usual. When you’re done, pack it firmly and snip off the part of the paper at the top that you don’t need. Leave it open!
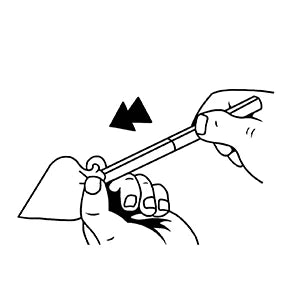
Step 3: The marriage of funnel and stem
Together simply unbeatable!
So insert the joint into your funnel with the opening first and wrap the rest of the funnel paper around it. Using the remaining glue strips, stick the joint firmly to the bud. Be very gentle here and make sure no gaps or larger creases are left behind. Next, grab glue strips from a few other papers, moisten them and fasten them by pressing them firmly together at the spot where the funnel and joint meet. Alternatively, you can also tie a knot. This provides extra security so that your tulip head really stays completely sealed and nothing can fall out later. Then cut away the funnel paper that sticks out and looks like a skirt. Now you can light the flower and take a draw, just like with a normal joint. enjoy
Shall we welcome you into the premier league? Why yeees
The right accessories from Medusafilters


Frequently asked questions about the tulip joint
A tulip joint is a hand-rolled joint with a large, twisted head that resembles a closed tulip flower. It’s built from several long papers glued together and holds considerably more than a normal joint. The activated carbon filter forms the stem. The tulip is regarded as a showpiece form for experienced rollers and is more something for sociable get-togethers.
First glue three to four long papers together into a large surface and roll it into a wide, cone-shaped joint. Insert a filter into the narrow tip, fill the head loosely and twist the open end evenly into a flower. If needed, secure the neck with a paper strip and let the tulip dry briefly before you use it.
For a stable tulip you usually need three to four long papers in the king-size slim format. Fewer papers tear quickly when shaping the flower, more make the head unnecessarily thick. The exact number depends on the size you want and your rolling technique. For your first attempts you’re safest with four papers, because you have more leeway for twisting.
Fill the head loosely rather than tightly and leave enough paper at the top for twisting. Twist the open end slowly and all the way around, not just at one spot, so the flower stays symmetrical. A gum edge that’s only lightly moistened holds better without soaking through the paper. With thin, dry paper and a little patience, the tulip tears far less often.
A firm activated carbon filter with a 6 mm diameter fits best: it supports the narrow tip, keeps crumbs back and, in our experience, ensures a cooler, filtered draw. Together with the King Size Slim long papers from Medusafilters, this gives you the right basis for a clean tulip. The 6 mm standard fits into almost any hand-rolled flower shape.
Yes, the tulip is a bit more demanding. You have to join several papers neatly and twist the wide end evenly into a flower, which takes some practice. A normal joint made from one or two papers comes together faster and forgives mistakes more easily. If you’re new to rolling, it’s best to practise the classic shape first and then venture on to the tulip.