


How do you roll a windmill joint?

Welcome to the supreme discipline of joint building. Even though the windmill joint can hardly be counted as a classic joint anymore, we still wanted to include it, because there is practically nothing to know or find about it. Who is this great unknown? At the very least, it's strictly a matter for the boss! With 4 joints burning at the same time, it's definitely nothing for beginners.
Today we'll try to build a monument to this legendary joint and let you share in its art. Unfortunately, we also have to cut the word "simple" from this blog post. It will be challenging and rewarding, once it's finally done.
What we need:
⇨ cardboard paper
⇨ scissors or a pointed object
⇨ the most neutral glue possible (heat-resistant)
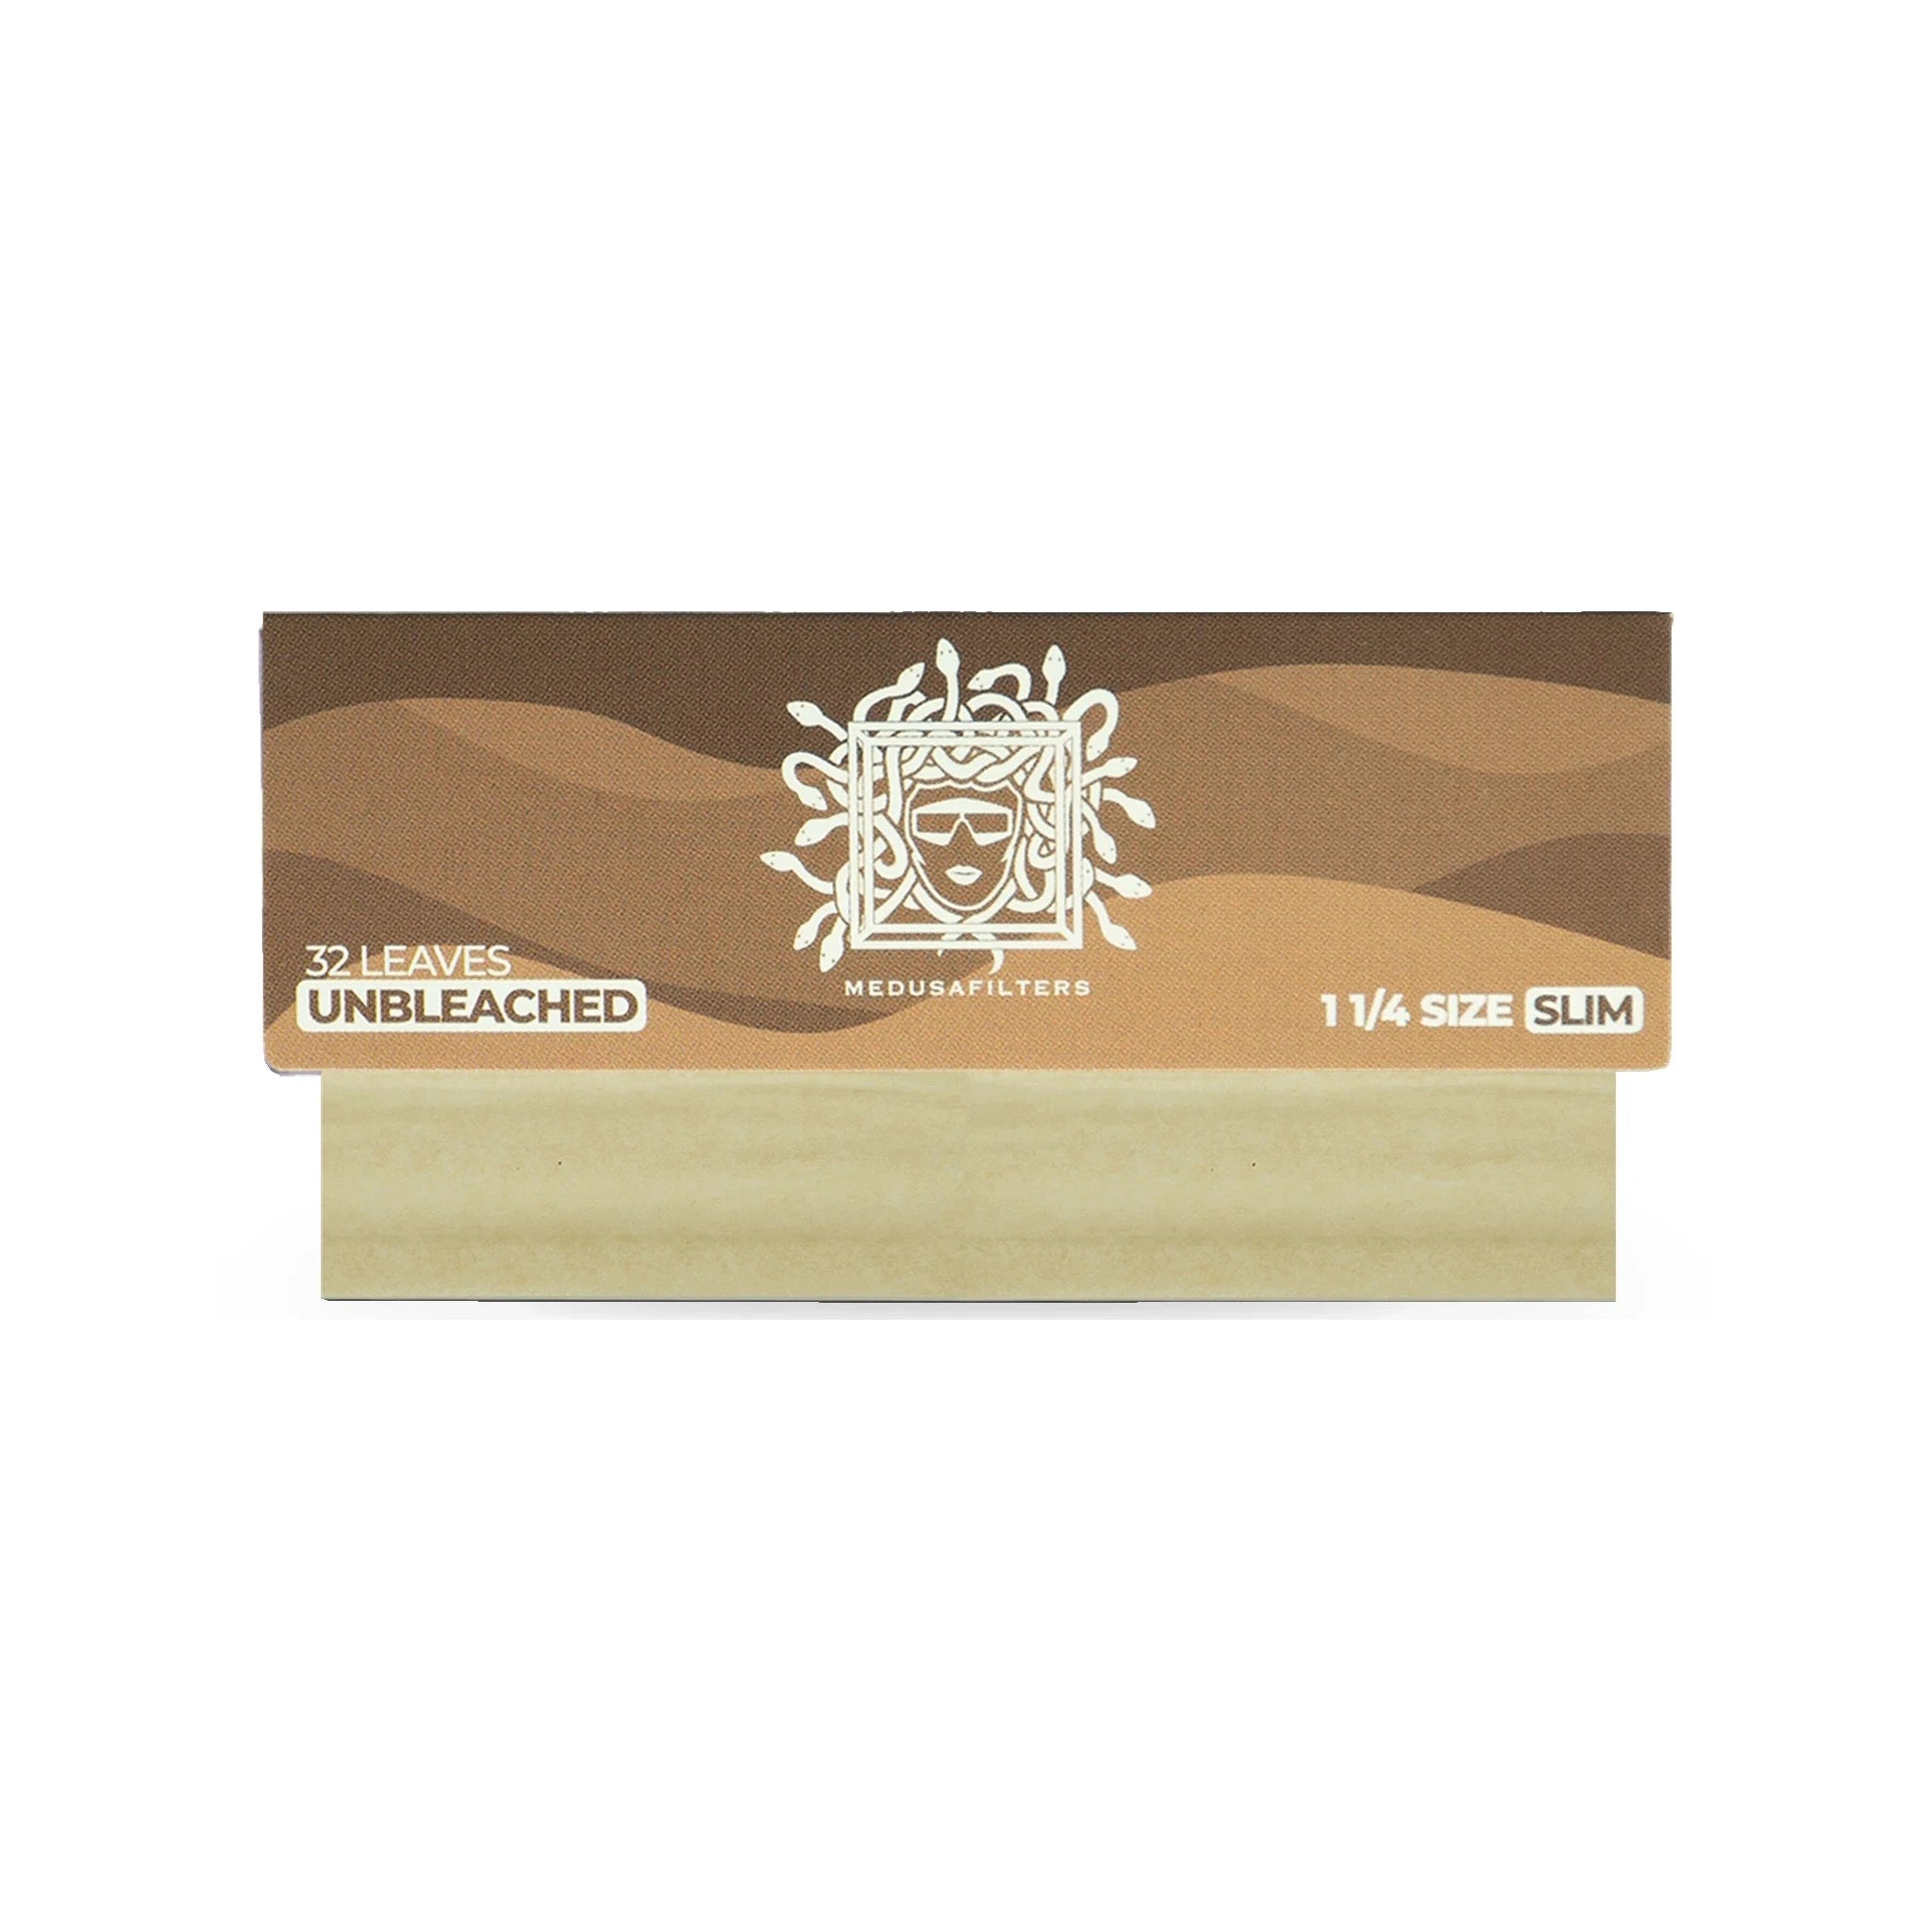
⇨ endless papers
⇨ 4 thin, pre-rolled joints without a tip or filter, but with cannabis
⇨ thin string
Let's get started! On your marks, get set, go!
What is a windmill joint?
Direct answer
A windmill joint is a decorative folding technique in which several narrow paper arms grow out of a central mouthpiece in a star shape – the finished shape resembles a pinwheel or a windmill with rotating blades. Unlike the classic joint, this is less about efficiency and more about looks and craftsmanship. You glue several longpapers together into one large surface, divide it into segments and roll each arm individually until a closed, wheel-shaped structure is created. The windmill is one of the more demanding folding techniques and is more of a showpiece for special occasions than something for everyday use. Anyone who wants to work cleanly uses tear-resistant King Size Slim longpapers, a central mouthpiece and a lot of patience. With a little practice the basic shape sits right after a few attempts, and you can vary the number of blades to taste.
Building a windmill joint: step-by-step instructions
Direct answer
"Windmill joint" is simply the English name for the same technique – a joint in the shape of a pinwheel. You build it by gluing several longpapers together into one large rectangle, placing a central mouthpiece and forming even blades out of the paper, which you roll up individually. What matters is clean gluing at the gummed edges and equally sized segments, so that the windmill looks symmetrical in the end. Plan enough time and work on a smooth surface. A windmill joint needs considerably more paper, more time and more patience than a normal joint, but rewards you with a real eye-catcher for special occasions. Here's how to proceed:
- Glue three to four King Size Slim longpapers together at the gummed edges into one large, rectangular surface.
- Roll a firm mouthpiece (filter tip) and place it on one side of the surface as the centre of the windmill.
- Mentally divide the paper into equally wide segments – these will later become the blades.
- Fill the middle area sparingly and evenly, so that the arms stay thin and easy to shape.
- Roll each blade up loosely and one at a time, and close it at the gummed edge.
- Arrange the arms in a star shape around the mouthpiece and carefully press the shape into the typical pinwheel silhouette.
- Check the symmetry and adjust individual blades until the windmill stands evenly.
What material do you need for the windmill?
Direct answer
For a clean windmill joint you mainly need tear-resistant, thin paper and a sturdy mouthpiece. The more even your material, the more symmetrical the blades. Longpapers King Size Slim are best, because they're long enough for several arms and, thanks to their thin structure, allow precise folds. A firm filter tip as the centre gives the windmill stability and a clean draw. On top of that, a smooth surface, a little time and steady hands will help you. If you prefer a cooler and more filtered draw later on, combine the whole thing with an activated carbon filter. This basic kit is enough to practise the technique and achieve the typical pinwheel shape reliably and cleanly:
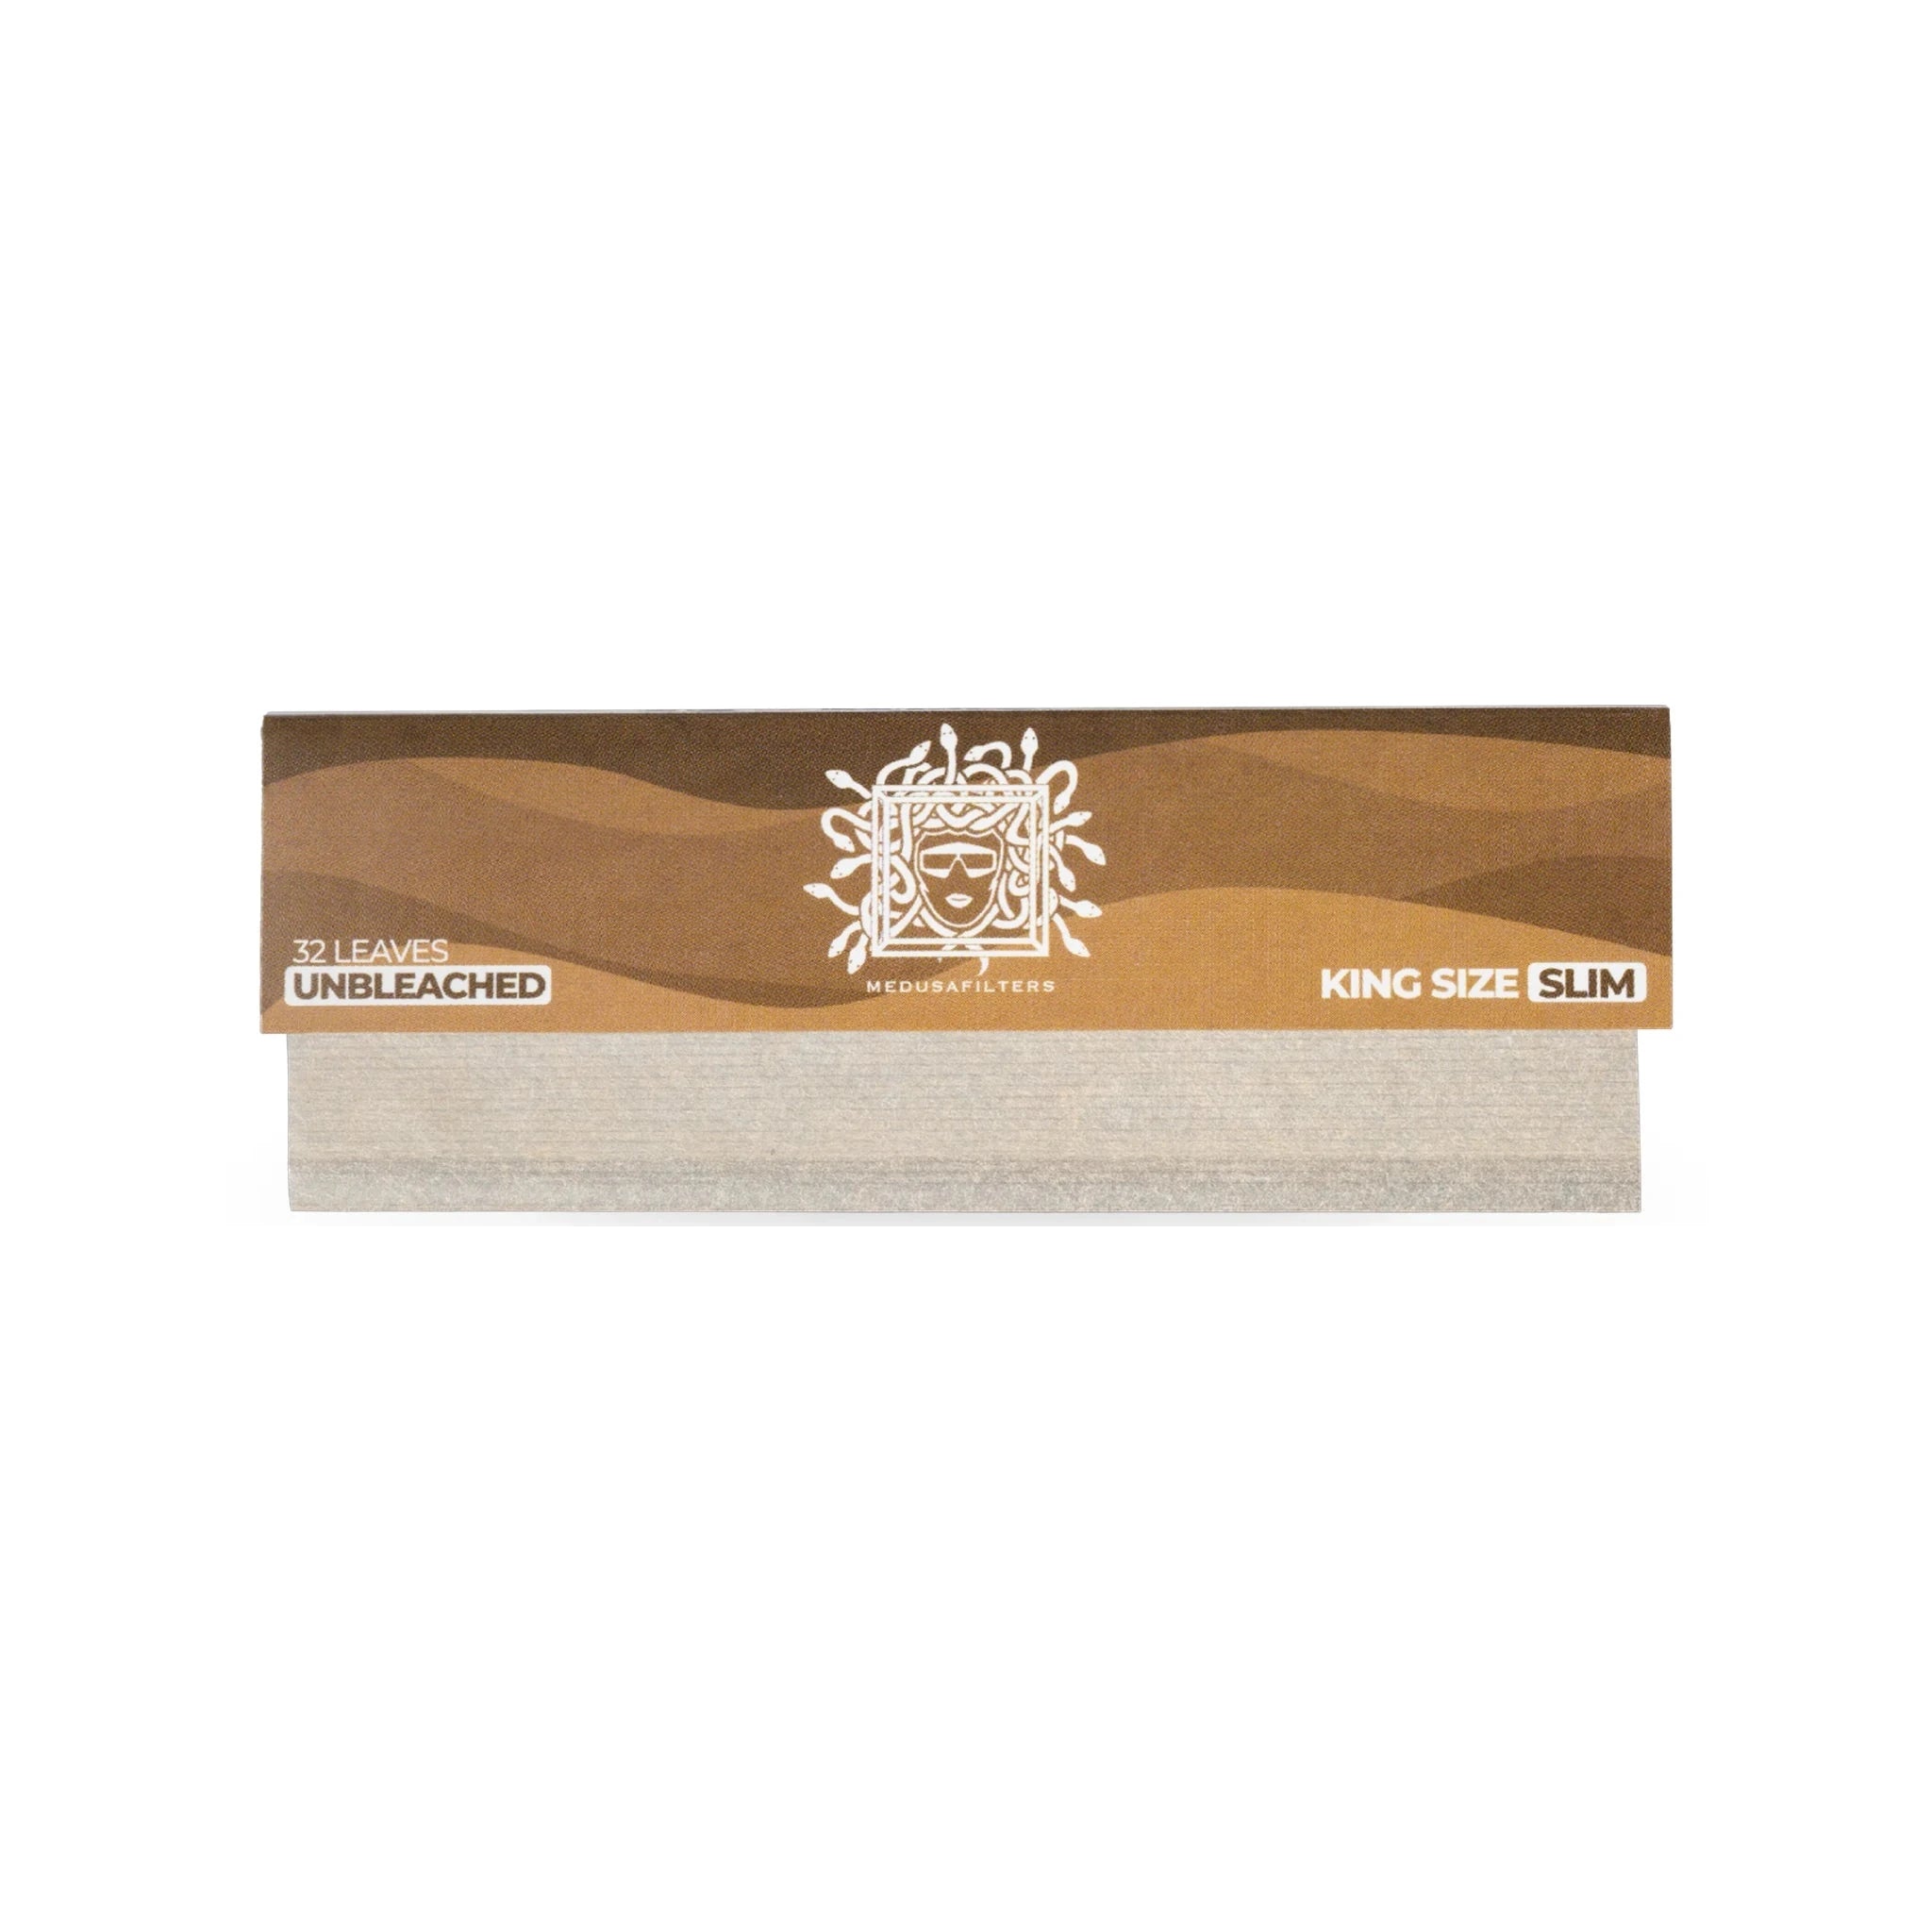
- 3–4 King Size Slim longpapers
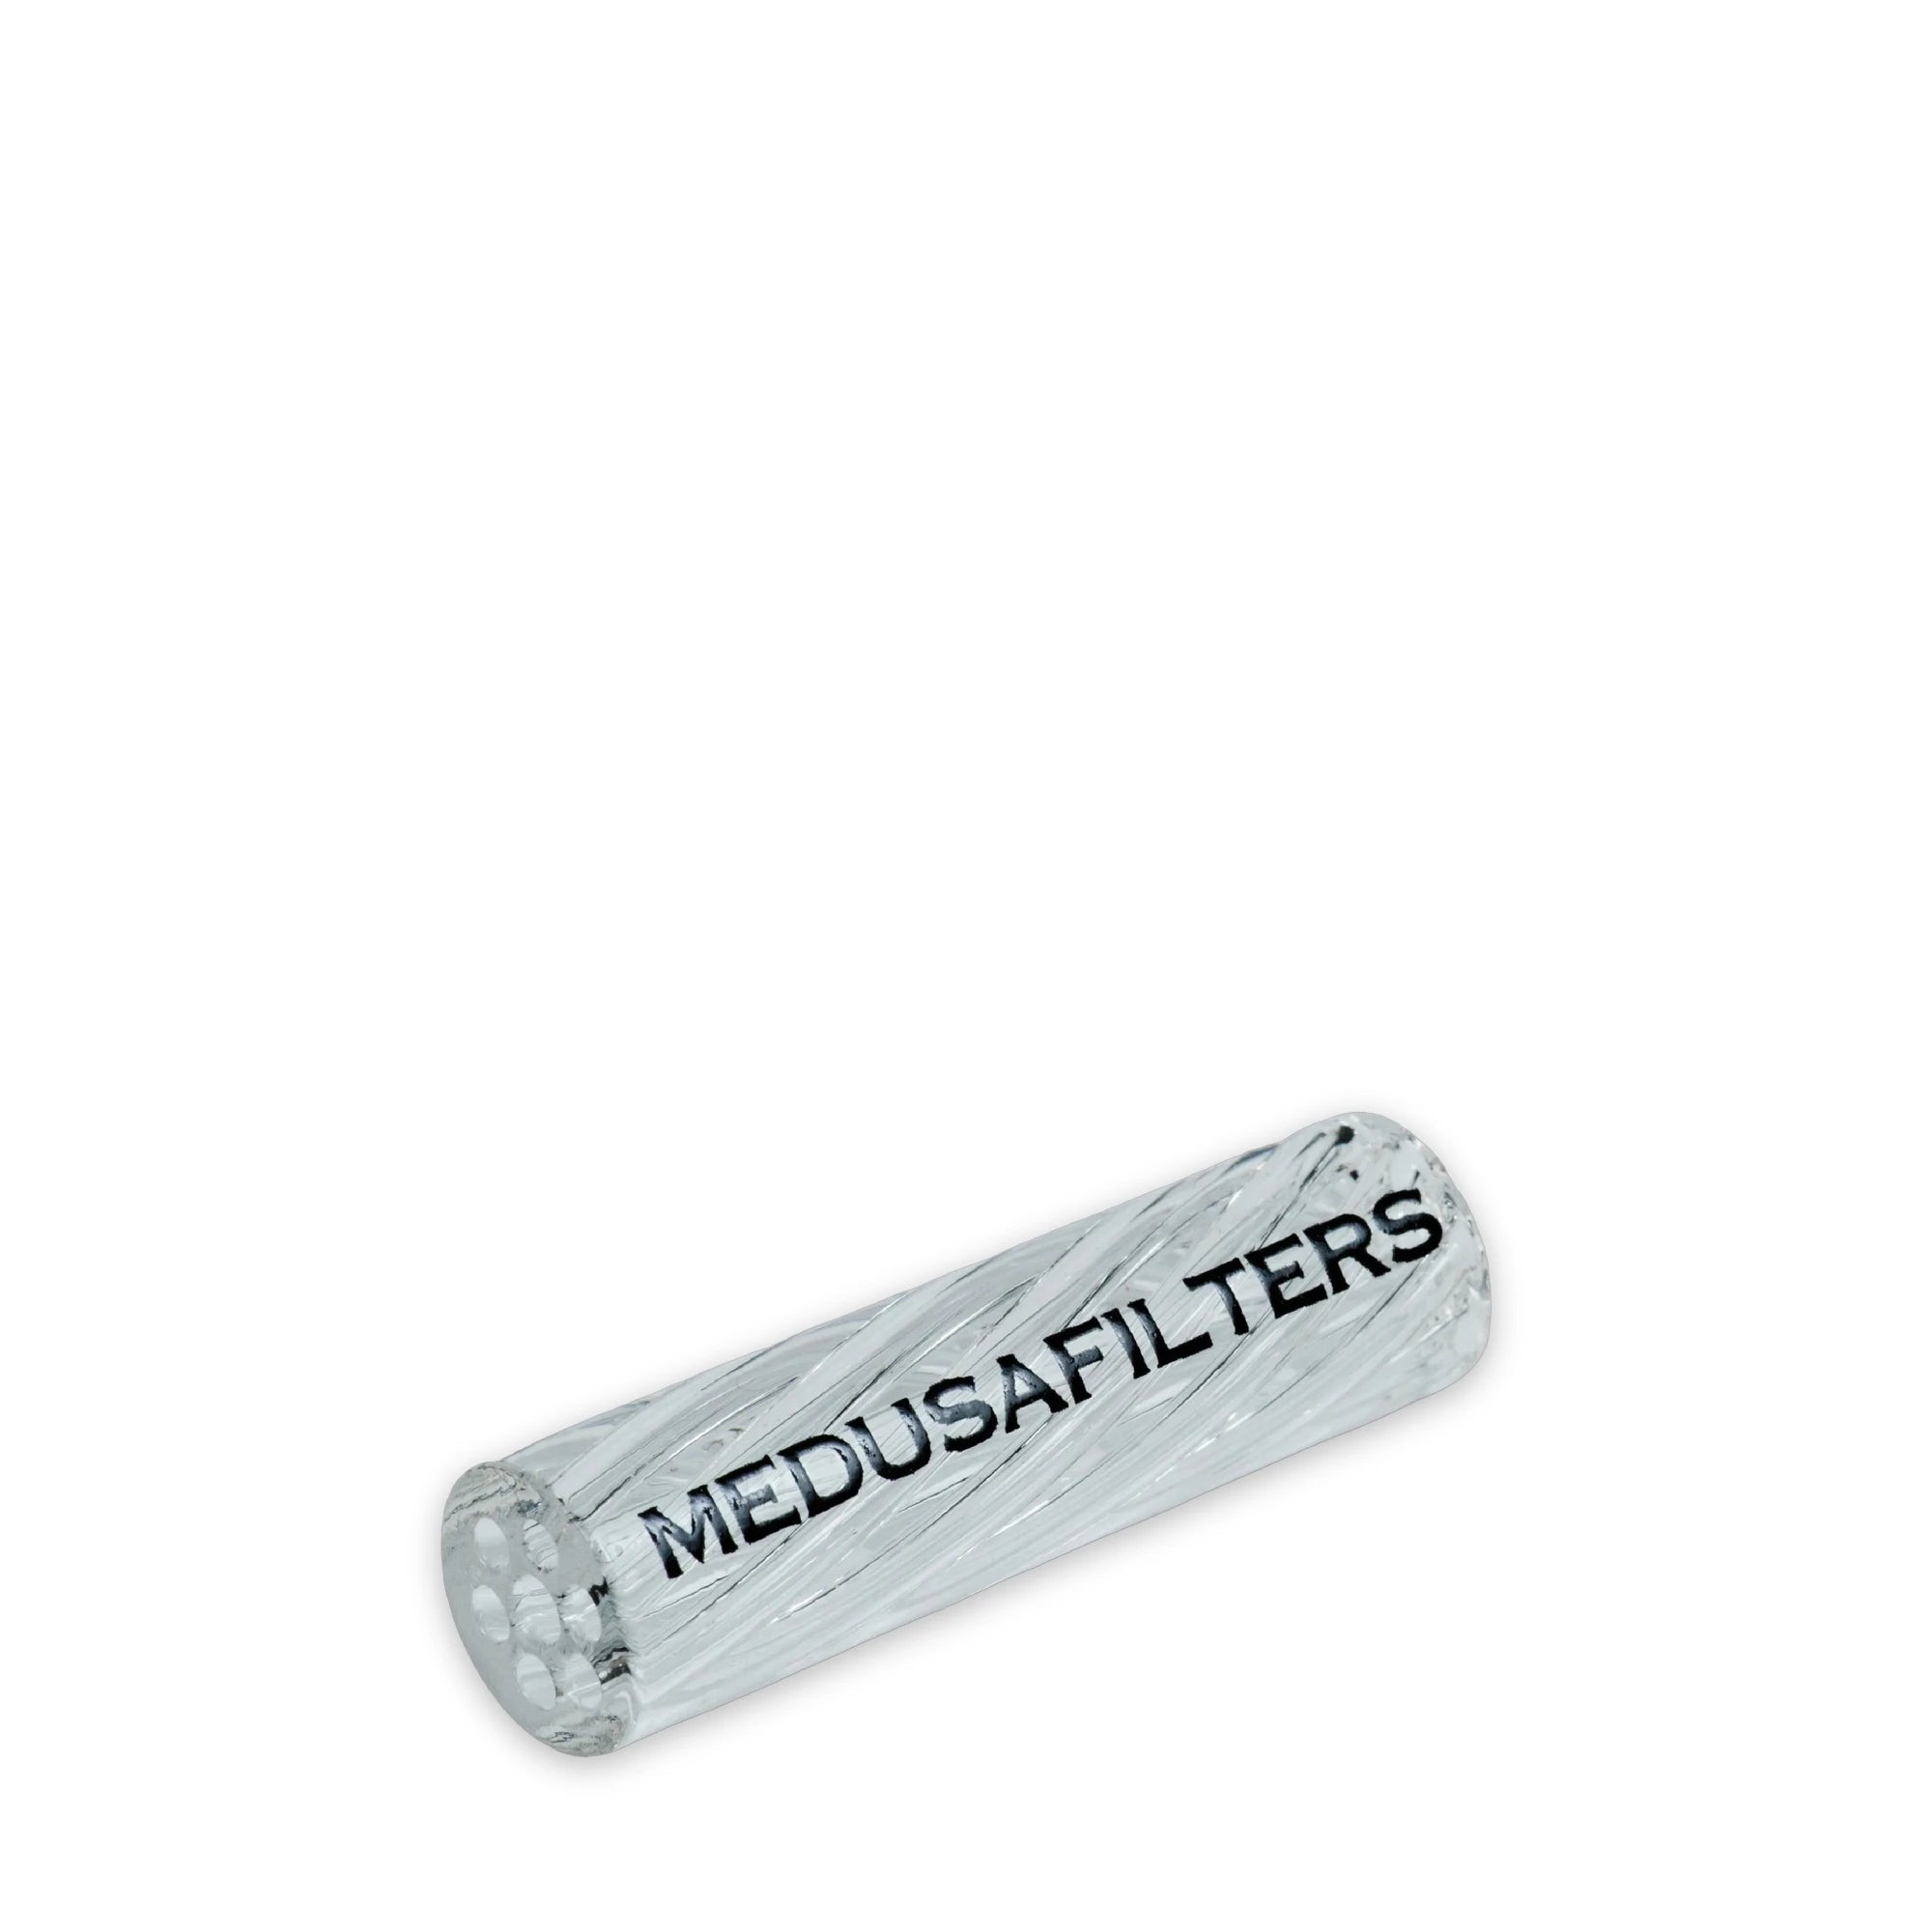
- A firm filter tip as a mouthpiece
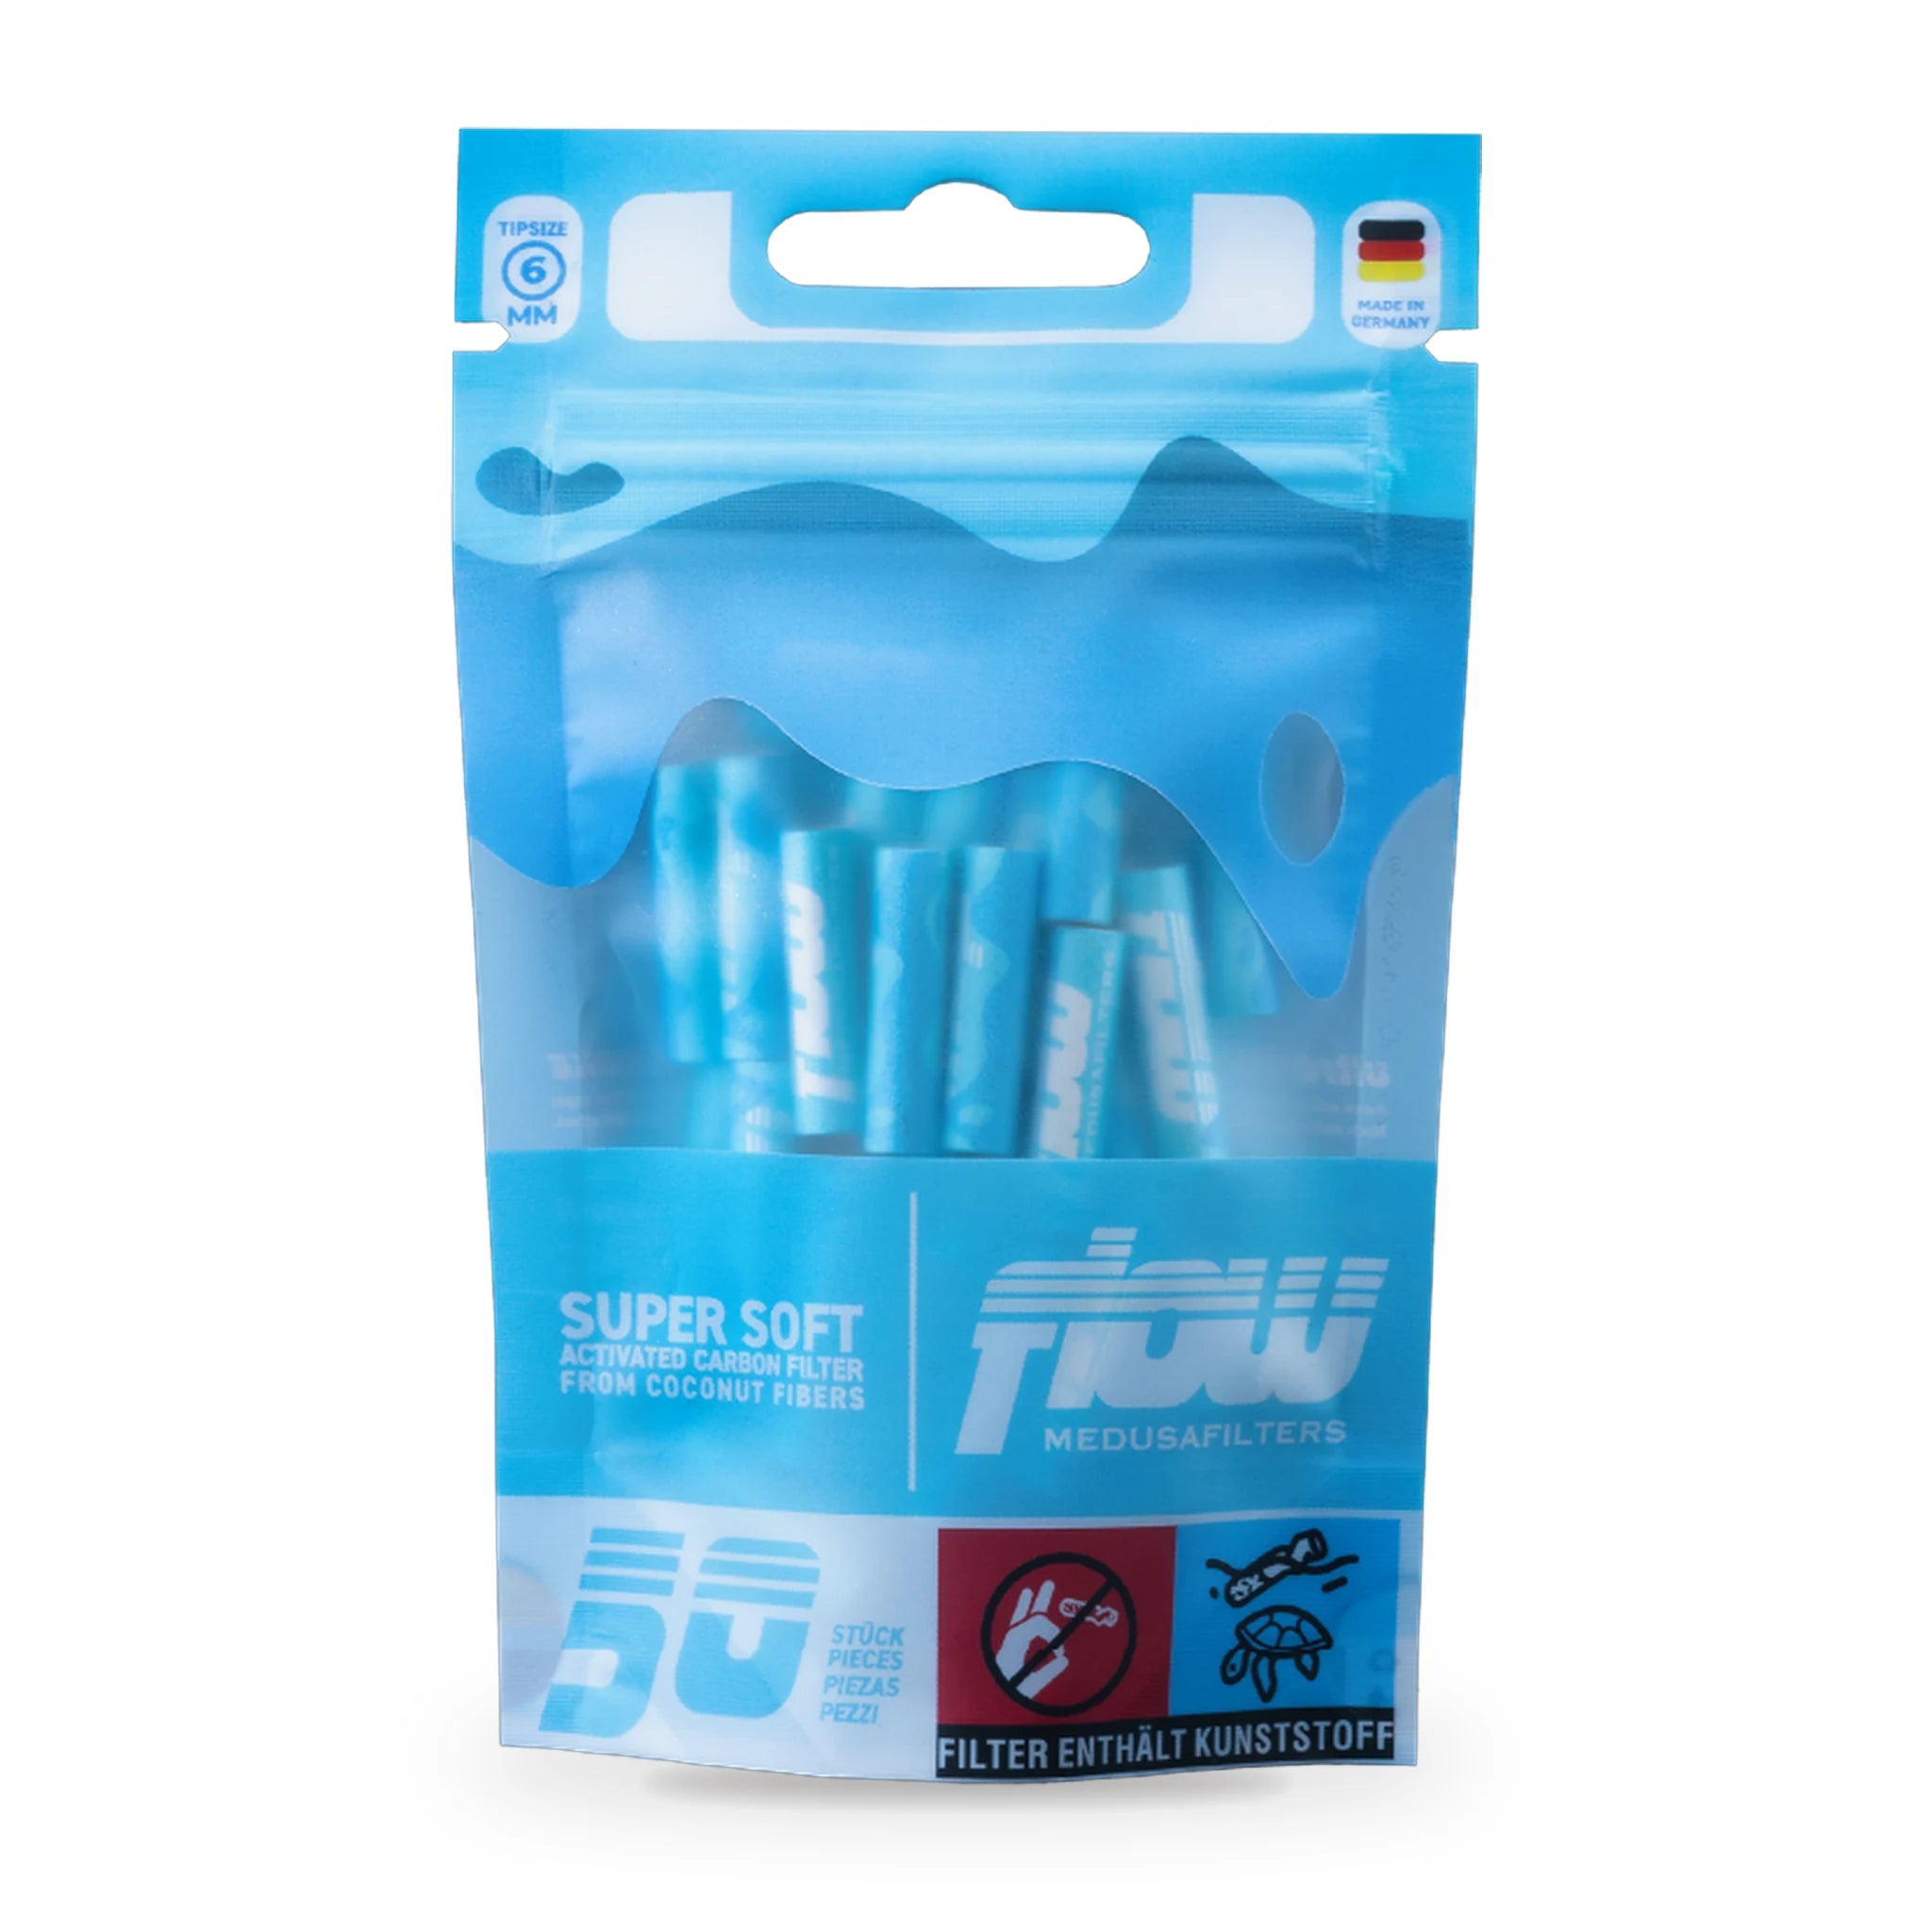
- Optionally a 6 mm activated carbon filter for a cooler draw
- A smooth surface and a little patience
Common mistakes with the windmill joint and how to avoid them
Direct answer
Most windmill joints fail because of uneven blades, too much filling or badly glued papers. If the arms are different widths, the windmill looks lopsided; if you divide the paper cleanly into equally sized segments beforehand, the symmetry almost falls into place by itself. Too much filling makes the arms thick and stiff, so they can no longer be pressed cleanly into shape – better fill the middle area sparingly. Dry gummed edges hold poorly: moisten them evenly, but not too wet, otherwise the thin paper tears. Work slowly, check the shape after each blade and correct immediately. With these points, the pinwheel shape will succeed far more reliably:
- Divide the segments into equal widths beforehand
- Fill the middle area only sparingly
- Moisten the gummed edges evenly, but not too wet
- Check the symmetry after each arm
Who is the windmill joint worth it for?
Direct answer
The windmill joint is worth it above all as a showpiece for special occasions, not for the quick everyday. Anyone who enjoys experimenting with folding techniques, takes pleasure in the looks and brings along patience will have fun with the pinwheel shape. For beginners it's rather frustrating, because many steps have to come together at once; here it's worth first mastering simpler shapes like the classic joint cleanly. Advanced folders use the windmill to impress friends or mark special moments. It's not practical in everyday life: it uses more paper, takes longer and draws more unevenly than a normal joint. If an even, cool draw matters to you, stick with the classic setup with an activated carbon filter – the windmill is more art than function.
How do you build a windmill joint?
A windmill joint is an elaborate folding technique in which you arrange several thin arms in a star shape around a central joint, so that the shape resembles a pinwheel. You glue several longpapers together into one large sheet, form the arms and roll everything into a closed windmill. A little patience, steady hands and practice are enough.


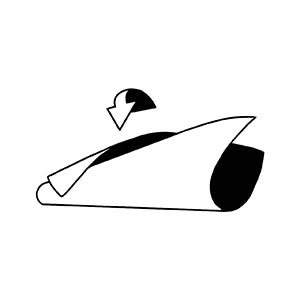
Step 1: We need to build / craft a casing
In the hope that your last Art Attack experience isn't too far in the past, first of all we need a custom-made casing out of cardboard paper. This will later become the base of your windmill. Use only thicker cardboard paper here. Roll it up much like a joint, conically and tapered, and glue the overlaps together. Let everything dry.
By the way: you have free rein when it comes to the size of the casing; the only thing that matters later is that it can still be closed (typically with regular kingsize or endless papers). It keeps the smoke nice and cool - the rule is: the bigger your casing, the cooler the smoke.
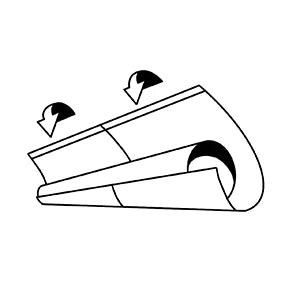
Step 2: The wrapping
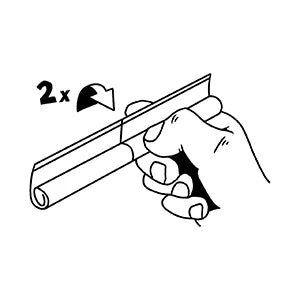
Next you'll need your paper. This is now wrapped once around the area of the large opening using the adhesive strip (moisten it first). This should be done so that the 50% with the adhesive strip sticks to the casing and the other 50% of the paper sticks up over the top. This is what will make the casing closable later on. You think you've got the "worst" behind you? Far from it! Quickly on to Step 3, before your strength gives out.
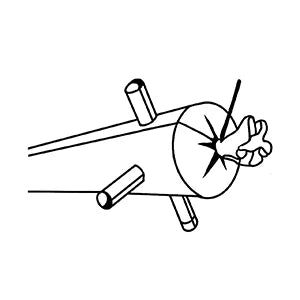
Step 3: Every good casing needs holes
Could be a proverb, but as the heading already suggests, your casing is now in for it - quite literally. In the upper third we now need 2 opposite holes through the casing. For this you can use either the scissors or a sharpened coloured pencil. Push it all the way through the casing and repeat this process until you have 4 parallel holes in the casing. The holes should be roughly the size of the diameter of your pre-rolled joints. Slowly but surely, the whole thing is really taking shape.
Step 4: Casings for the casing
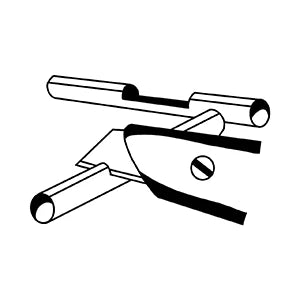
Yes, you read that right, we need more casings - 2 of them. This time, though, in the diameter of your holes in the base casing. The cardboard lid of your longpapers packaging is often a good fit for this size. These new, smaller casings should be about twice as long as the diameter of the base casing at its thickest point. Complicated, I know, but then again you're up to something really special here.
Now cut the middle third out of both small casings, halfway through, so that they would fit onto each other as a "rotor".
Step 5: The moment has (almost) come
Almost there, promise. Now push the two small, cut-open casings, with their opening (which should sit centrally inside the large casing), down into the big one. To make sure the two nest nicely into each other, you can give them a little extra help from above. What currently looks very artistic will soon be your finished windmill. Just one last step to go.
Step 6: Done - you're a true crafting master
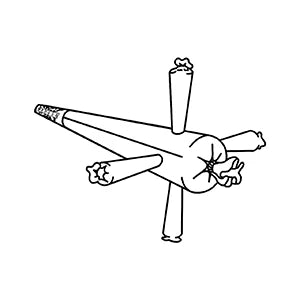
Last but not least, grab the excess paper at the top end of the large casing and twist it together in the middle. To make sure it really stays airtight, we recommend tying a thin piece of string around it and pulling it tight. Just one important detail left - the windmill blades. So insert your 4 pre-built joints into the sockets of the thin casings sticking out to the sides. Did it!
Your windmill is, in principle, reusable. After all that effort, you've absolutely earned some repeat use. Just insert new joints and light up.
Anyone can roll a normal joint - this baby is something special. Enjoy it!
The matching accessories from Medusafilters


Frequently asked questions about the windmill joint
The windmill is one of the more demanding folding techniques. You have to glue several papers together cleanly, form equally sized blades and arrange everything symmetrically – that takes practice and patience. Beginners should first master the classic joint confidently. With a few attempts and a steady hand, though, most people manage the basic shape fairly reliably.
Thin, tear-resistant King Size Slim longpapers work best. They're long enough to form several arms from a single surface and, thanks to their thin structure, allow precise folds. Thicker or short papers tear more easily and make uneven blades. Glue several longpapers together at the gummed edges into one large, smooth surface before you start.
None – "windmill joint" is simply the English term for the Windmühle-Joint. Both refer to the same folding technique, in which narrow paper arms are arranged in a star shape around a mouthpiece and the finished shape resembles a pinwheel. In German-speaking regions you'll find both terms; the instructions and the materials are identical.
That's a matter of taste. Classically you work with four blades, because the shape then resembles a pinwheel most clearly. But you can also form more arms if your paper is large enough. More important than the number is that all blades are equally wide and symmetrical – otherwise the windmill looks lopsided instead of even.
Honestly, it draws more unevenly than a classic joint, because the many arms are packed to different densities. The windmill is more of a visual showpiece than an everyday shape. If a cooler, filtered and even draw matters to you, go for a classic setup with a 6 mm activated carbon filter instead of the elaborate folding technique.
Considerably longer than a normal joint. Plan enough time, because you glue several papers together, form each blade individually and correct the symmetry several times. Beginners often need several attempts before the shape sits right. With practice it goes faster, but you'll never reach an everyday pace with it – the windmill remains a patience project.