
The perfect joint in 7 easy steps

Defining the perfect joint: the art of rolling
Rolling a joint has become a true art form! A conical taper is just as crucial here as the contents themselves. It should be well and evenly packed, because the ideal joint burns evenly, has a nice structure (the ratio between tobacco and hemp) and is wonderfully pleasant to smoke. A high-quality activated carbon filter can further improve the smoking experience here. And if it's as wrinkle-free as I was in my prime, then practically nothing stands in the way of your enjoyment.
These days it comes in all sorts of variations - from the classics all the way to very elaborate versions like the tulip joint, cross joint and windmill joint. In this blog post, however, we want to focus on the everyday "standard joint" and show you how easy it can be to roll the best joint.
It has to be said that no master builder ever fell from the sky - this takes a bit of practice. So grab your notepad and let's go:
How do I build a joint properly?
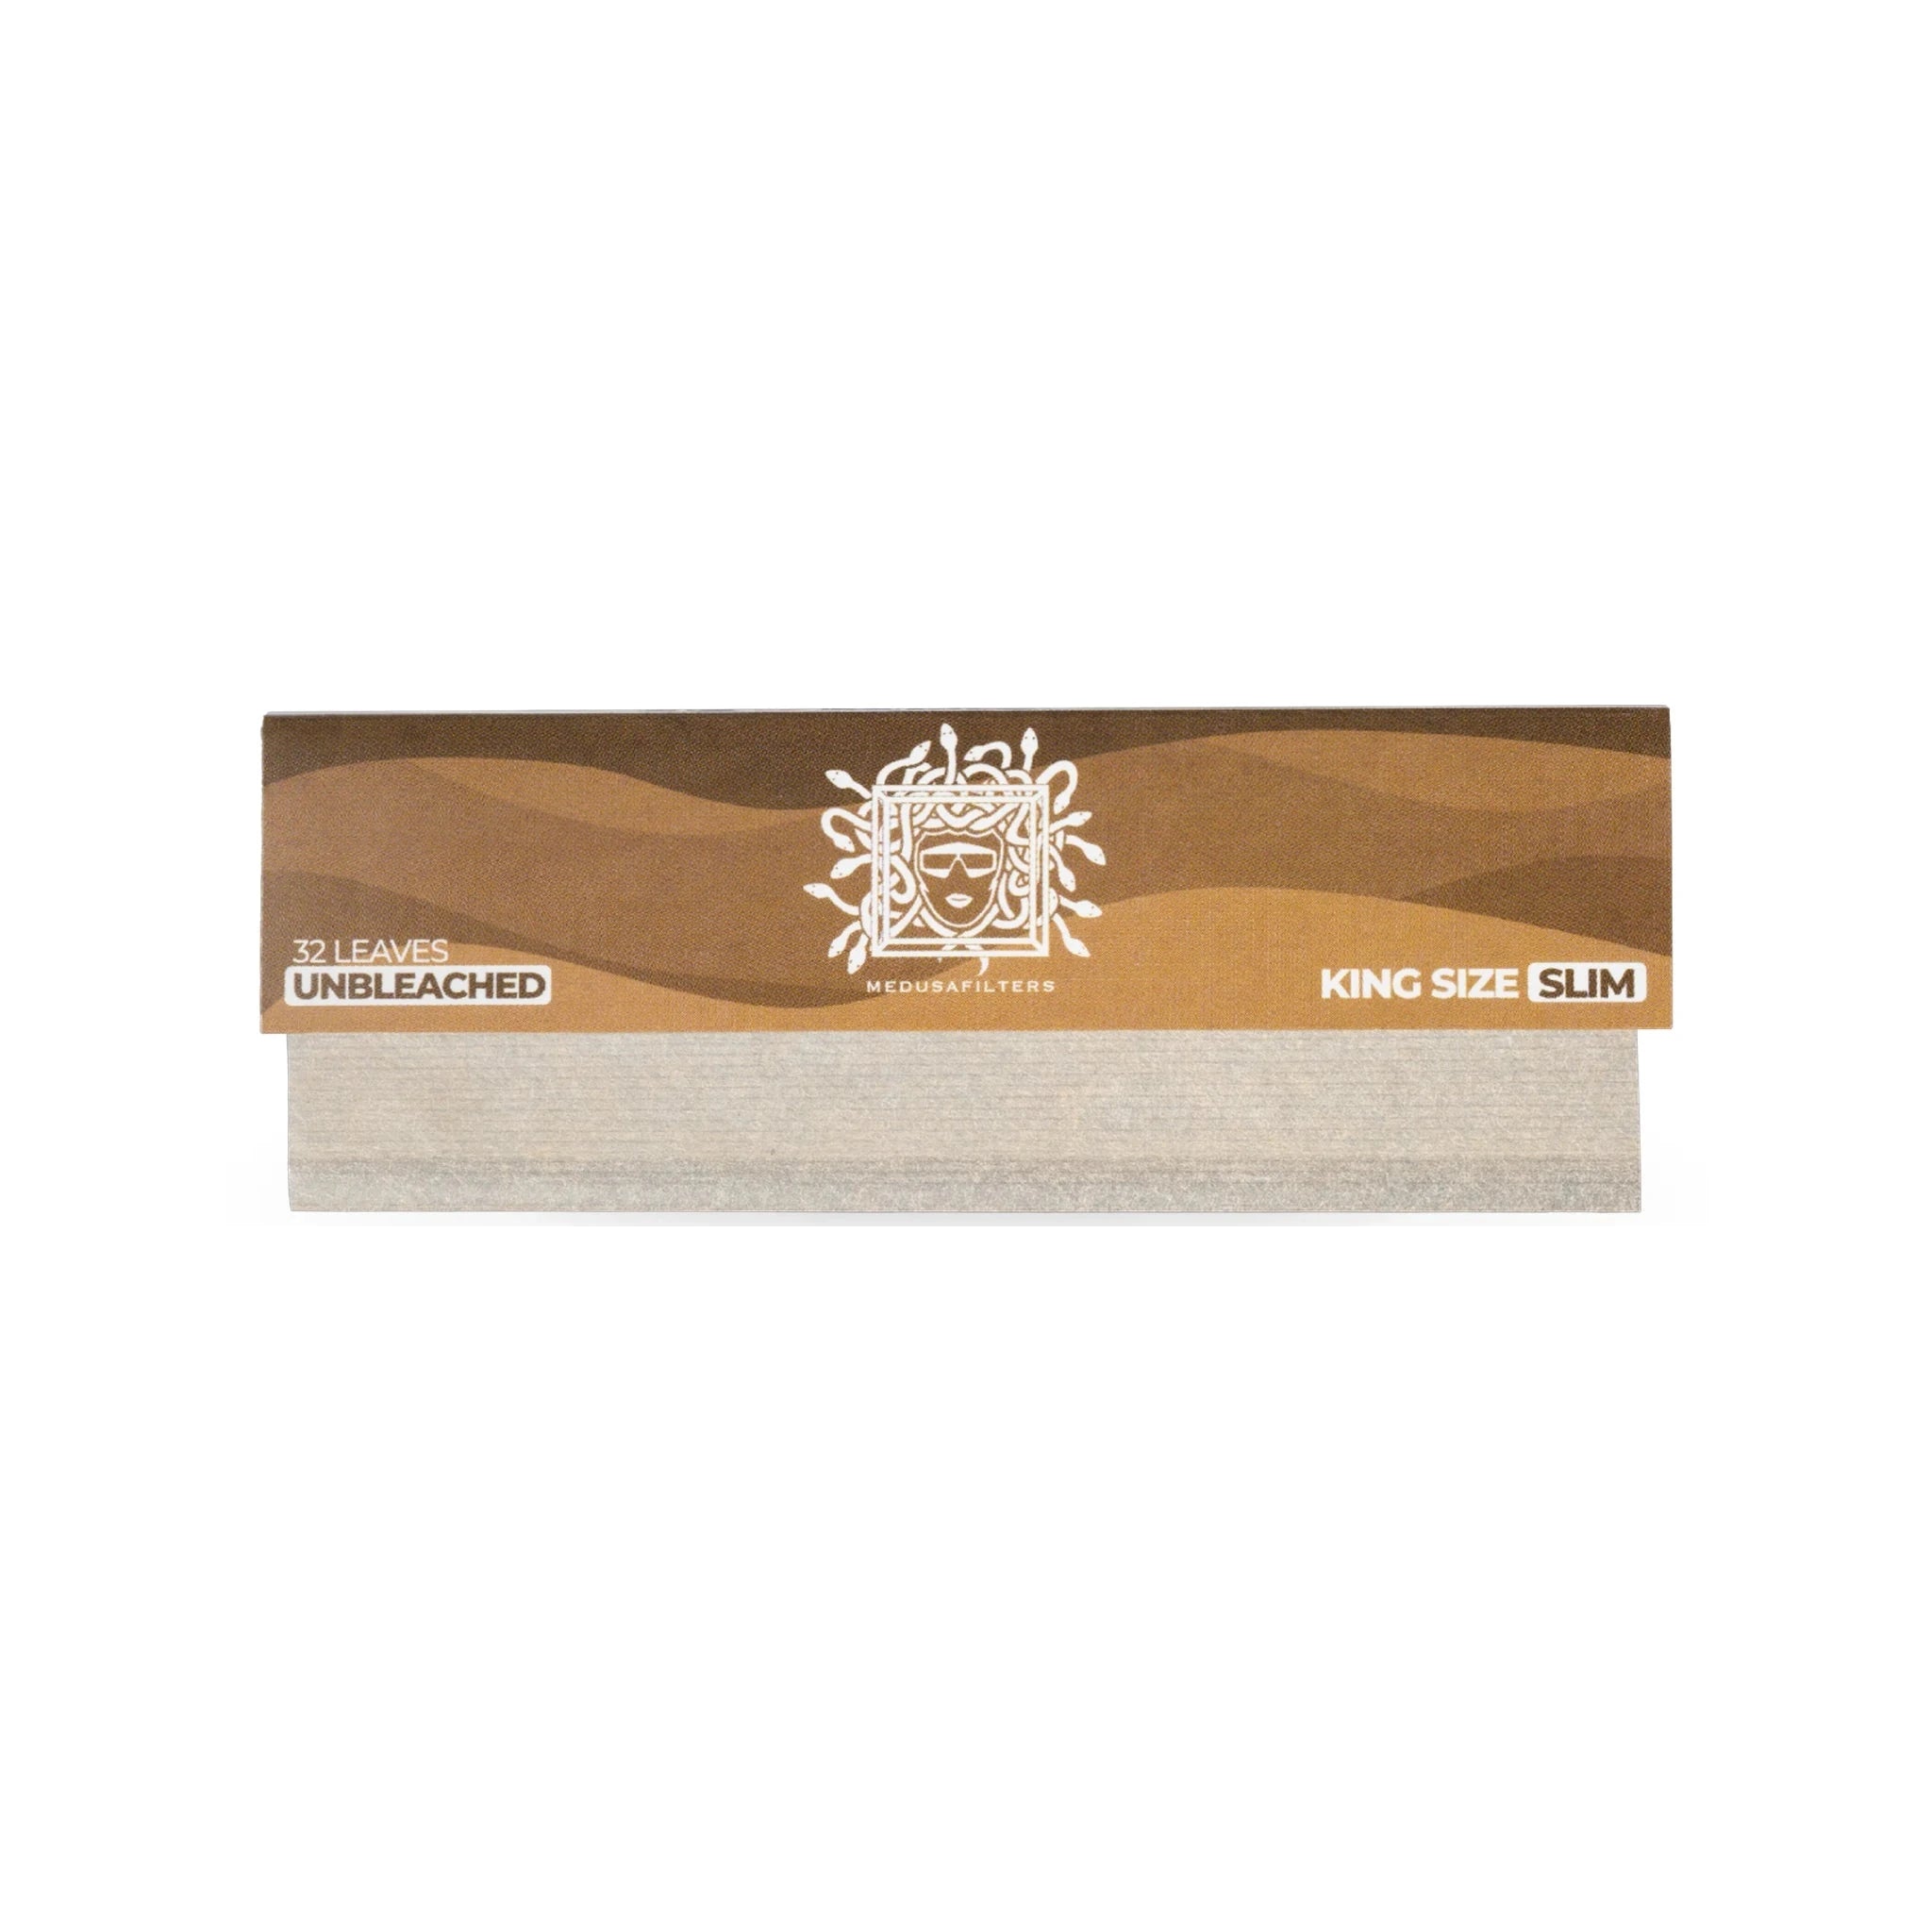
You build a joint in five steps: Grind your cannabis with a grinder, form a tip out of filter card, distribute the material evenly on a King Size Slim paper, roll it into shape between your fingers, stick down the gummed strip and twist the open end closed. With a little practice, an even, clean draw succeeds after just a few attempts.
Step 1: Preparation is half the battle - what you need to roll a perfect joint
First you should get a few essential things ready. These include:
1. The right rolling paper
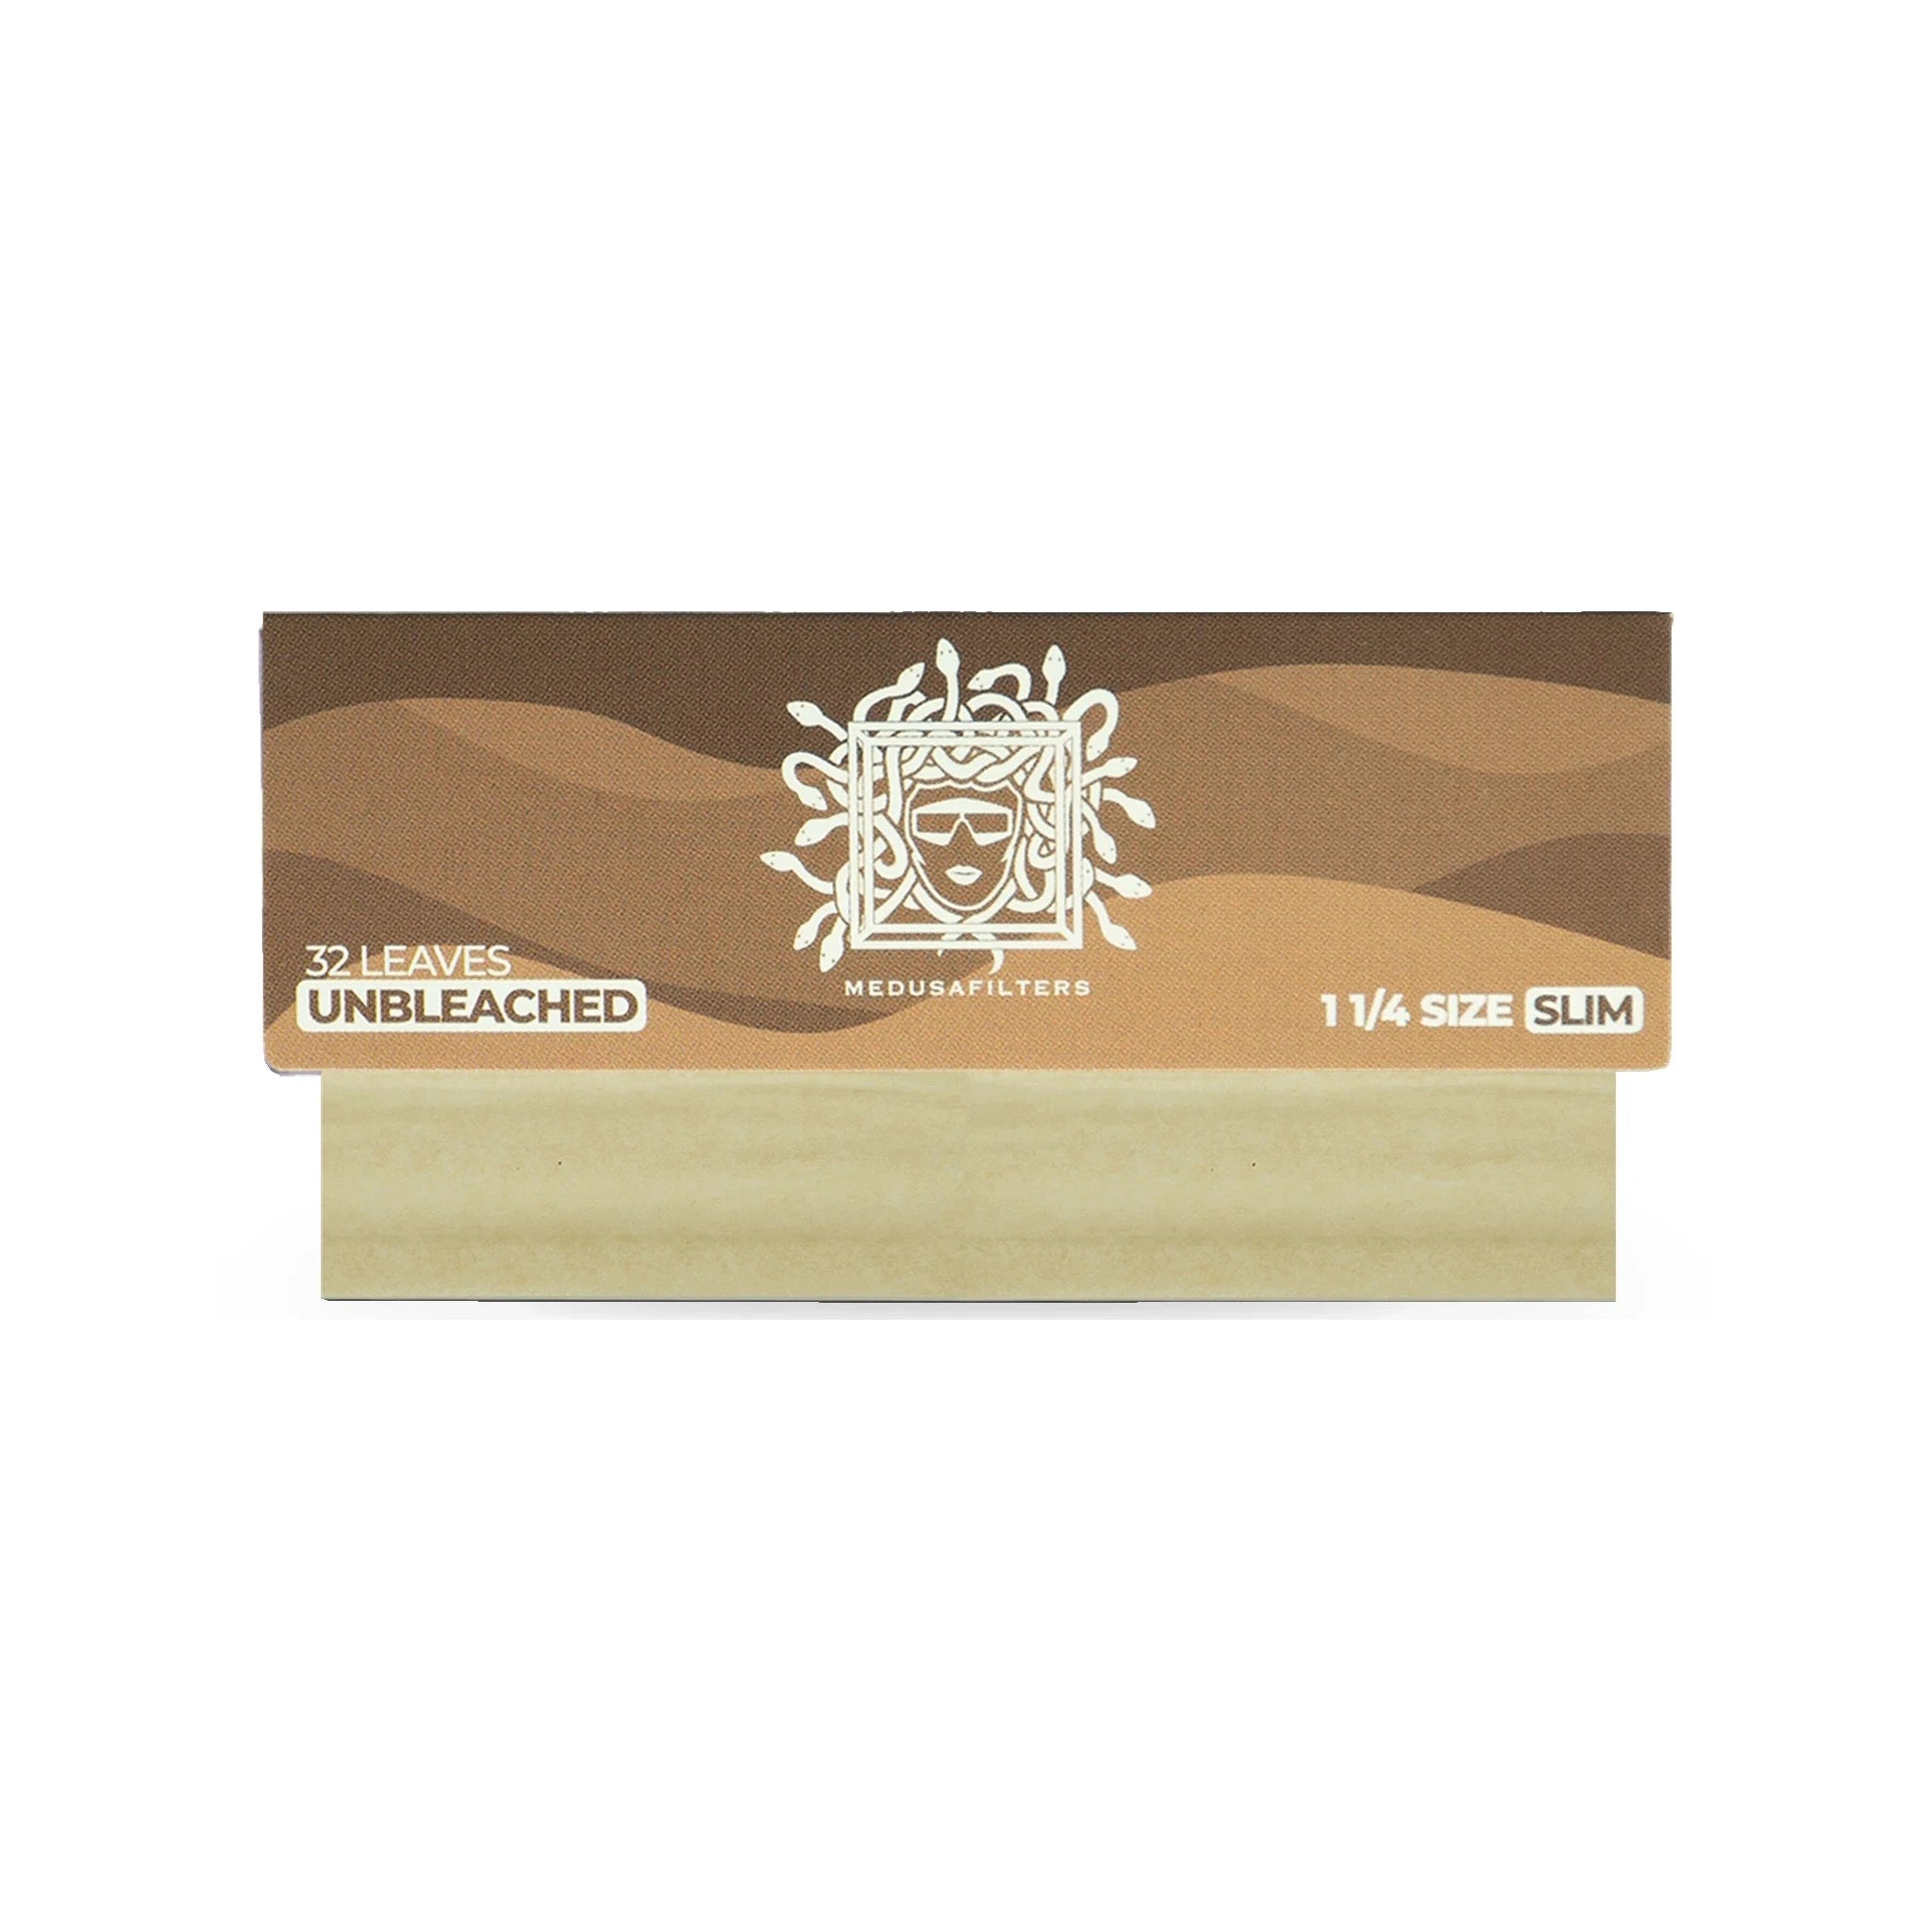
Bleached, unbleached, king size, queen size or even endless paper. What may seem a bit overwhelming at first is ultimately just a matter of personal preference. For beginners, however, it's worth paying attention to the thickness of the paper. Remember: the thicker it is, the more tear-resistant it is and the easier it is to roll a firm joint in the beginning. In this guide we use "unbleached king size papers" from Medusafilters.
2. Quality cannabis buds
It's what's inside that counts. That saying has probably never fit better, because to build the perfect joint you naturally also need decent buds. One mark of quality is a fresh, fruity cannabis smell as well as a rich green colour. This is a sign of proper drying. If it already smells a bit musty, you should keep your hands off it - mould and other contaminants can carry health risks. There are also big differences in strength (THC concentration) from strain to strain. Here you're best advised by a reputable source such as your pharmacy or your cannabis club.
3. A ceramic or metal grinder
Here too there are considerable differences that affect your later grinding results. A plastic grinder is therefore not recommended. It crushes your flowers instead of cutting them cleanly. Some of the trichomes are left behind in the grinder and your desired effect is somewhat reduced. So it's better to invest once in a high-quality grinder. Alternatively, you can also use your fingers or a grinder card.
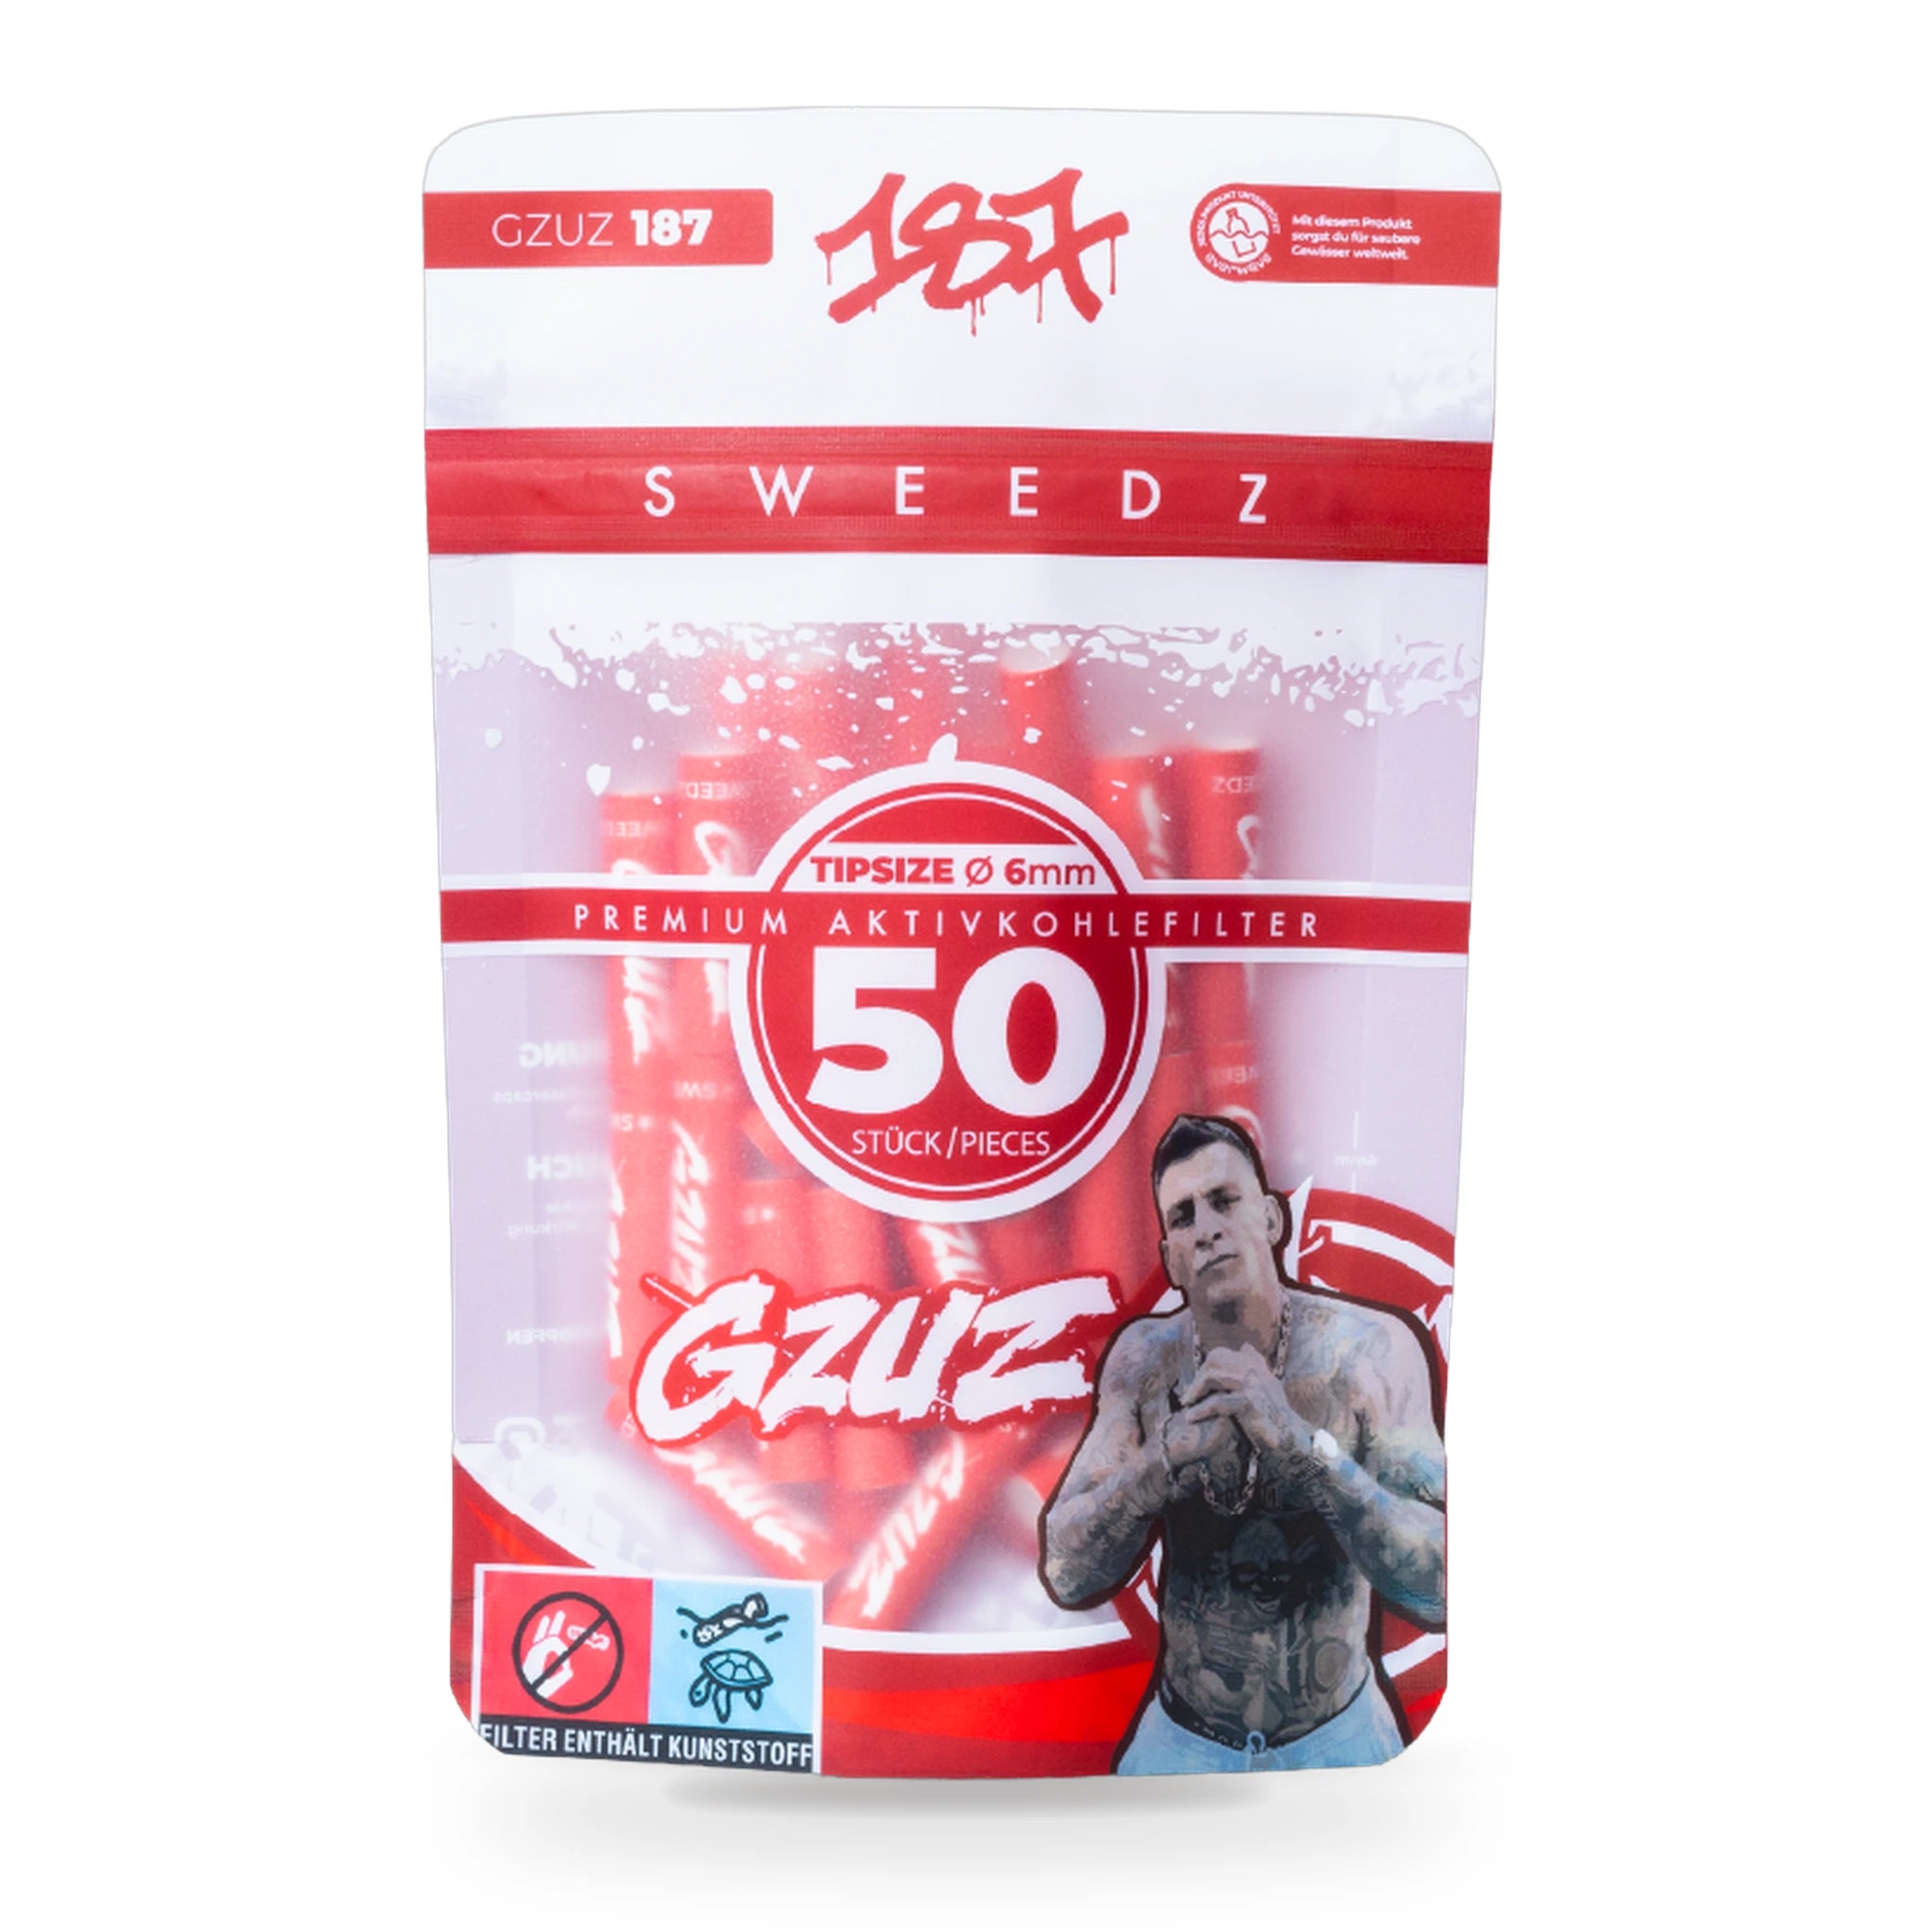
4. A high-quality activated carbon filter
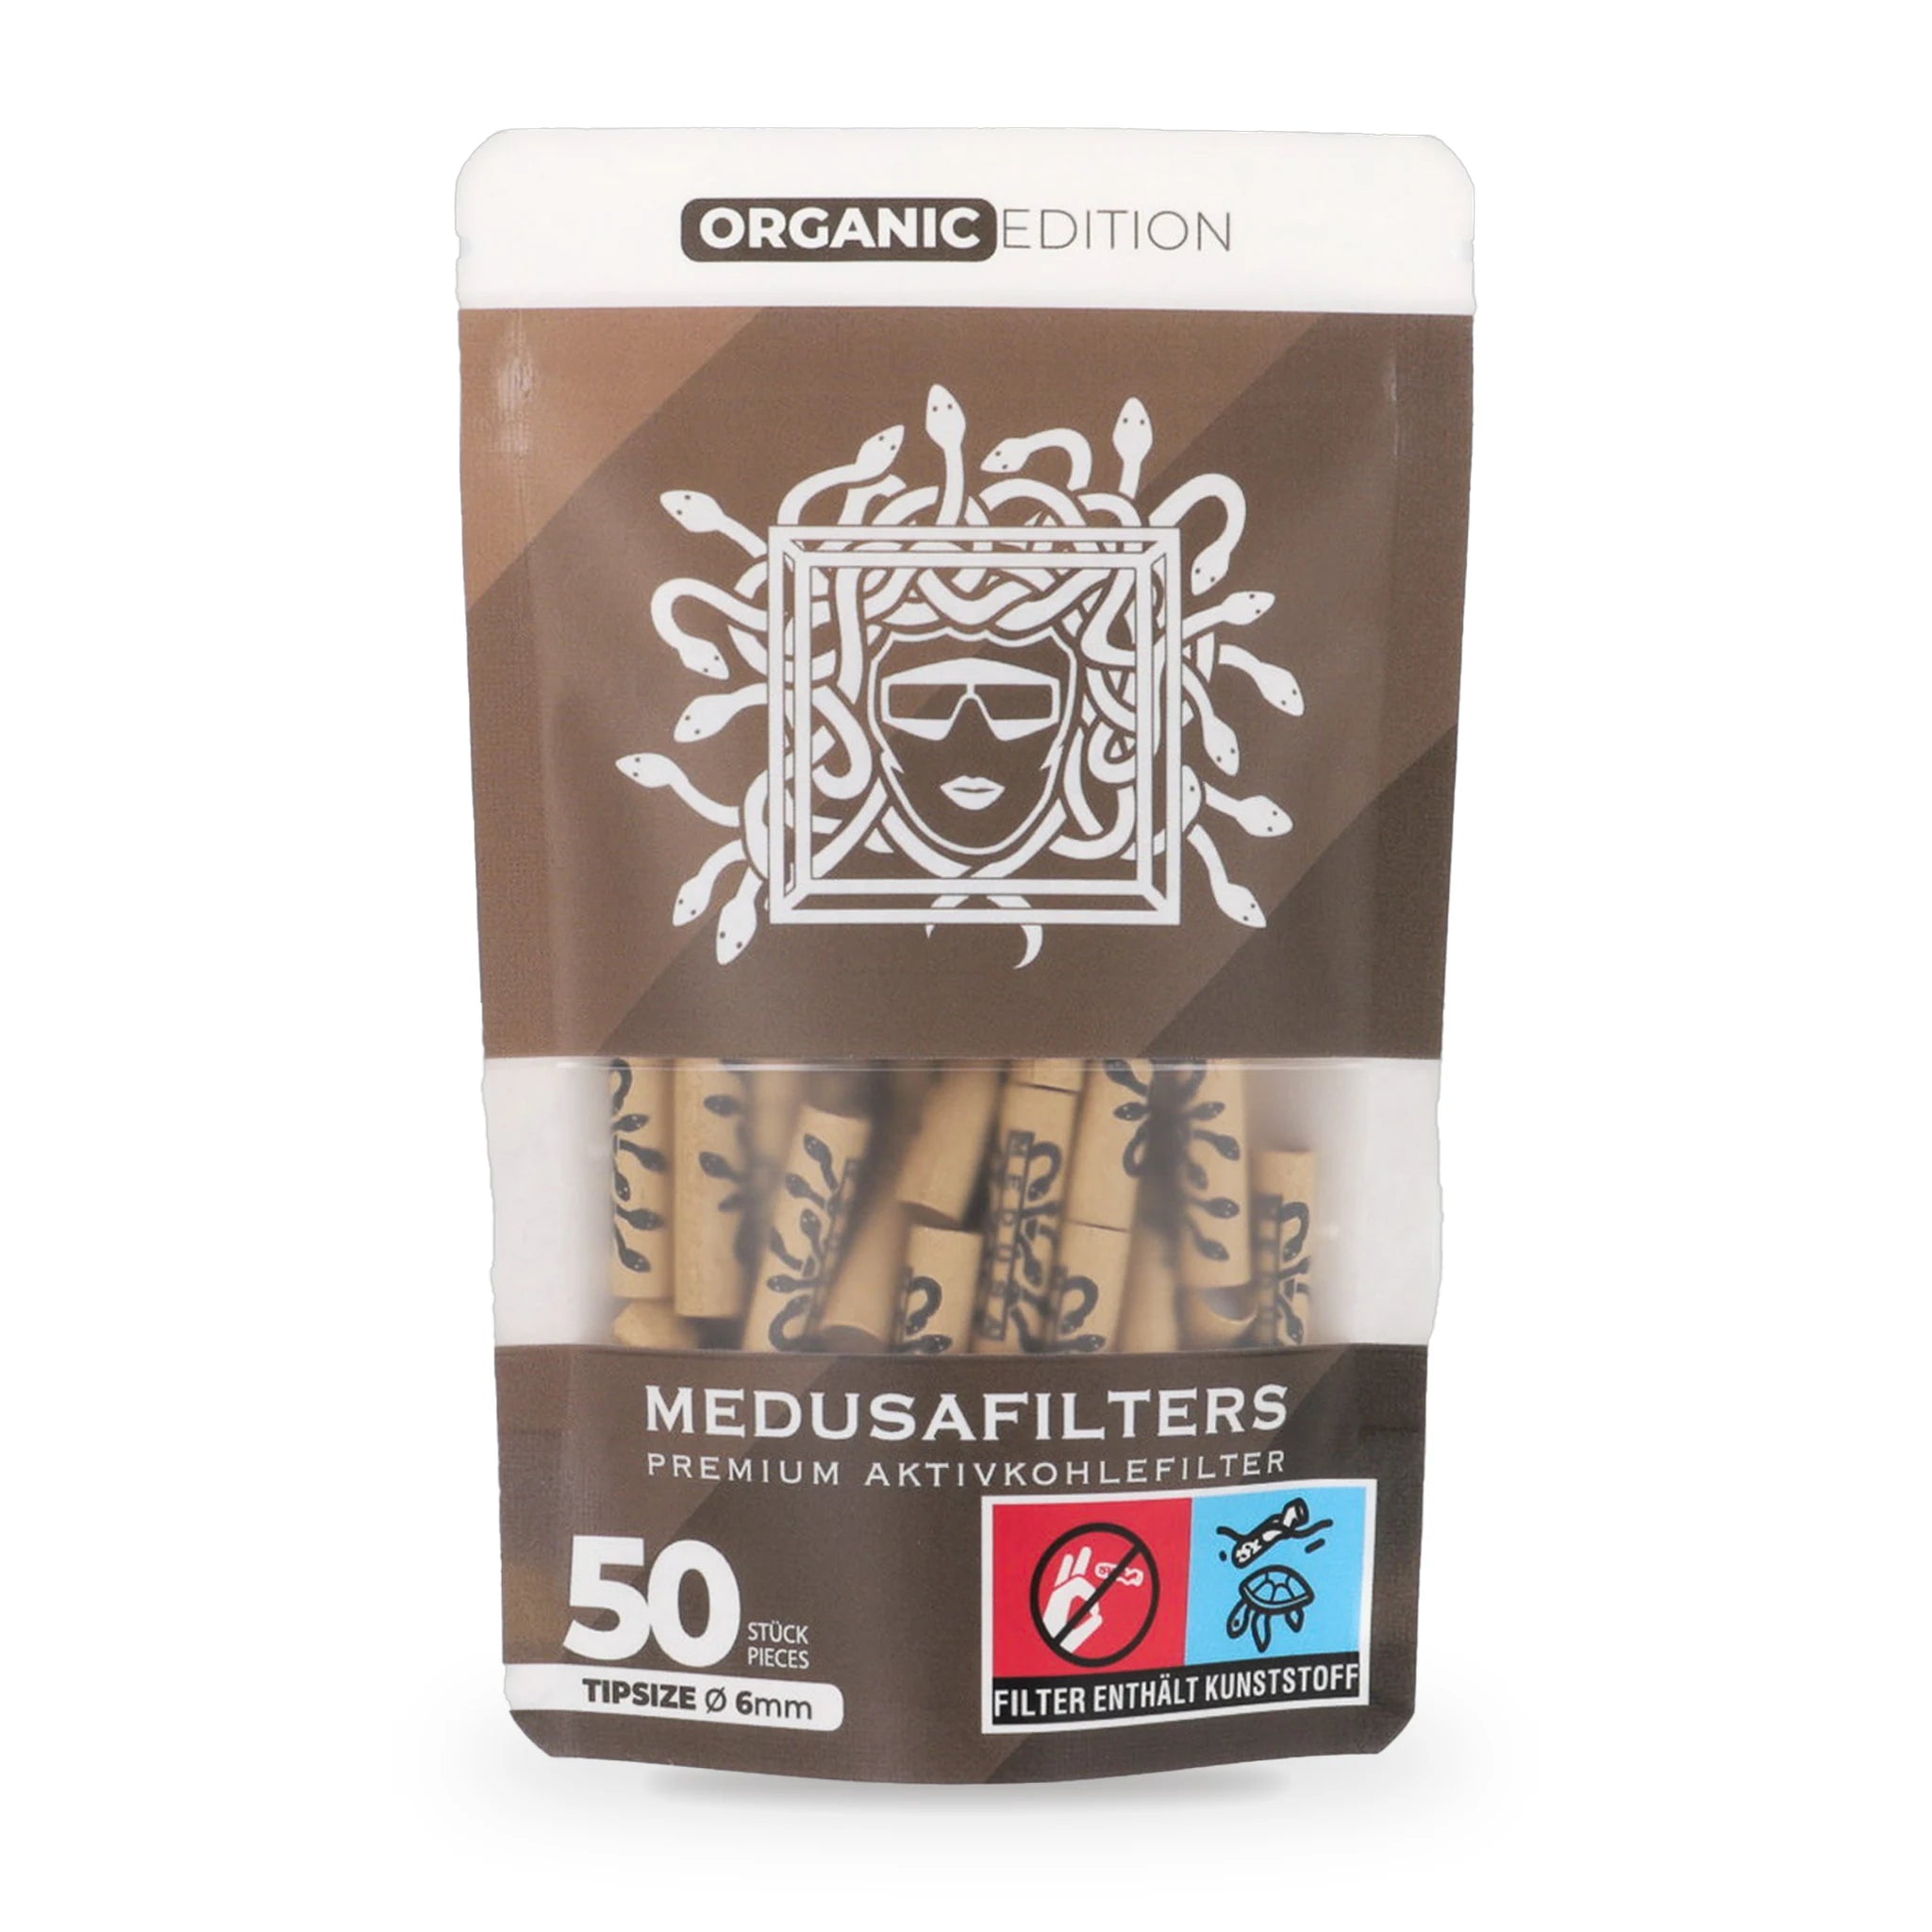
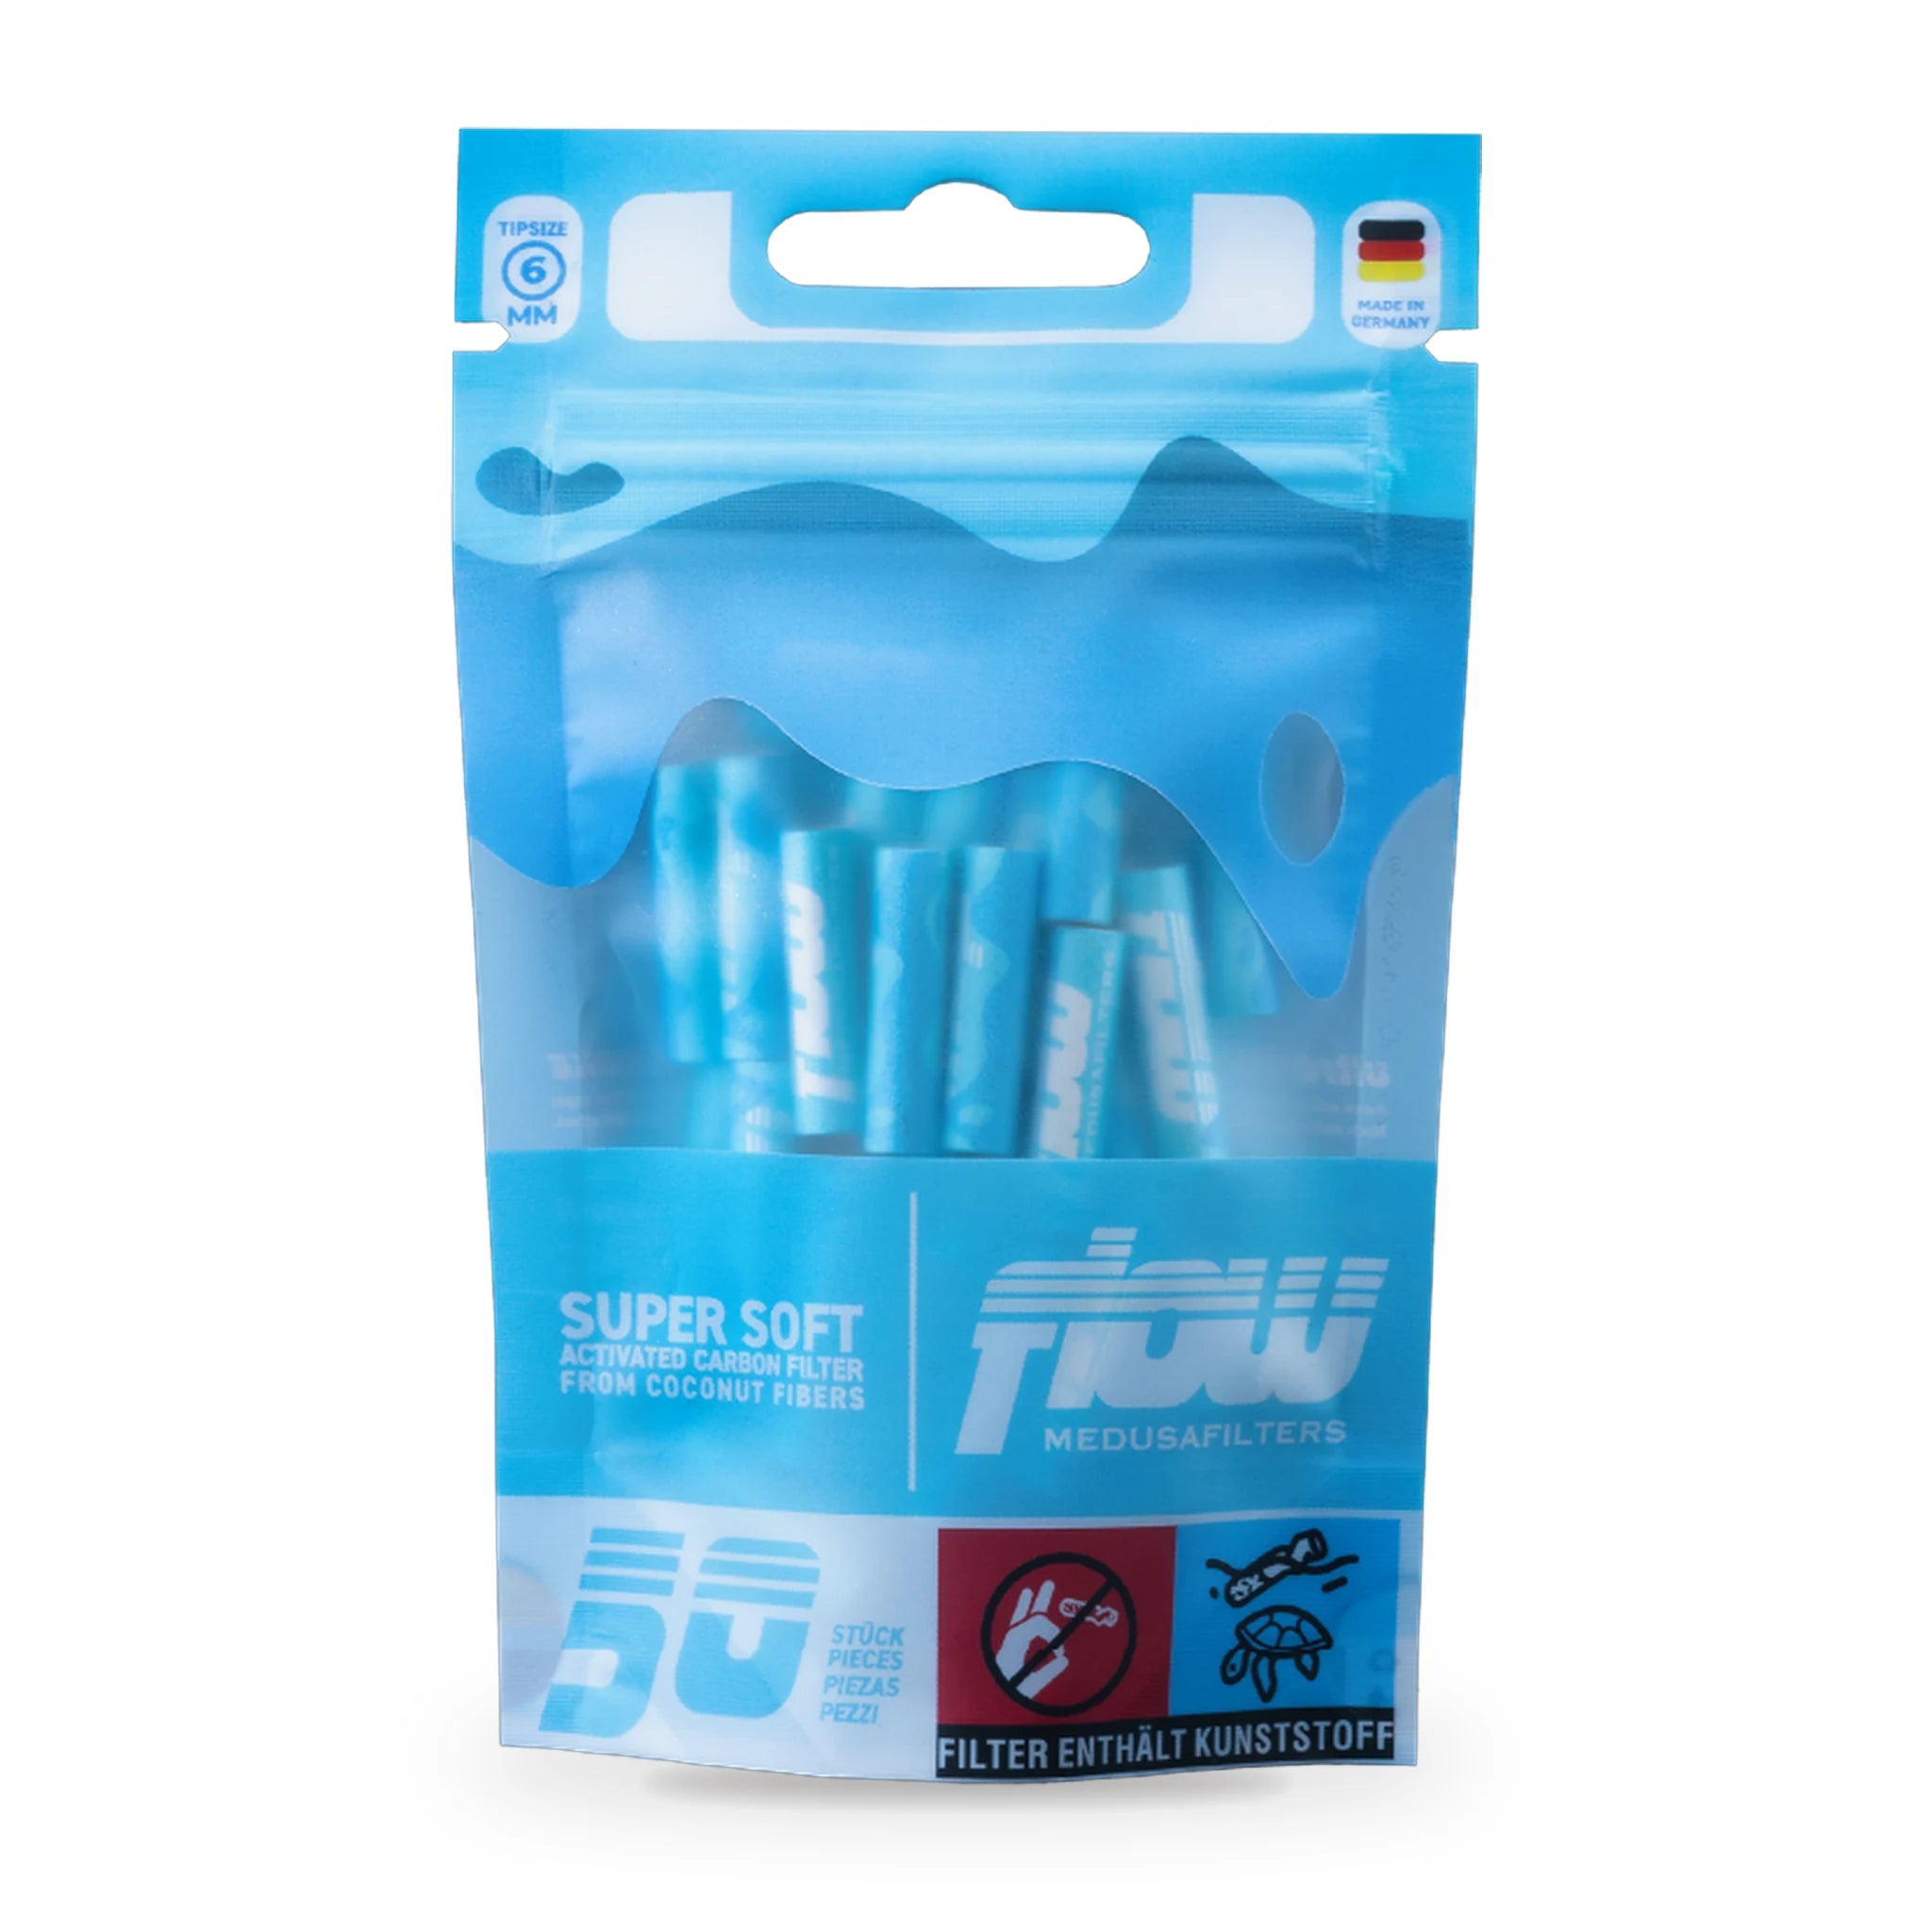
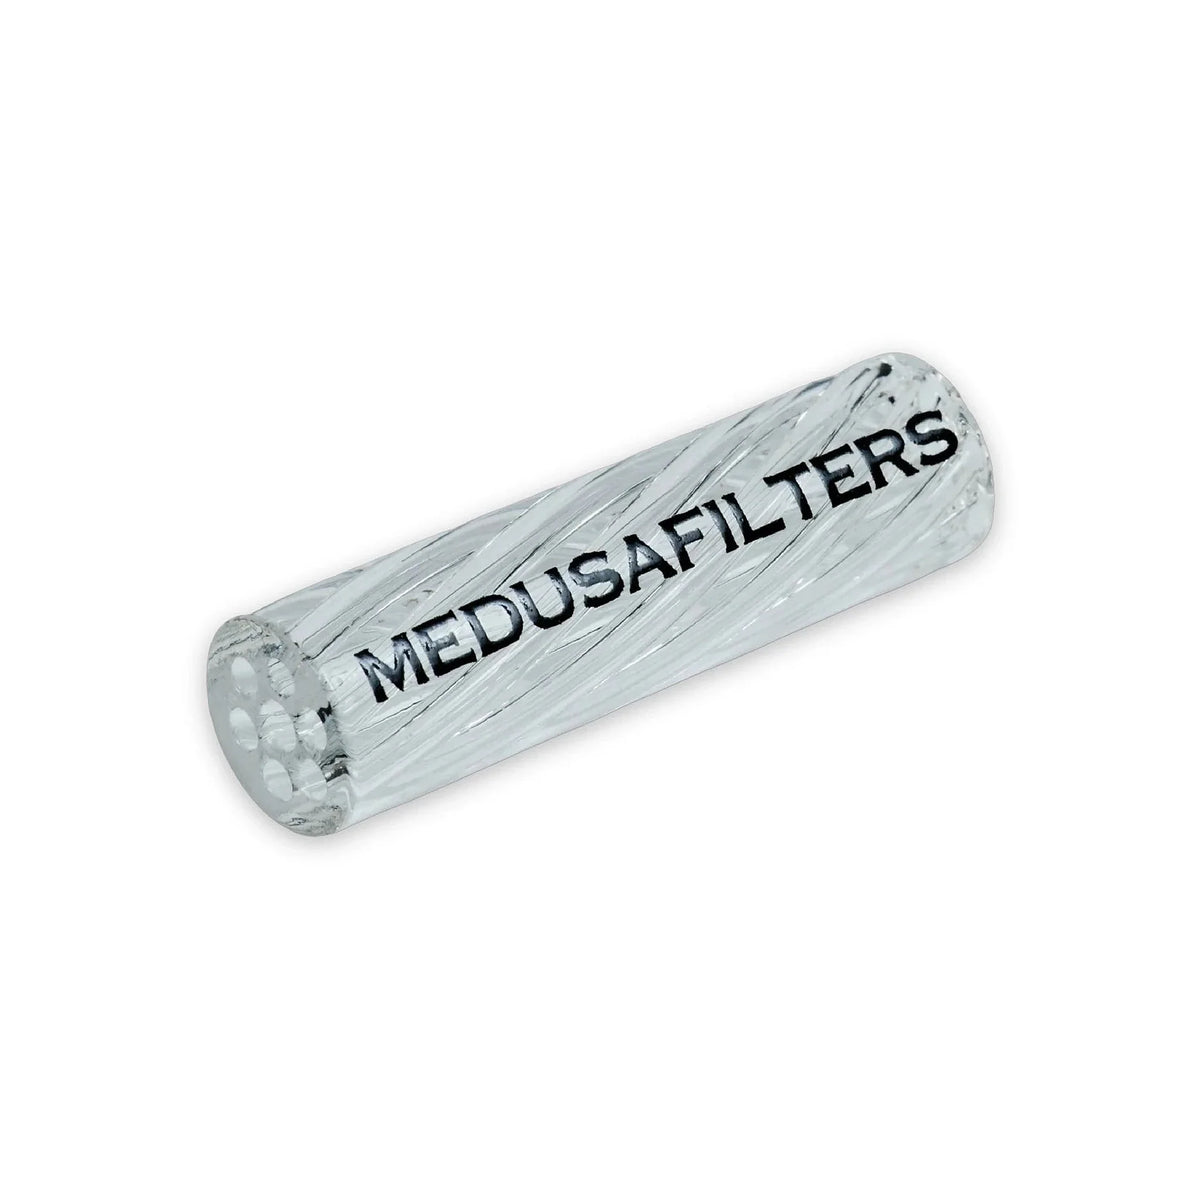
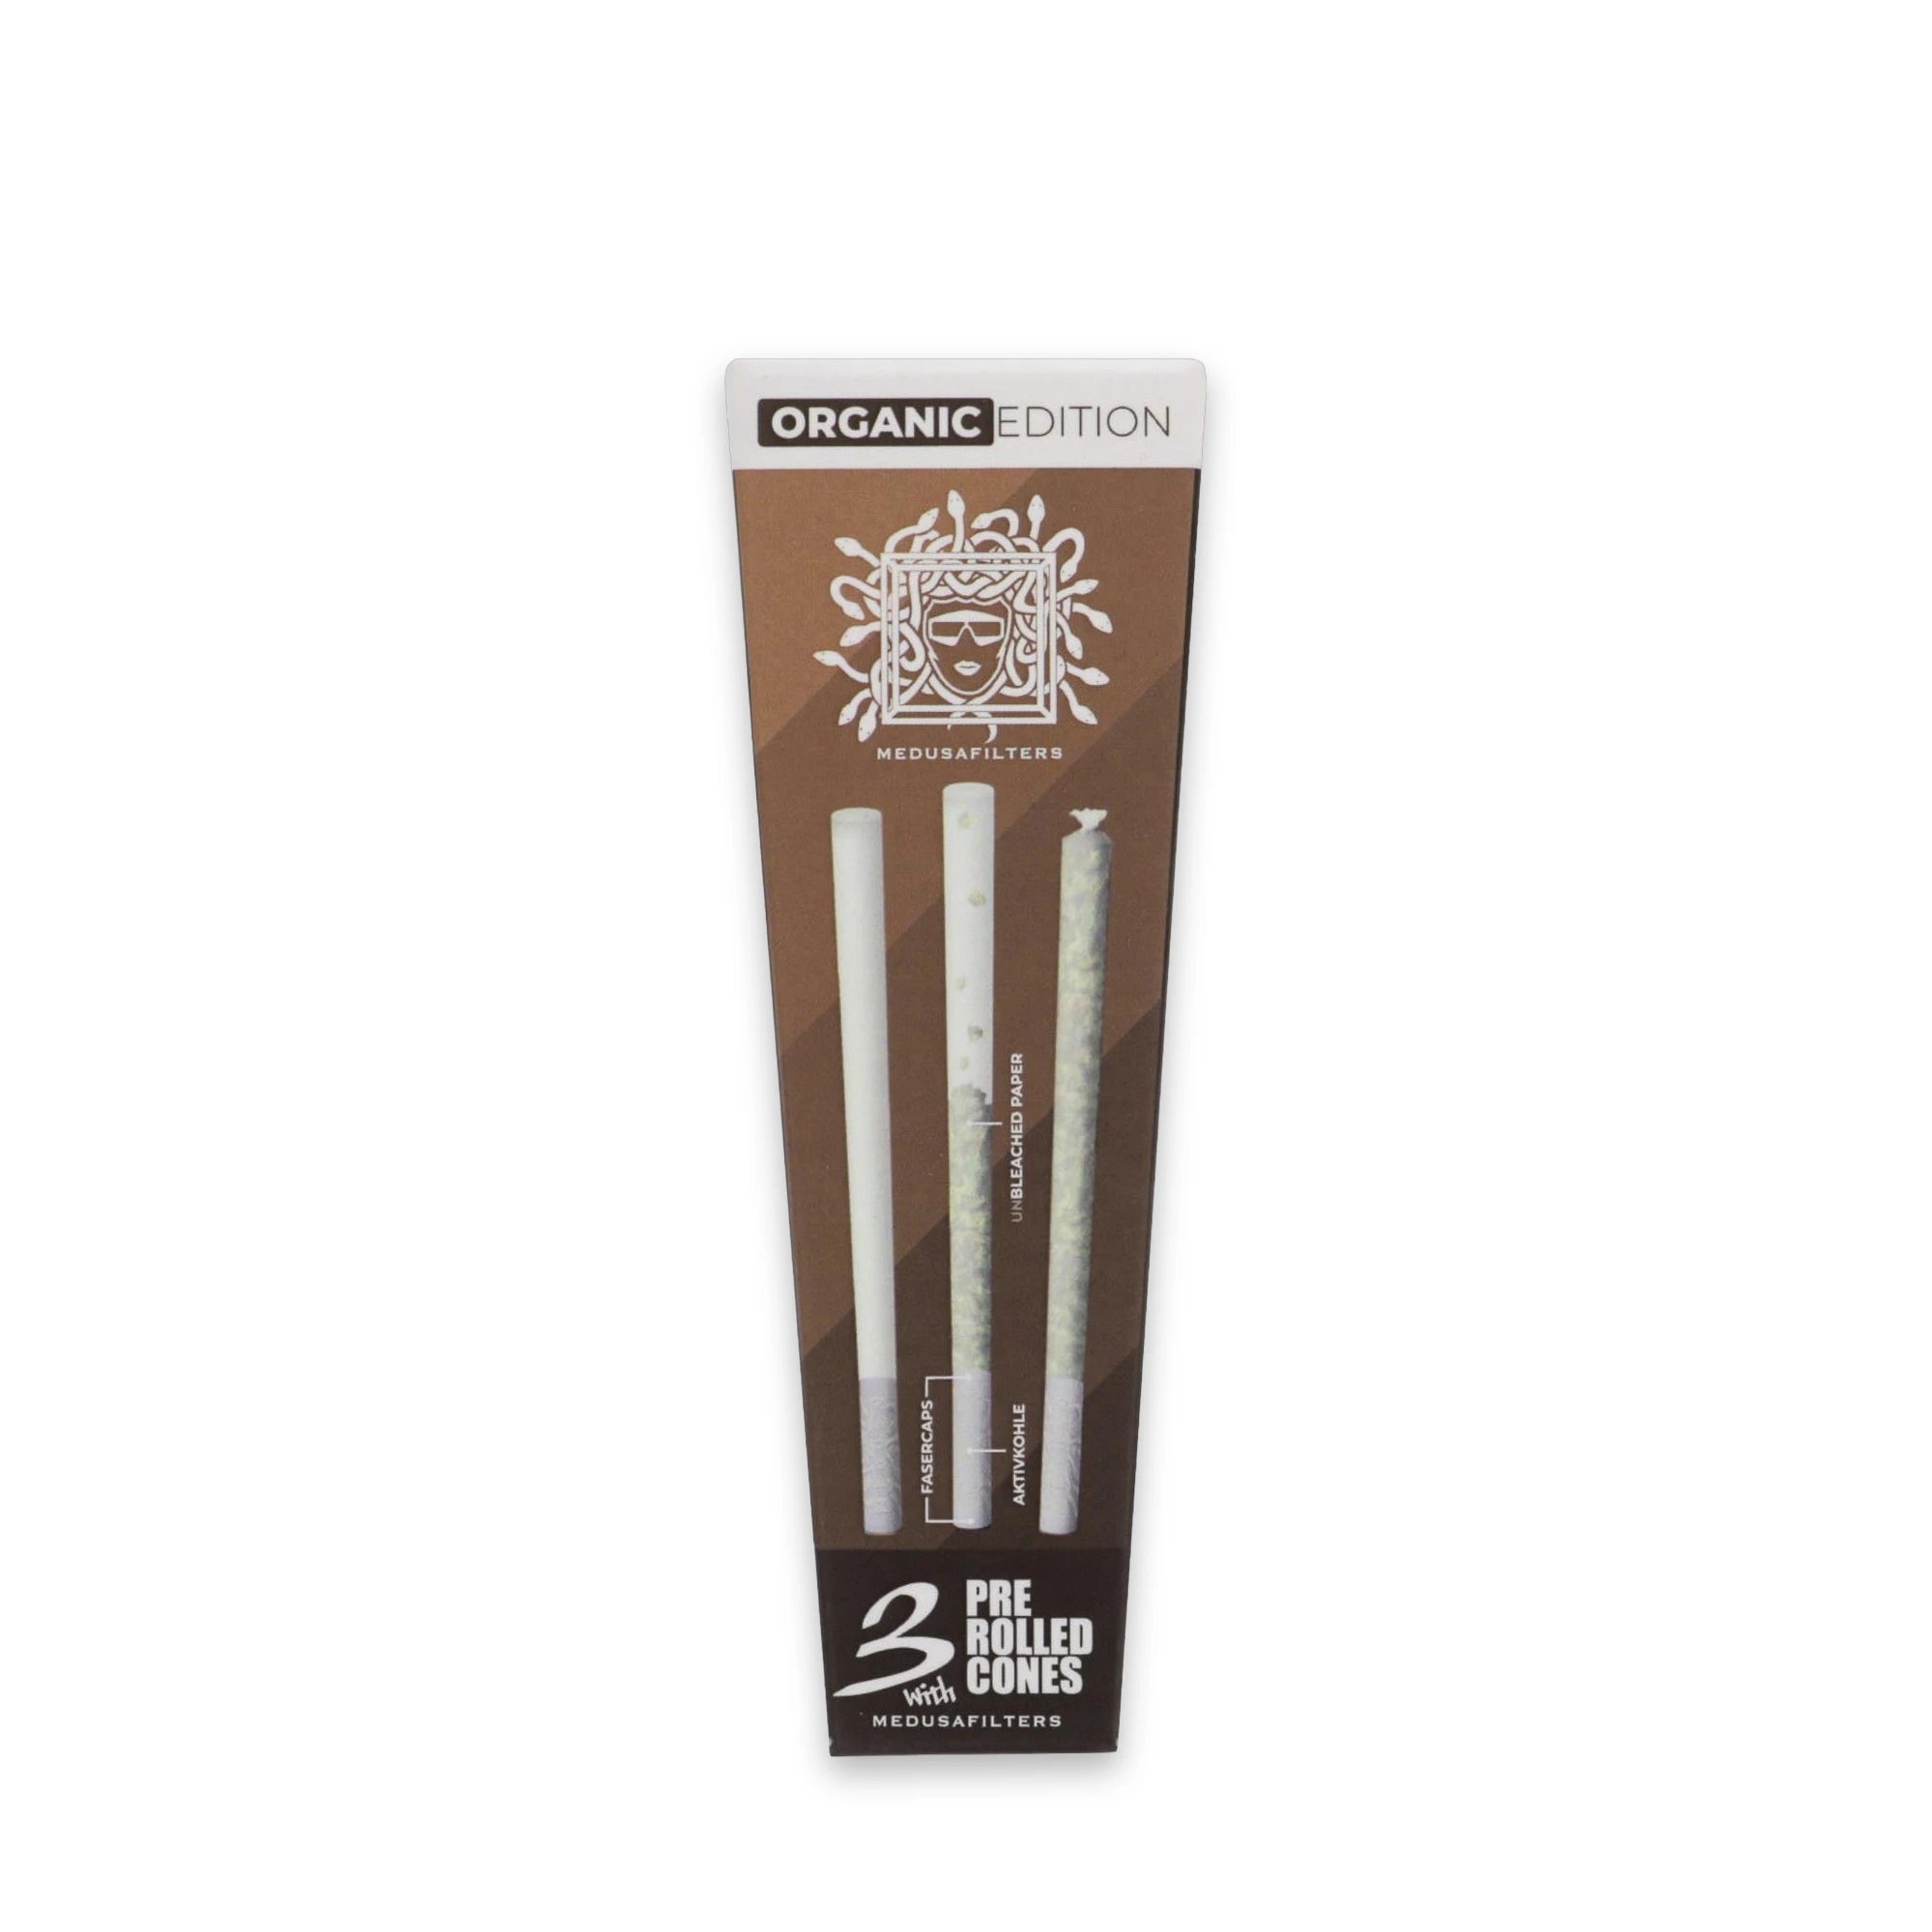
Your later smoking experience stands and falls with the right choice of filter. Place it instead of a self-rolled tip to experience the difference. Pollutant-reducing, permanently cooling smoke, clog-proof and environmentally friendly are the keywords you should keep in mind when judging it. If we're already talking about perfection, your demands on the filter should be at least the same. We recommend the "Medusafilter", which reduces some of the particles and pollutants contained in the smoke before you inhale it. But note: a filter does not make smoking harmless.
Medusafilters

Step 2: Grinding the weed
First make sure your bud is dry enough, otherwise grinding it in the grinder becomes even harder. Then take about a whole gram of your best cannabis and break it up a little with your hands. Then throw the whole lot into the grinder, close the lid and start turning the top (make sure you have the right grinder). It will make the weed so small that it later fits perfectly into your papers. And voilà, your perfectly ground smoking material is ready.
Why does it even need to be ground? It ensures an even burn and lets you perceive the taste and smell even better. So you get the most out of it. And who wants to waste anything, right?
Step 3: Preparing the filter
Simply take a business card or a tip block to build yourself a permeable tip filter; to do this you just have to fold card paper a few times to get a cardboard roll with an "M" inside. However, if you've rolled it unevenly, it may fall out later. So even better: use an activated carbon filter to match the size of your joint. For king size papers we recommend a slim 6 mm diameter, so you later get a nice funnel shape and avoid it slipping out.
Step 4: Putting the weed and the filter into the paper
How best to position the ground marijuana and the filter:
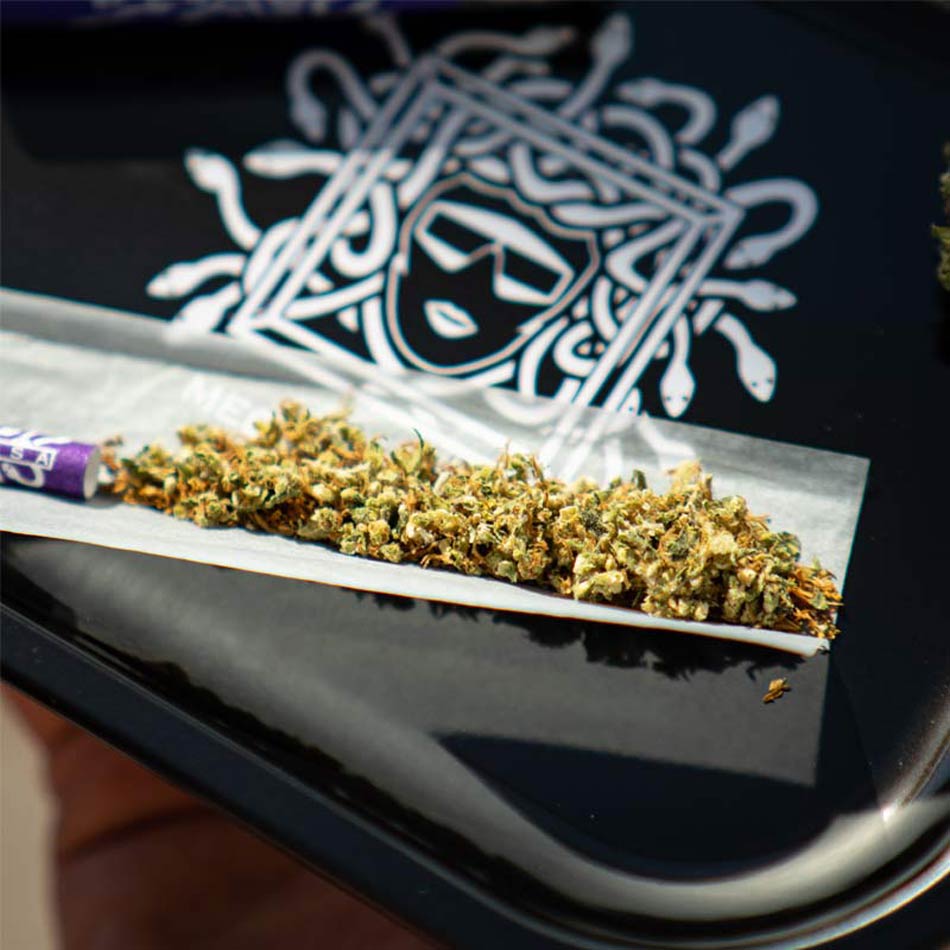
For optimal positioning of weed and filter while rolling, there are a few steps to keep in mind. The first step is to distribute the weed evenly on the rolling paper. This ensures that there are no unwanted "canoeing" effects while it burns, meaning that one side of the joint burns down faster than the other. The filter is ideally positioned at one end of the paper, on the right or left depending on how you want to roll. Make sure the filter sits securely and doesn't fall out when you pick it up. You can also place the filter into a small fold of the paper to make sure it stays in place. Finally, the glued side should be on top so that you can easily moisten it later and roll the joint. With a little practice this routine becomes child's play and ensures a perfect smoking experience.
Step 5: This is how you roll the perfect joint
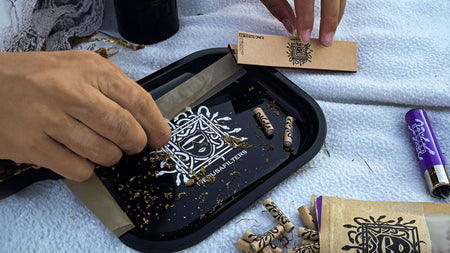
Rolling a perfect joint is an art, but one that can be mastered. Pick up your filled paper and start turning the paper around the mixture until it takes on a sausage-like shape. Be especially careful not to tear it. It's best to use your index fingers and thumbs for this.
Tip: If you moisten your fingers a little beforehand, you get more grip and find rolling much easier (use your saliva for this).
Also make sure to apply even pressure to achieve a consistent thickness of your joint. One hand on the filter, the other right on the paper, that way you get a good feel for how thick it should be and can adjust your pressure accordingly. Keep the paper under constant tension throughout. Above all, this later ensures that your joint burns evenly. Pressure determines whether you build a candle or a cylinder.
Admittedly it takes a bit of practice to be able to roll the perfect joint, so don't worry if your first attempts go wrong. Just don't give up, champ - the sky awaits you!

Step 6: How to lick and seal your joint properly
Once you've successfully rolled your joint, the perhaps most important step follows: sealing it properly, so that the joint holds together well and guarantees an optimal smoking experience. First, the open end of the joint, where the adhesive strip is, is lightly moistened. The easiest way to do this is to lick over it with your tongue. It's important here not to use too much spit, as otherwise the adhesive strip loses its function and the joint could fall apart. After you've moistened your joint, the adhesive strip has to be tucked in carefully. It's important here that the adhesive strip is pressed on evenly and firmly to ensure a perfect seal. Finally, the joint is pressed together firmly to make sure it holds together well and is ready to smoke. Here too, again make sure not to lose the tension in the paper throughout the whole process, otherwise you risk losing the filter.
Step 7: Packing and closing
For this, take the removable wheel of a bong lighter or the lead of a pen and insert it into the opening. Build up some pressure and press your mixture down firmly, so that nothing can fall out anymore when you turn it around. Afterwards, twist the leftover paper to make your joint transportable as well. Ta-da!! You're ready for the now really final step.
Bonus step: Pure enjoyment
Light the joint evenly and enjoy it in the best surroundings.
Building a joint: what material do you need?
Direct answer
To build a joint you need four things: papers, a filter (tip), ground cannabis and a grinder. For getting started, King Size Slim longpapers are ideal – they're long enough for comfortable rolling and, thanks to the thin paper, burn evenly. As a filter you use a classic filter tip or an activated carbon filter for a cooler draw. An Aluminium Spike Grinder chops your material finer and more evenly than you can manage by hand – the basis for a cleanly burning joint. Optionally, a small rolling tray protects against losing crumbs and makes distributing easier. When buying papers, look for thin, unbleached versions, as they affect the flavour the least. You don't need any more equipment for your first joint.
Rolling a joint: step-by-step guide
Direct answer
You roll a joint by rolling the filter and ground cannabis into a King Size Slim paper, bringing the body into shape and sticking down the glued edge. What's decisive is an even distribution of the material and a body rolled firmly but not too tightly – that way the joint draws cleanly and doesn't burn down on one side. Take your time for the first attempts; the hand movement quickly becomes second nature. The following guide takes you through the process step by step.
- Grind the cannabis: Put your flowers into the grinder and grind them medium-fine – not too powdery, otherwise the material trickles through the filter.
- Roll the filter (tip): Fold two to three small creases from a strip of filter card and roll the rest tightly around them until a stable little roll is formed.
- Prepare the paper: Place the King Size Slim paper in front of you with the glued edge facing up and set the filter at one end.
- Add the material: Distribute the ground cannabis evenly along the length of the paper – a little less at the filter end so that nothing falls out.
- Roll into shape: Roll the paper back and forth with both thumbs and index fingers until the material becomes an even cylinder.
- Glue it shut: Roll the paper in, lick the glued edge and press it down cleanly from one end to the other.
- Close it: Press the material at the open end down lightly with a thin object and twist the tip closed.
Building a filter for the joint: how the tip works
Direct answer
A filter (tip) stabilises the mouthpiece, prevents crumbs from getting into your mouth and ensures an even airflow. The easiest way is to fold a small accordion with two to three creases from a strip of filter card and roll the rest tightly around it. Anyone who wants a cooler, smoother and filtered draw reaches for the activated carbon filter with a 6 mm diameter: the activated carbon binds some of the suspended particles and makes the smoke noticeably milder. The 6 mm diameter fits into most king size joints without narrowing the draw too much. When rolling, always set the filter at one end of the paper first – that way you have a firm anchor and the joint keeps its shape.
Common mistakes when rolling a joint and how to avoid them
Direct answer
The most common beginner mistakes are joints rolled too loosely or too tightly, unevenly distributed material and cannabis ground too coarse or too fine. A joint that's too loose burns too fast and falls apart, one that's too tight is hard to draw on. So distribute the material evenly and roll it equally firm all around. Damp cannabis is a problem too: it burns badly and draws sluggishly – let it dry out briefly before rolling. Anyone who forgets the filter gets crumbs in the mouth and an unstable mouthpiece. And anyone who glues too hastily risks an open seam, through which the joint burns down on one side. The good news: every one of these mistakes disappears on its own after a few rounds of practice.
Joint drehen mit normalen Blättchen oder 2–3 Papers
Die kurze Antwort: Ja, einen Joint drehen mit normalen Blättchen geht. Ein 1¼-Paper (rund 78 × 45 mm) reicht für einen kurzen Joint mit 6-mm-Filter. Für mehr Länge klebst du zwei normale Papers zu einem längeren Blatt zusammen, drei Papers brauchst du erst für große Formen wie die Tulpe. Am einfachsten bleibt ein einzelnes King Size Slim Paper.
- Single Wide (normales Blättchen): ca. 68–70 × 34–36 mm; sehr dünner, kurzer Joint; eng für Filter und Material
- 1¼ (z. B. Shortpapers): ca. 78 × 45 mm; kurzer Joint für eine Person, passt zu 6-mm-Filtern
- 2 Papers zusammengeklebt: doppelte Länge; längerer Joint aus normalen Blättchen
- 3 Papers und mehr: große Fläche; Tulpe, Kreuz-Joint oder Windmühle
- King Size Slim: ca. 105–110 mm lang; Standard-Joint ohne Zusammenkleben
Joint drehen mit 2 Papers: So klebst du sie zusammen
- Leg das erste Paper mit dem Gummistreifen nach oben und zu dir zeigend vor dich.
- Befeuchte den Gummistreifen nur auf dem Teil, den das zweite Paper überdecken soll.
- Leg das zweite Paper so darauf, dass sich beide 5 bis 10 mm überlappen und die Gummistreifen in dieselbe Richtung zeigen.
- Streich die Naht mit dem Finger glatt und lass sie ein paar Sekunden trocknen.
- Dreh danach wie gewohnt: Filter ans Ende, Material verteilen, rollen, zukleben.
Wichtig ist, dass die Naht nicht doppelt dick wird, sonst brennt der Joint dort schlechter ab. Wer drei Papers kombiniert, klebt das dritte quer als Verlängerung oder zur Verbreiterung an, je nachdem, welche Form entstehen soll. Welche Formate es gibt und was sie in Millimetern messen, erklären wir ausführlich im Ratgeber Papers-Größen erklärt.
Spezielle Joints bauen: Tulpe, Kreuz, Windmühle und Co.
Die kurze Antwort: Spezielle Joints bauen heißt, aus mehreren Papers und Joints eine besondere Form zu drehen. Die bekanntesten sind der Kreuz-Joint aus drei zusammengesteckten Joints, die Tulpe mit dickem Kopf aus drei bis vier Longpapers und die Windmühle mit sternförmigen Papierflügeln. Alle brauchen mehr Papers, mehr Geduld und einen sicheren Standard-Joint als Grundlage.
- Standard-Joint: ein gerader, leicht konischer Joint mit Filter. Material: 1 King Size Slim. Schwierigkeit: leicht.
- Tulpe: bauchiger Kopf, der an eine geschlossene Tulpenblüte erinnert, Filter-Mundstück. Material: 3–4 Longpapers. Schwierigkeit: mittel.
- Kreuz-Joint (Cross Joint): langer Haupt-Joint, durch den zwei kürzere Joints quer gesteckt werden. Material: 3 Joints. Schwierigkeit: schwer.
- Windmühle: mehrere schmale Papierarme sternförmig um ein zentrales Mundstück. Material: mehrere Longpapers. Schwierigkeit: sehr schwer.
- Blunt: gerollt aus einem Tabak- oder Hanfblatt statt aus Paper. Material: kein Paper. Schwierigkeit: mittel.
Welcher spezielle Joint passt zu dir?
Für den Einstieg in Sonderformen ist die Tulpe am dankbarsten, weil sie nur aus zusammengeklebten Papers besteht. Die Anleitung dazu findest du unter Tulpen-Joint bauen. Beim Kreuz-Joint musst du ein Loch in den Haupt-Joint stechen und die Verbindung mit einem Papierstreifen abdichten, das verzeiht wenig. Die Windmühle ist eher ein Vorführstück für besondere Anlässe als etwas für den Alltag.
Für alle Formen gilt: Erst wenn dein normaler Joint gleichmäßig brennt, lohnen sich die Sonderformen. Lange, dünne Longpapers machen das Verkleben leichter, und ein fester Filter hält auch einen schweren Kopf stabil.
Rolling a joint in Germany: what applies in 2026?
Direct answer
Since the Cannabis Act (KCanG) came into force on 1 April 2024, the possession of cannabis for adults in Germany has been permitted within certain limits. As of 2026, you may possess up to 25 grams when out and about and up to 50 grams at home, as well as grow up to three plants for personal use. Additional rules apply to consumption, storage and cultivation – for example bans on consumption near schools, day-care centres and playgrounds, as well as safe storage away from minors. This information only provides a rough overview and is not legal advice. The legal situation can change; when in doubt, inform yourself at official bodies or read the current text of the law.

Is this legal in Germany? (as of 2026)
In Germany, cannabis has been legal for adults within clear limits since the Consumer Cannabis Act (KCanG) of 1 April 2024 – unchanged as of 2026. The most important key points:
- Possession: up to 25 g when out and about, up to 50 g at your residence.
- Home cultivation: up to 3 plants per adult, protected from access by minors.
- Consumption bans: not within sight of schools, children's and youth facilities, playgrounds and sports grounds.
- Passing on & selling remain prohibited.
This is a general overview and not legal advice. These limits do not apply to accessories like filters, papers or grinders – smoking accessories are freely available.
The right accessories from Medusafilters


Frequently asked questions about rolling a joint properly
For a normal king size joint you usually only need a single King Size Slim paper. These papers are long and wide enough to comfortably hold the filter and material. Only when you want to build larger joints like a cross or tulip joint do you glue several papers together. To get started, one paper is completely enough.
An activated carbon filter with a 6 mm diameter provides a cooler, smoother and filtered draw. The activated carbon binds some of the suspended particles, making the smoke noticeably milder and less harsh. At the same time, the solid filter keeps crumbs away from the mouthpiece and stabilises the shape of the joint. For beginners who appreciate a gentle draw, it's a worthwhile addition to the classic filter tip.
A grinder isn't strictly necessary, but it makes the difference. An Aluminium Spike Grinder chops your cannabis finer and, above all, more evenly than you can manage with your fingers or scissors. Even material distributes better in the paper, burns more regularly and doesn't clog the draw. Anyone who rolls more often saves time with a grinder and gets consistently better results.
For beginners, King Size Slim papers are the best choice. They offer enough length and width so you don't run out of time while rolling, and the thin paper burns evenly without masking the flavour. Shorter formats like regular papers are fiddlier and less forgiving of mistakes. With a King Size Slim paper and a little practice, you'll quickly manage a clean, straight joint.
A joint that burns unevenly on one side (running or canoeing) is usually caused by unevenly distributed material or a side rolled too loosely. Make sure to distribute the cannabis evenly in the paper before rolling and to roll the body equally firm all around. Damp material or a paper glued on crooked can also be the cause. A cleanly rolled, evenly filled joint burns down straight.
Since the Cannabis Act (KCanG) of 1 April 2024, cannabis possession for adults in Germany has been permitted within limits. As of 2026, up to 25 grams are allowed when out and about and up to 50 grams at home, as well as three home-grown plants. Further rules apply to consumption and cultivation, such as minimum distances from schools. This is not legal advice – when in doubt, inform yourself at official bodies.